
In the previous article on Tricentis Tosca Testsuite Tutorial, we listed down the steps with which you can download the trial version of Tosca. In this article, you will see how you can install the trial version of Tosca. If you want to quickly go through the article, then just scroll through the images which would show you the different steps. Don’t forget to check step 6 in this article- that is where you select the trial version of the tool.
Steps to install Tosca trial version
1) Once you download Tricentis Tosca Testsuite, it will be available to you in a zip folder. The first step is to unzip the folder.
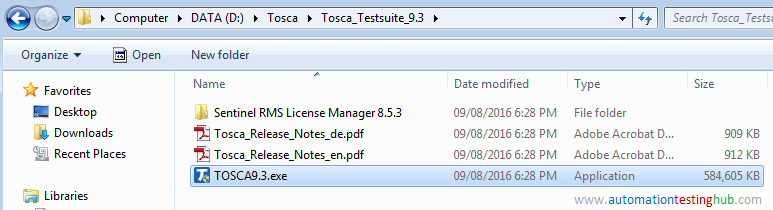
2) Open the unzipped folder. In the folder contents you will find Tosca exe. In this case, you can see that the folder contains TOSCA9.3.exe file.

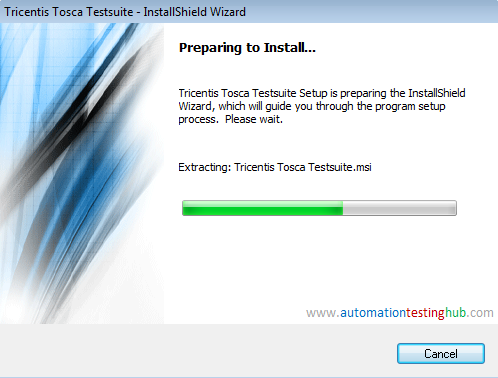
3) Open Tosca9.3.exe file to begin the installation. You will first see the ‘Preparing to Install…’ window.

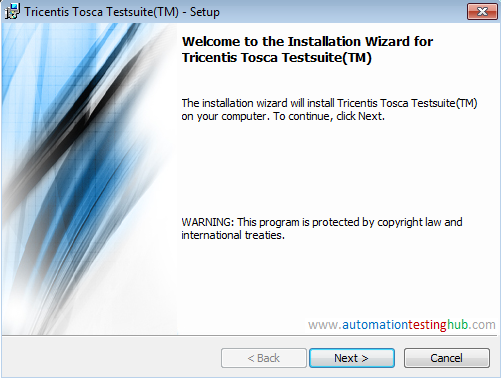
4) After this you will see the Setup window. Click on ‘Next’ button in this window

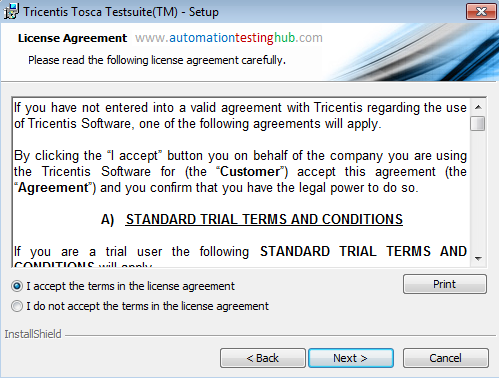
5) License Agreement window will be displayed next. Here, select ‘I accept the terms in the license agreement’ and then click on Next button

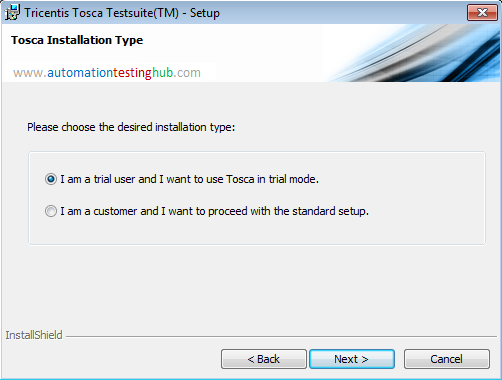
6) Next window is the most important step. This is the Tosca Installation Type window. Select I am a trial user and I want to use Tosca in trial mode., then click on Next button. This way Tosca trial version will be activated once installation is completed. If you select the other option and proceed, you will be asked for the license after installation and thus you will not be able to use Tosca.

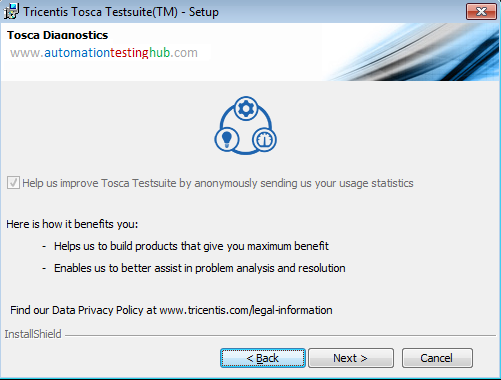
7) The next screen that you will see is the Tosca Diagnostics window. Here you don’t have the option to deselect the check box. So just click on the Next button to proceed to the next window (If you have a Tosca license and you use Customer option from the previous step, then you will have the option here to uncheck the check box)

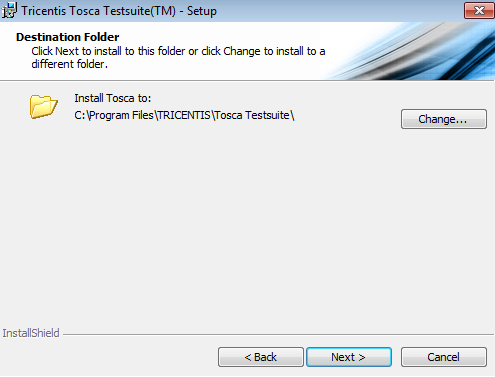
8) Next window that you will see is the Destination Folder window. Here, leave the default path as it is and click on Next button

9) In the next window, you will see the option to change the project folder locations. In this window also, you can leave the default paths as it is and click on Next button


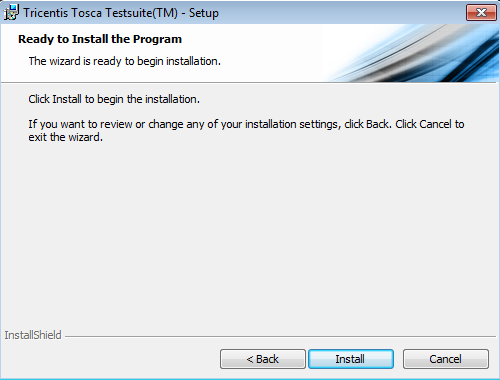
10) The next window is – ‘Ready to Install the Program’ screen. Click on Next button in this window
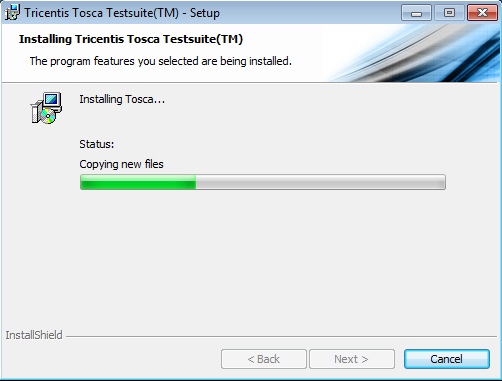
11) Tosca will now start installing.

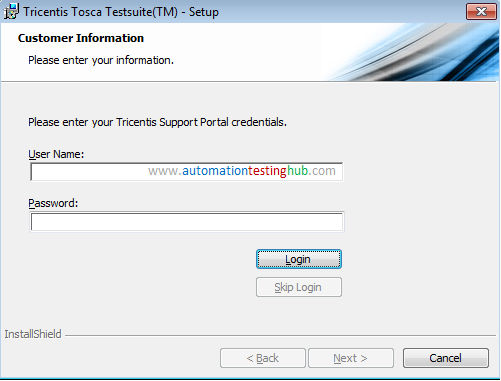
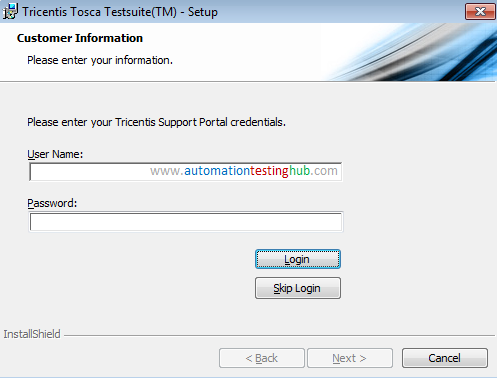
12) Once the installing process is complete, you will see a window where Tricentis will ask for Customer Information. This is just your Tosca Support credentials. If you have Tricentis support credentials, you can provide it there. If you don’t have the credentials, then you give some random values which Tricentis would reject. Once rejected, you will see the ‘Skip Login’ button getting enabled. Then you can click on the Skip Login button


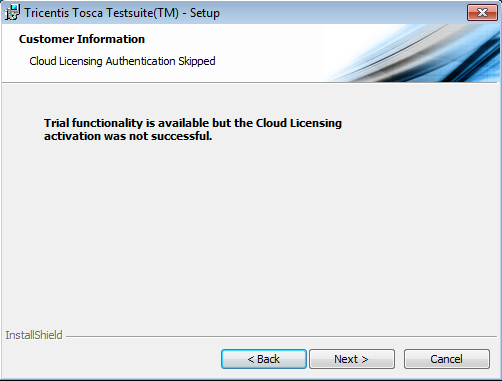
13) Next window is for Cloud Licensing Authentication. Click on Next button here to skip this step
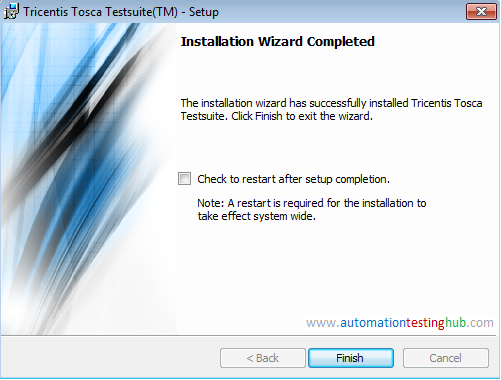
14) We have finally reached the last step. In this window, click on Finish button. You will now have to restart your machine for installation to take effect
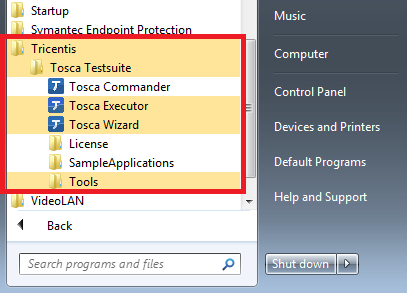
15) After you have restarted your machine, open Start -> All Programs. You will see that Tricentis folder has been added in All Programs

This completes our article on installing the trial version of Tosca. We would like to know your feedback on this article. Let us know if this was helpful to you using the comments section. You can also write to us if you face any issues with the installation process.