

Starting with this article in our Cucumber testing series, you will begin to work on core cucumber concepts. In this article, you will first see how to add a cucumber feature file to your eclipse project. After that, you will learn about some of the salient features of cucumber feature files.
Before starting, let’s first have a look at the structure that we will follow in the next few articles.
Note: This article is a part of our Cucumber Tutorial series. Head over to our Selenium Cucumber Tutorial main page for the step by step cucumber setup guide
Structure that will be followed in next few articles
Creating a cucumber test case with selenium is a multi-step process. On a high-level, it involves the following steps –
- Identify the scenario you want to automate
- Add a feature file for the scenario that you identified
- Create a test runner class which will execute this feature file
- Create step definitions to link feature files with actual java code
- Write actual selenium logic and then link it with the step definition methods
Now, the structure that we will follow goes like this. We will first identify the scenario that we want to automate. Then one by one, we will work on each of these cucumber components and build our test case progressively. We will cover each component (feature file, test runner etc) in a separate article. So, by the time you finish the next four articles, your first full-fledged cucumber test script will be ready.
Let us first start with the scenario which we want to automate.
Cucumber test scenario that we will automate
In this tutorial series, we will automate the same scenario that we had discussed in our Cucumber BDD introduction article. Let us have a quick look at the scenario once again.
Scenario Description: Open Google Homepage and verify that search box, Google Search button, and I’m Feeling Lucky buttons are displayed on the page.
Scenario Steps (in BDD format):
- Given I launch Chrome browser
- When I open Google Homepage
- Then I verify that the page displays search text box
- And the page displays Google Search button
- And the page displays Im Feeling Lucky button
As we have discussed previously about the structure of the articles, we will use this scenario to create the feature file and then extend it further to create test runner, step defs and actual selenium code. So, in this article, we will start with creating the cucumber feature file.
Create cucumber feature file
Follow the steps given below to first create a folder in your project and then add the feature file to it.
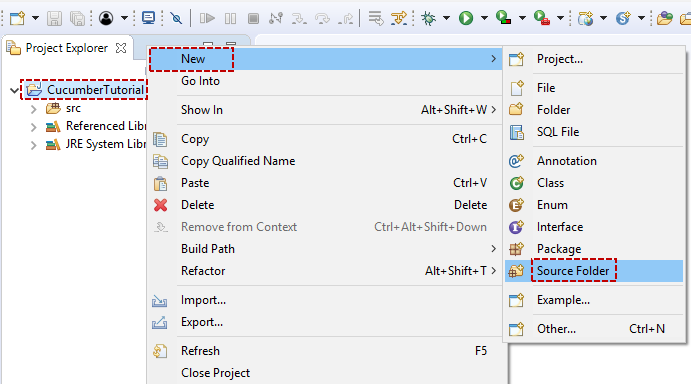
1. Right click on CucumberTutorial project, then select New > Source Folder.

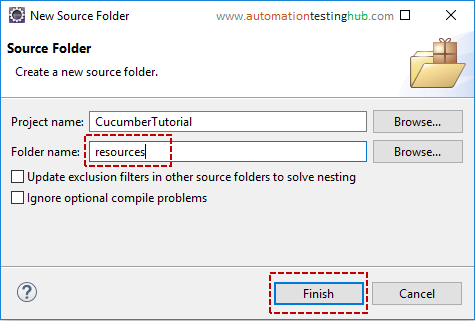
2. Enter folder name as resources and click on Finish button

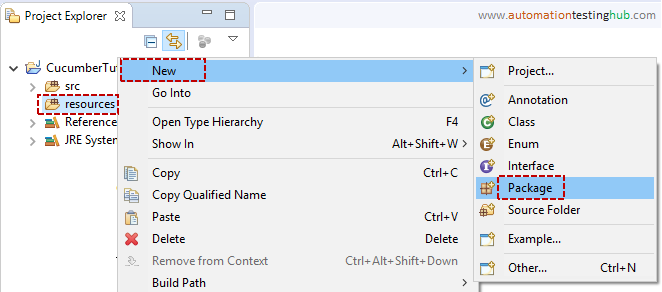
3. You can now see that resources folder is added to your eclipse project. Now, right click on resources folder and select New > Package

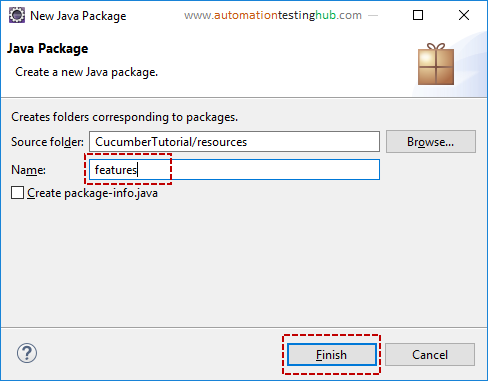
4. Enter package name as features and click on Finish button. This is the package inside which you will add cucumber feature files

5. We will now add cucumber feature file to this package. To do this, right click on features package and select New > Other…


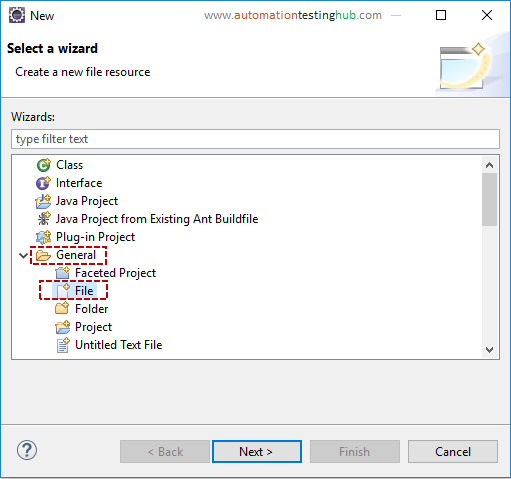
6. From the popup window, expand General folder and then select File option. Then click on Next button

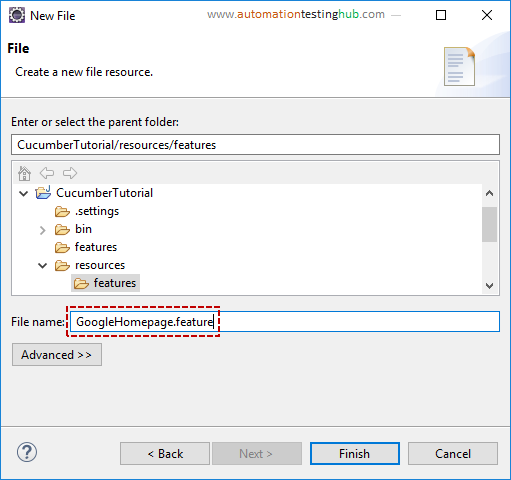
7. Enter file name as GoogleHomepage.feature. Make sure that you add .feature at the end of the file name. Now click on Finish button
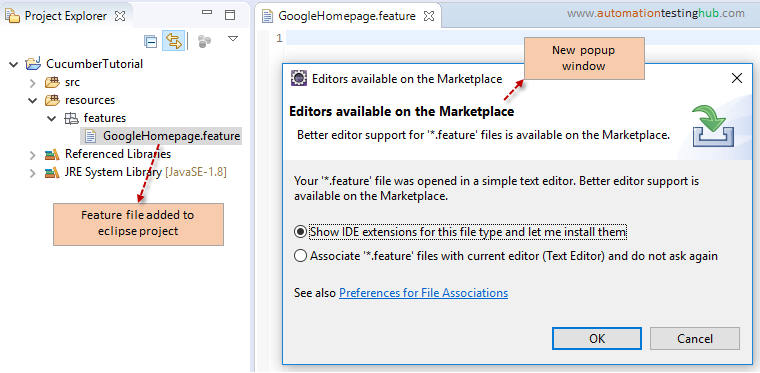
You can now see that the cucumber feature file is added to the features package. You might also see a new popup window, Editors available on the marketplace, if you are using Cucumber in Eclipse for the first time.

Let us now check out this popup window.
Editors available on the marketplace popup
By default, a cucumber feature file is associated with a text editor in eclipse. This popup is just saying that there are additional plugins available in eclipse, which provide better support for cucumber feature file as compared to text editor. This is mostly limited to highlighting important keywords, such as given, when, then etc. It provides limited auto-suggest options as well.
You can download this plugin by following the below steps –
1. In the popup window, let the first option remain selected. Then click on OK button. You will see Eclipse Marketplace window as shown below
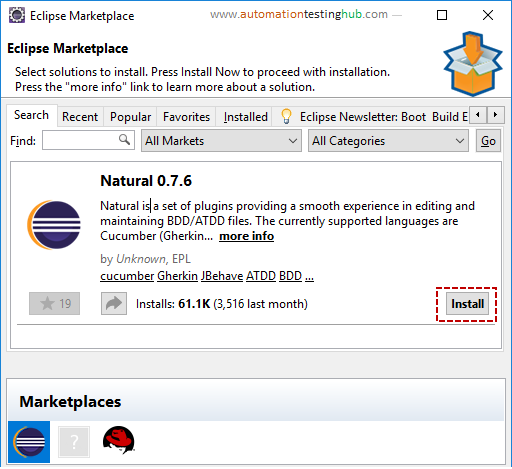

2. Click on Install button. Eclipse will now start loading the files. After few seconds, you will see the below window
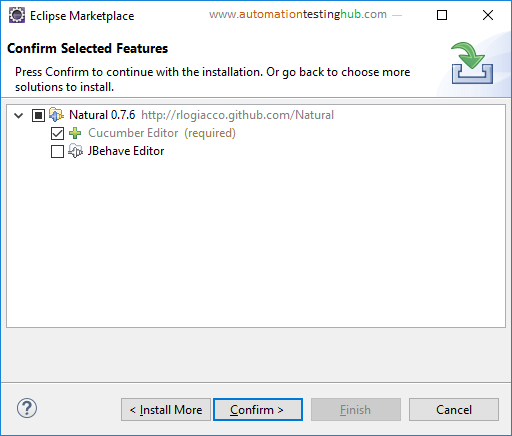

3. Leave all the default values as it is and then click on Confirm button. Eclipse will now start loading the components. Once this is done, you will see the License agreement screen
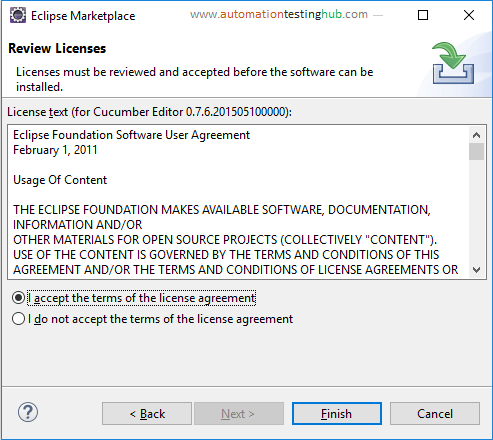

4. Accept the license and click on Finish button. Eclipse will now start installing the tool. While its being installed, you will see Installing Software message at the bottom right corner of Eclipse.
If you see a Security Warning popup, then please click on Install Anyway button.
5. Once eclipse installs the plugin, you will see Restart popup. Click on Restart Now button to restart eclipse.
Add test case to cucumber feature file
In this section, you will add the test case (in BDD/English format) to the feature file. Cucumber feature file has a certain syntax that you need to follow. Let us first add the test case to the feature file and after that we will have a look at its syntax as well.
For now, open the feature file and add the below content to it.
Feature: Google Homepage
This feature verifies the functionality on Google Homepage

Scenario: Check that main elements on Google Homepage are displayed
Given I launch Chrome browser
When I open Google Homepage
Then I verify that the page displays search text box
And the page displays Google Search button
And the page displays Im Feeling Lucky button
Save this file. The file would look something like this –
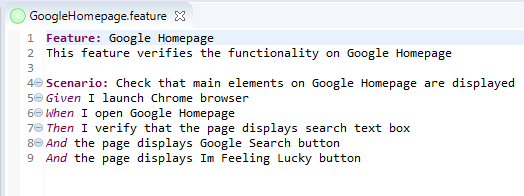

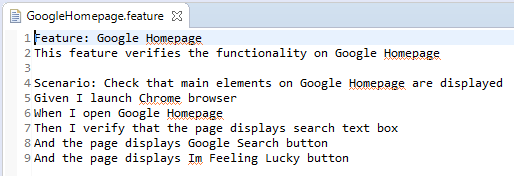
From the above image, you can see that the keywords Feature, Scenario, Given etc are highlighted in different color. It comes out this way because you have installed the plugin from Eclipse marketplace. In case, you don’t install the plugin, the feature file will look like this –

You have now successfully added cucumber feature file and the test case in your project. Before wrapping up this article, let us have a quick look at some of the features and syntax considerations of cucumber feature file.
Some important points about Cucumber feature file
Below are some of the important points that you need to be aware of w.r.t cucumber feature files –
1. All feature files in Cucumber should have the extension .feature in its name. If .feature is not present, then cucumber won’t recognize it as a feature file
2. In each feature file, you need to add a keyword called ‘Feature’. Without this, you will see compile errors in your script
3. Each scenario in a feature file should also start with a keyword. We have used keyword ‘Scenario’ for the feature file in this article. There is a different keyword as well, which we will discuss in detail in a different article
4. Each feature file can have multiple number of scenarios. Our example in the previous section has only one scenario in the feature file. In part 2 of our cucumber tutorial series, we will cover examples where a feature file has multiple scenarios
5. It’s not necessary that all the scenarios have all these keywords – ‘given’, ‘when’, ‘then’ and ‘and’. You can write scenarios where you can use only one keyword in all the steps. For example, the below scenario which only uses Given keyword is perfectly valid
Scenario: Check that main elements on Google Homepage are displayed
Given I launch Chrome browser
Given I open Google Homepage
Given I verify that the page displays search text box
Given the page displays Google Search button
Given the page displays Im Feeling Lucky button
Apart from this, you can also change the order of the keywords. For example, you can use ‘and’ or ‘then’ before ‘given’ also. The only reason we use all given, when, then keywords is due to readability. And the readability of a scenario is much better when you use these keywords in proper order.
What’s next?
You have now successfully created a feature file in your eclipse project. Cucumber understands that you have provided a feature file, but it doesn’t know what to do with it. Cucumber won’t be able to run this feature file unless you provide a runner class. In the next article in our tutorial series, we will work on creating a test runner class and link it to this feature file. This will enable you to run the cucumber feature file.
If you have any queries on how cucumber feature file is implemented, then please feel free to get in touch with us using the comments section.
Next Article: Add test runner class to run Cucumber feature file