
This article is directed towards first timers who have never used Android Studio. If you are using Android Studio for the first time and are not sure how to proceed, then you can use this article to setup Android Studio and create a sample project with no main activity. The main purpose of this article is to setup Android Studio with a sample project, so that you can use it to access Android SDK Manager and other platform tools.
Open Android Studio and create a new Project
This article describes all the steps that are required to create project in Android Studio. You might not need to use all the steps as it depends upon whether you have opened Android Studio before, or if you already have all the updated Android Studio components.
Follow the points given below to have a look at the detailed steps. If some of these steps are not relevant to you, then you can skip those steps and move to the next ones. You can have a look at the screenshots in this article and compare it with the screens that you have, so that you can keep track of the steps that you need to follow.
1. Go to Start > All Programs > Android Studio and then open Android Studio

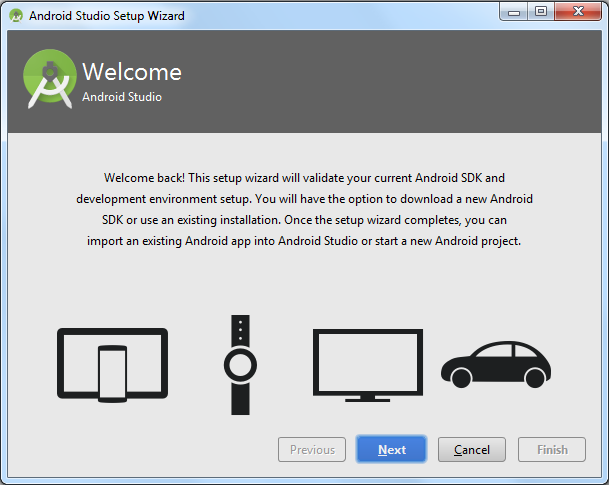
2. If you are opening Android Studio for the first time, then you will see the Welcome screen as shown below
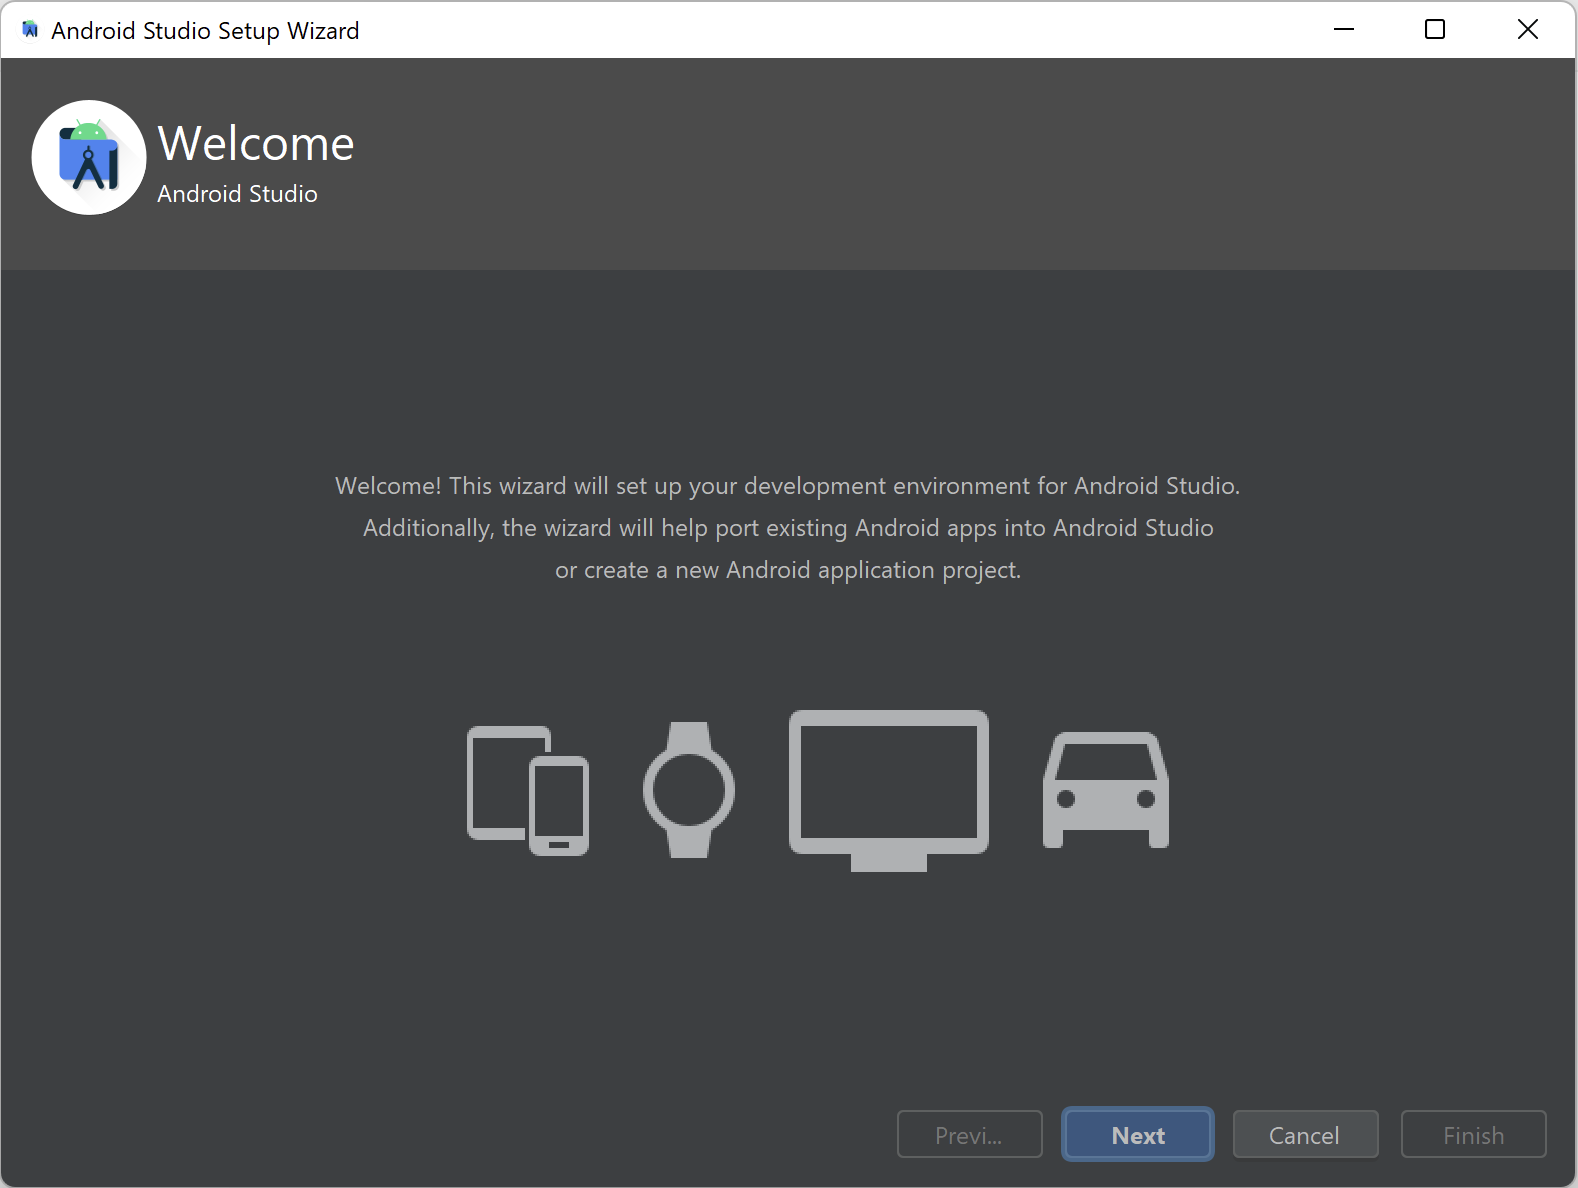

3. Click on Next button. You will be taken to Install Type screen
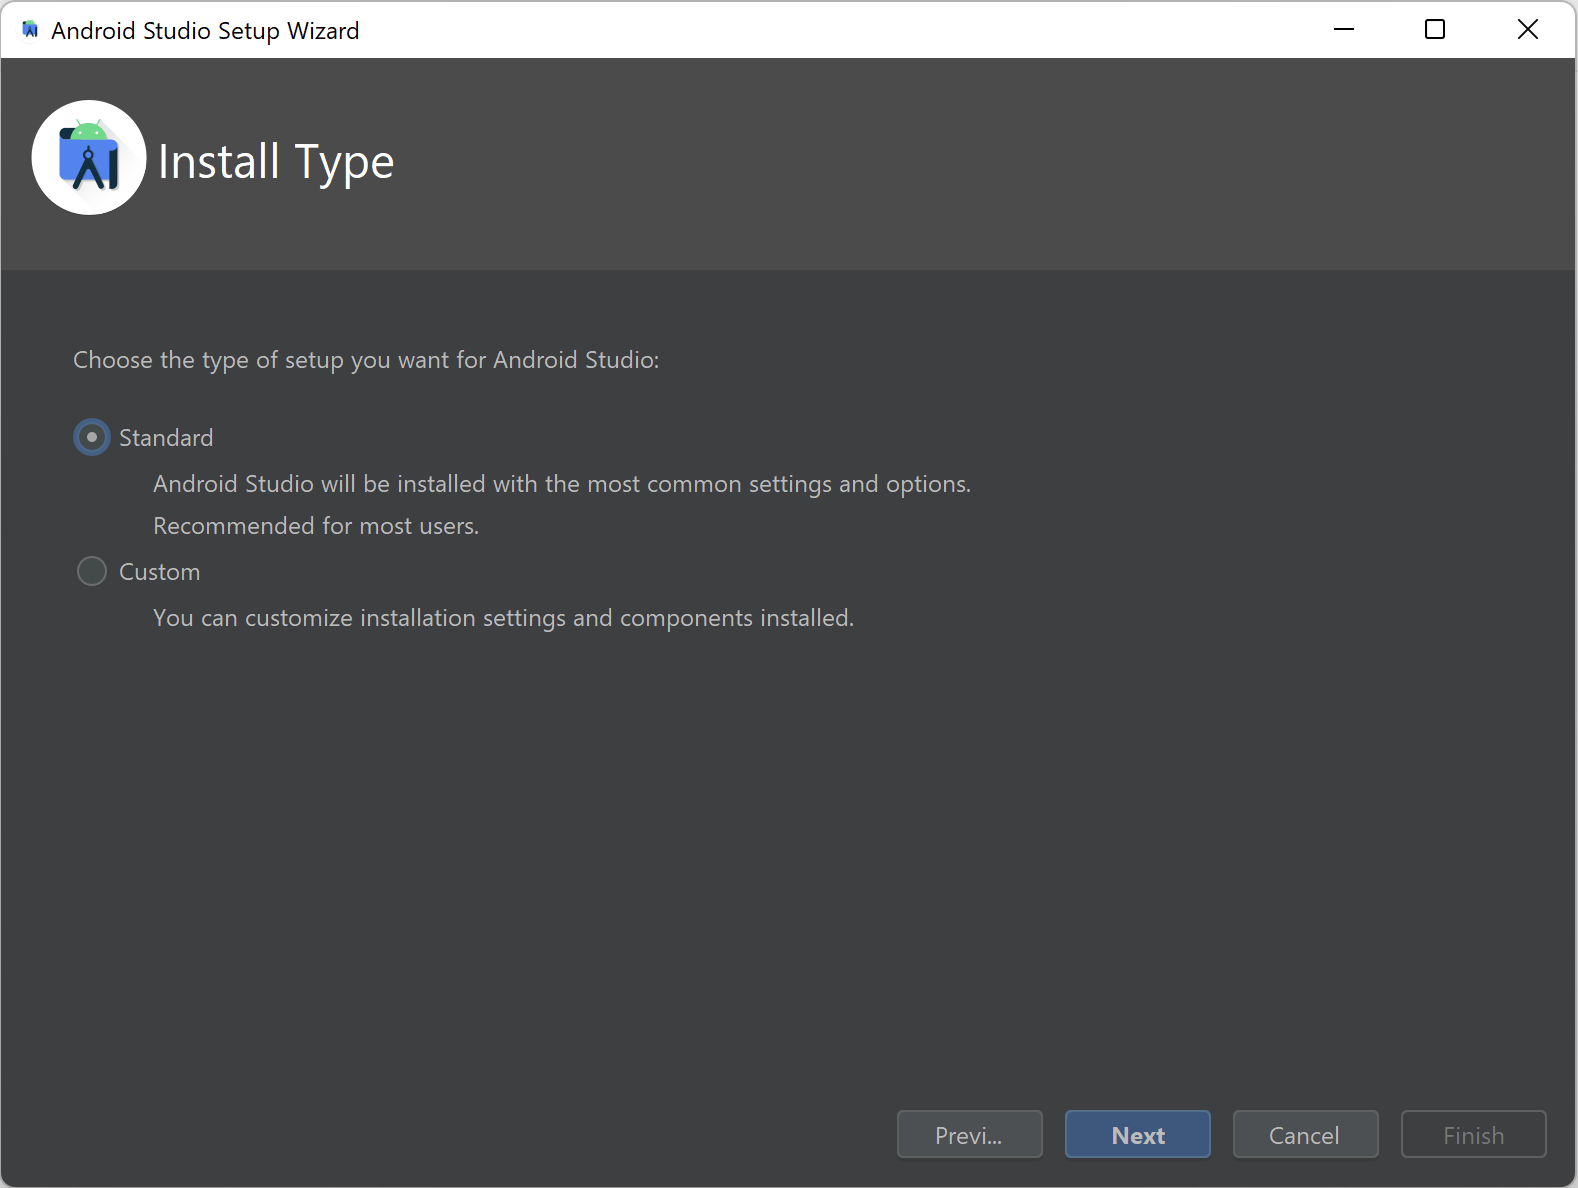

4. In the Install Type screen, let Standard option remain selected and then click on Next button. You will now be taken to the Select UI Theme screen.
Select any theme here and click on Next button. Verify Settings screen would now be displayed.


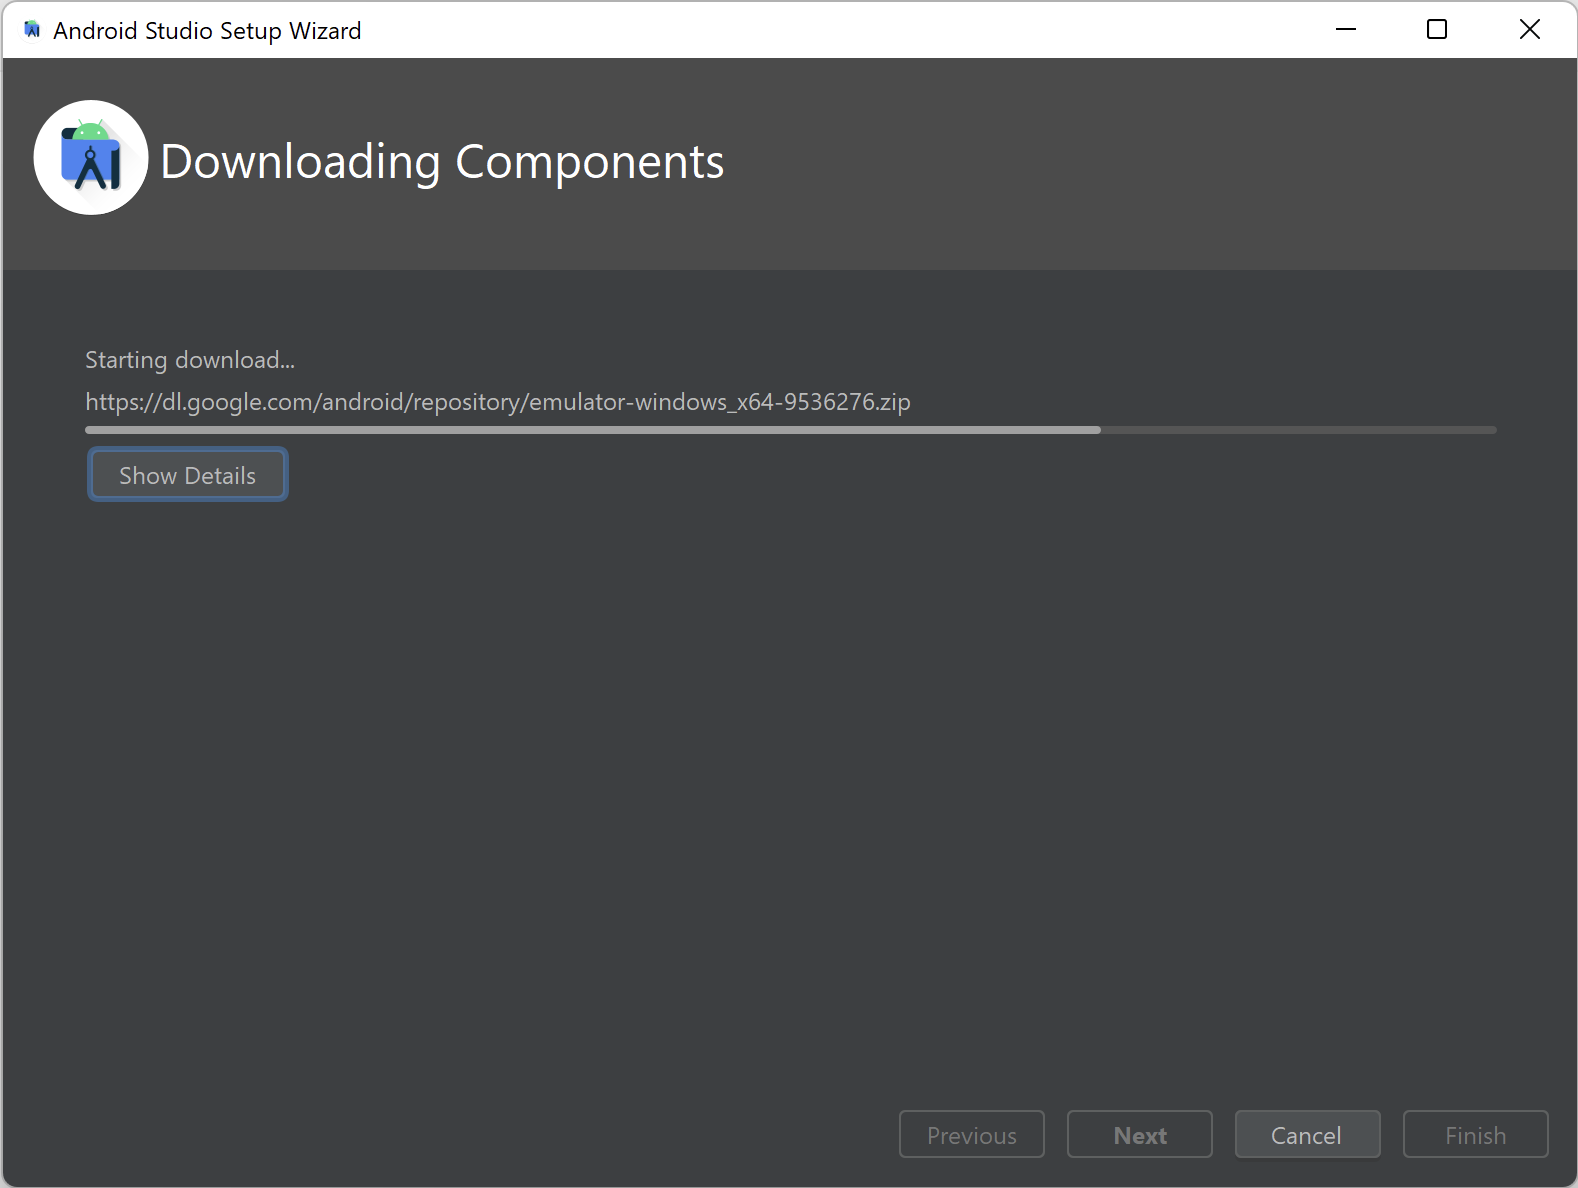
5. Click on Finish button. Android Studio will now start downloading these components

6. When downloading is complete then click on Finish button. You will now see Welcome to Android Studio screen
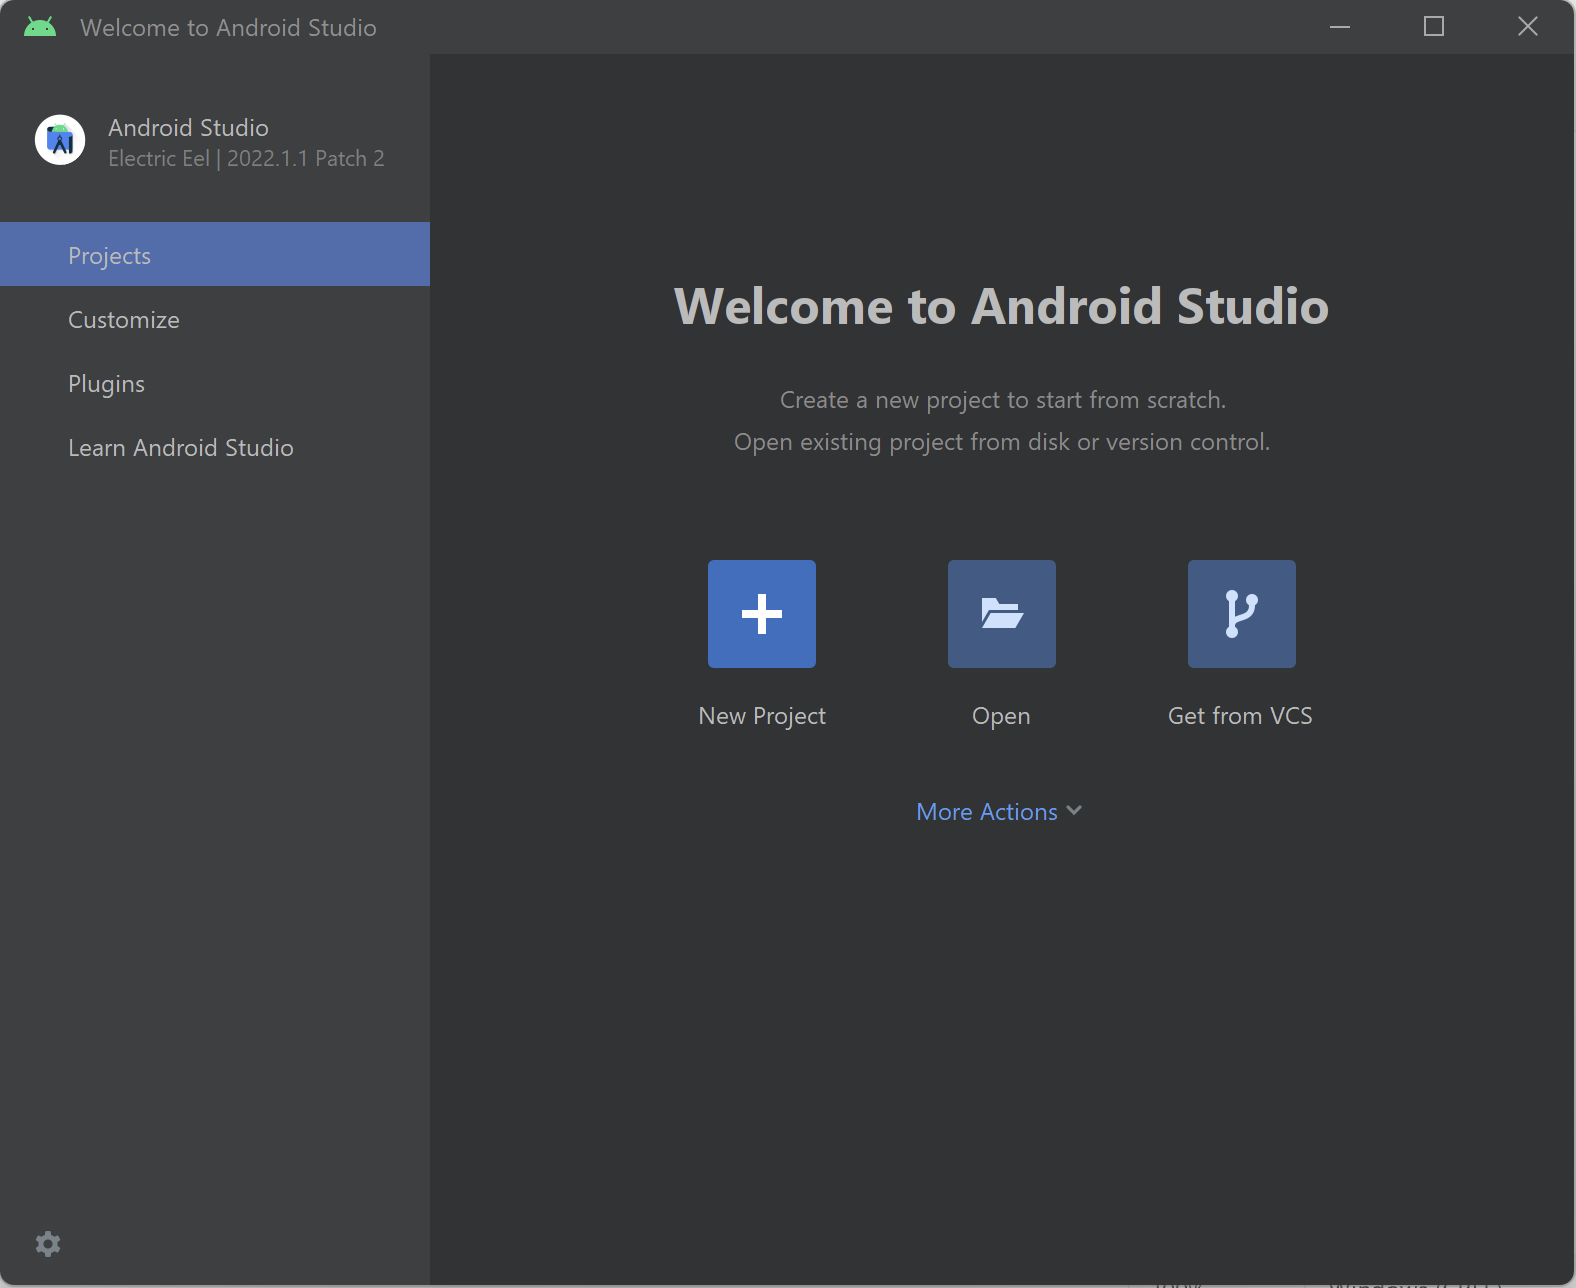

7. Click on Start a new Android Studio project. Create New Project screen would be displayed as shown below
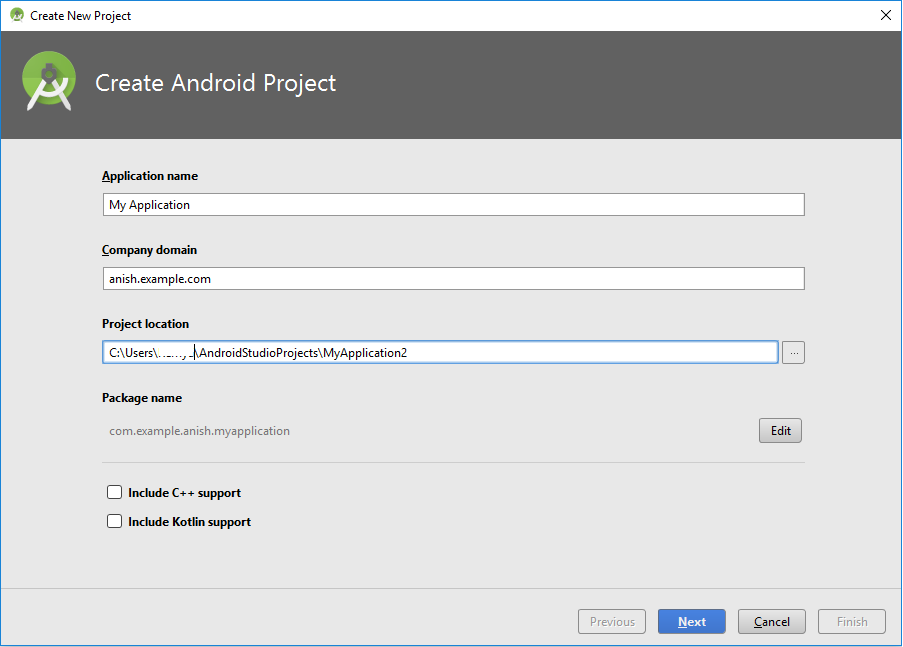

8. Leave all the default values as it is and then click on Next button. Target Android Devices screen would now be displayed
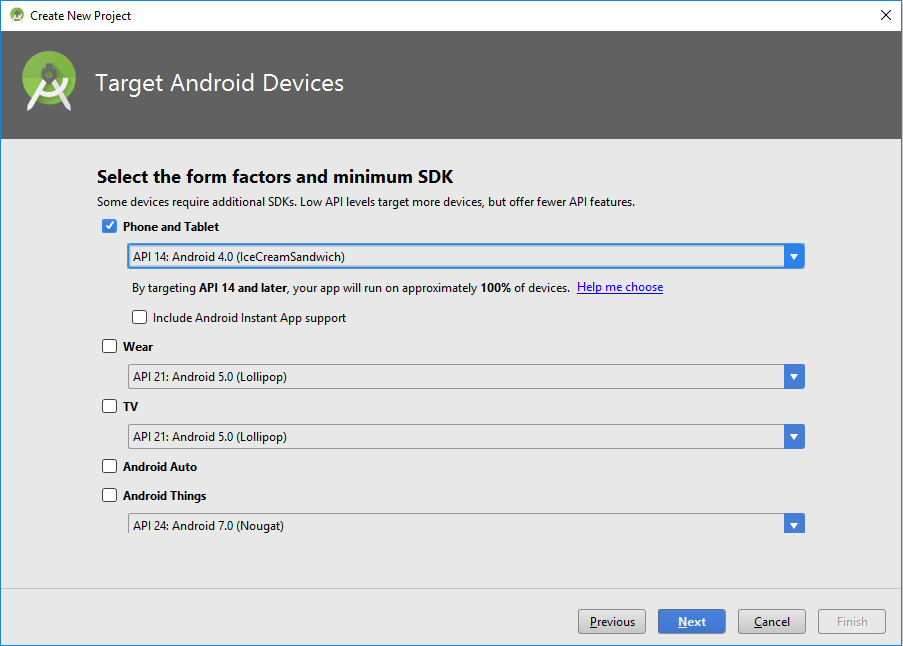

9. Leave this screen as it is and click on Next button. You will be navigated to Add an Activity to Mobile screen where Empty Activity is selected by default
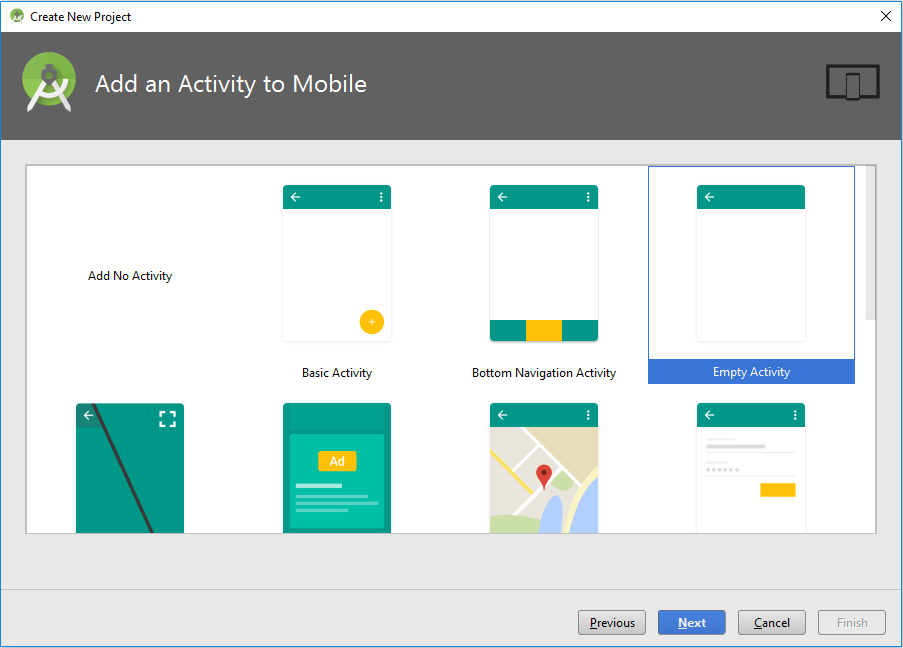

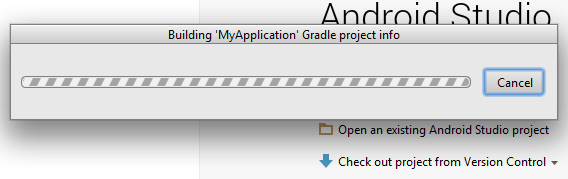
10. Select Add No Activity instead of Empty Activity and then click on Finish button. Android Studio will start building your project and once its completed, your blank project would be opened in Android Studio


This completes our article on creating a sample project in Android Studio. Please get in touch with us if you face any issues while creating a sample project or if you see some screenshots are not in sync to due to any reasons. Your feedback would help us improve our articles and will make it more useful for our readers. Check out more articles on our Appium Tutorial for a step by step guide to setup Appium using Android on your machine.