

If you have been working on Appium or have been actively following Appium updates, then you might be aware that a newer version of Appium was released in October 2016 (Appium v 1.6.0). This latest release was an important milestone because it added support for new iOS and Android frameworks and it also introduced support for Windows desktop applications and You.i TV. In this article, we will provide detailed step by step guide for Appium installation using which you will be able to download and install Appium’s latest version (version 1.7.2 in this case).
The latest version of Appium is Appium 1.7.2 (which was released on 04 Jan 2018). However, you can use this article for previous versions of Appium as well. The steps would remain the same (the content in the screenshots might be bit different based on what version you are using)
Are you looking for complete Appium setup from scratch? Use our step by step Appium Tutorial to setup all the tools, inspect elements on your mobile app and write your first test script.
Update [04 Jan, 2018]: Appium 1.7 is now available in GUI form as well. Check out our Appium Desktop app article for details
Before we begin, please note that this article doesn’t cover the entire Appium setup from scratch, using which you can start automation of your test scripts (the entire setup is covered in our Appium tutorial series, as mentioned in the yellow box above). This article just covers the download and setup of Appium 1.6/Appium 1.7 on a Windows machine.
Why download or upgrade to Appium 1.7?
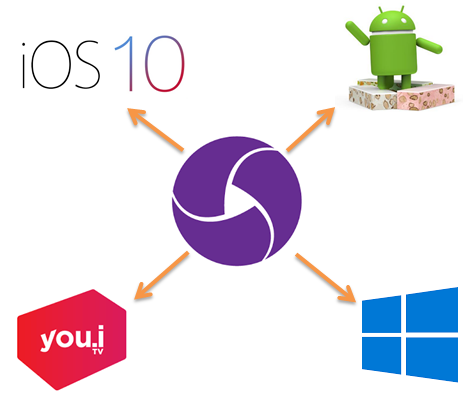
If you are new to Appium and downloading it for the first time, or if you are already working on some previous versions of Appium, then you would be wondering why you should switch to the latest version of Appium rather than sticking with older versions some of which come with GUIs as well. Well, the most important reason to use the latest version of Appium is that it supports newer versions of iOS and Android. Appium 1.6.5 fixes multiple issues with the previous versions of Appium & supports iOS 11 and Android 7.1 (Nougat). So if your device or emulator uses any of these latest versions, then you have to switch to Appium 1.7’s latest version. Other than this, the newer version of Appium provides –
- XCUITest support for iOS 9.3 and iOS 10
- UI Automator 2 support for Android
- support for Windows desktop applications and You.i TV
- … and many other improvements and bug fixes

Different ways in which you can download and setup Appium
A very important thing to keep in mind about Appium versions is that they come in 2 different flavors – some Appium versions are GUI based and some are non-GUI based (ie operated from command prompt). If you have worked with Appium 1.6.3 or the versions before that, then you would have observed that all the Appium versions were not GUI based. Only few Appium server versions were GUI based, and to work with the rest of them, you would have had to use command prompt or Node js.
Fortunately, this is not the case any more. Starting from Appium 1.6.4 beta, all the Appium versions have had a GUI version well.
Installing Appium 1.7.2 or any Non-GUI version of Appium
Installation of non-GUI version of Appium is a 2 step process. The first step is to install Node.JS. The second step is to use Node.JS to install Appium.
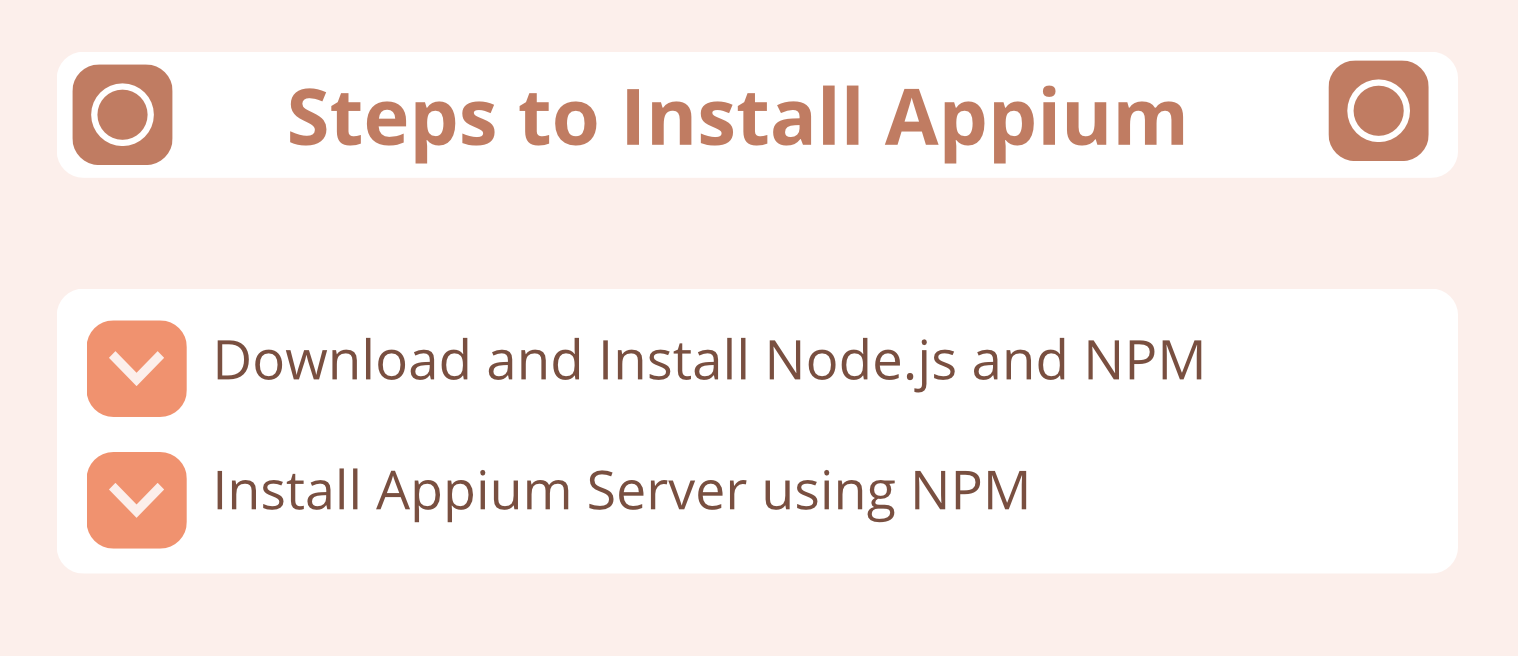

Let’s have a look at each of these steps in detail.
Step 1 – Download and Install Node.JS
Follow the steps given below to download and install Node.JS. If you have already installed Node.JS, then you can skip this and move to the next section.
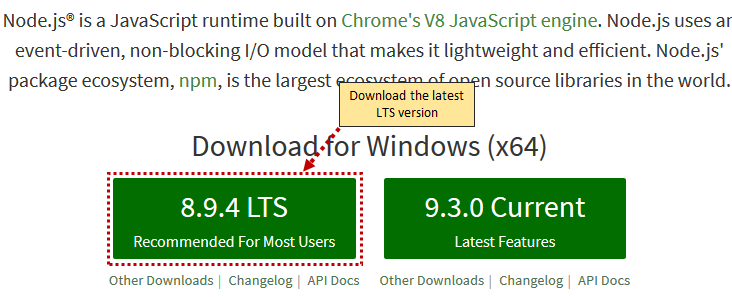
1. Open Node.JS website using this link – https://nodejs.org/
2. Click on the LTS version’s link to download the latest version.
Note: The screenshots are shown for the latest version (v8.9.4, as on 9 Jan 2018). If you see a different latest version, please go ahead and download it. The steps given below would remain the same, even though the screenshot content might change a bit.

3. Click on Save File to save the msi file on your machine


4. Open the msi file to start the installation process
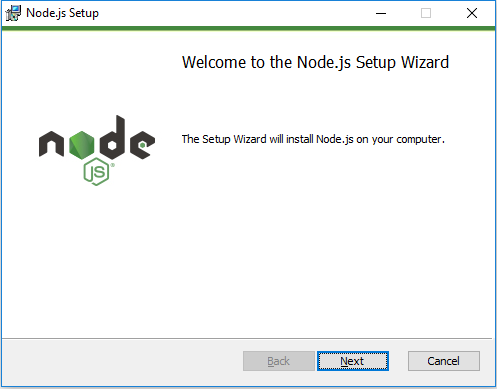

5. Click on Next button, accept the License Agreement, select default values in all the screens to install Node.JS.
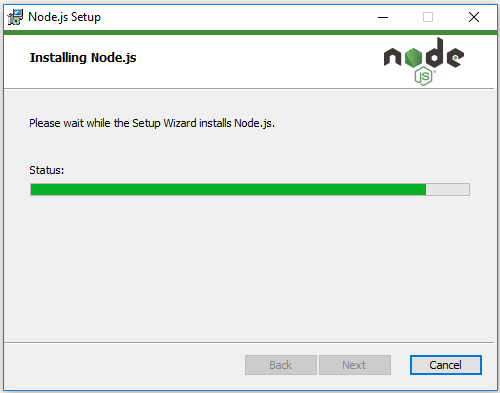
6. The installation would proceed as shown below. Once its complete, click on Finish button

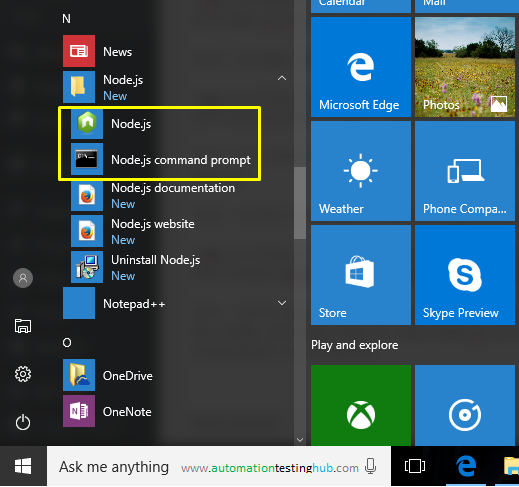
7. To verify that the installation was successful, open Start menu. You will see a folder for Node.js. Expand the folder and check that it shows Node.js and Node.js command prompt among other things. This shows that your installation is successful

This completes the process of download and installation of Node.js. Let’s now check the steps on how to install Appium.
Step 2 – Install Appium using Node.js
Unlike Node.js, we don’t have to download Appium first to install it. We will just run the command in Node.js, and it will automatically download and install Appium. Let’s see how this is done –
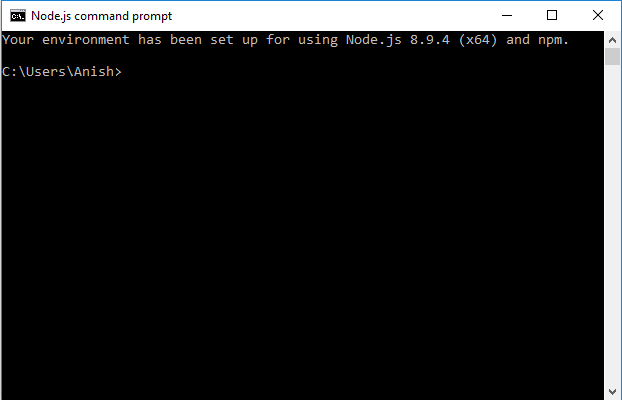
1. Go to Start menu > My Programs > Node.js folder and open Node.js command prompt.

2. Once you have opened the command prompt, you have to just provide the command to install Appium. There are 2 different variations in which you can provide this command –
- Variation 1 : Install the latest version of Appium – With this approach, Node.js will always install the latest version. The command that you can use for this is – npm install -g appium
- Variation 2 : Install a specific Appium version – Here, you can install any version of Appium. To do this you will have to provide the version number of Appium together with the command we mentioned above. Suppose, you want to install version 1.7.1, then the command that you will use is – npm install -g appium@1.7.1
Since we will be installing the latest version of Appium, we will use variation 1
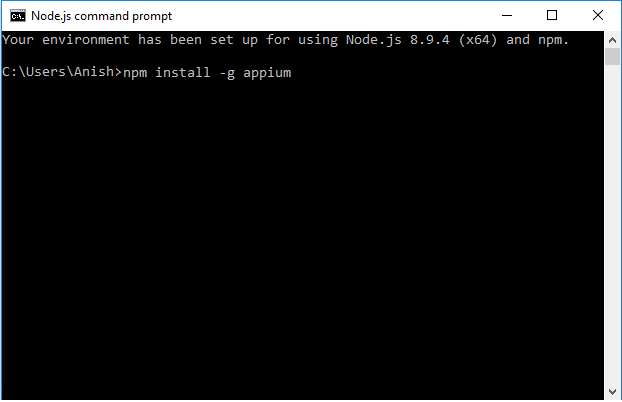
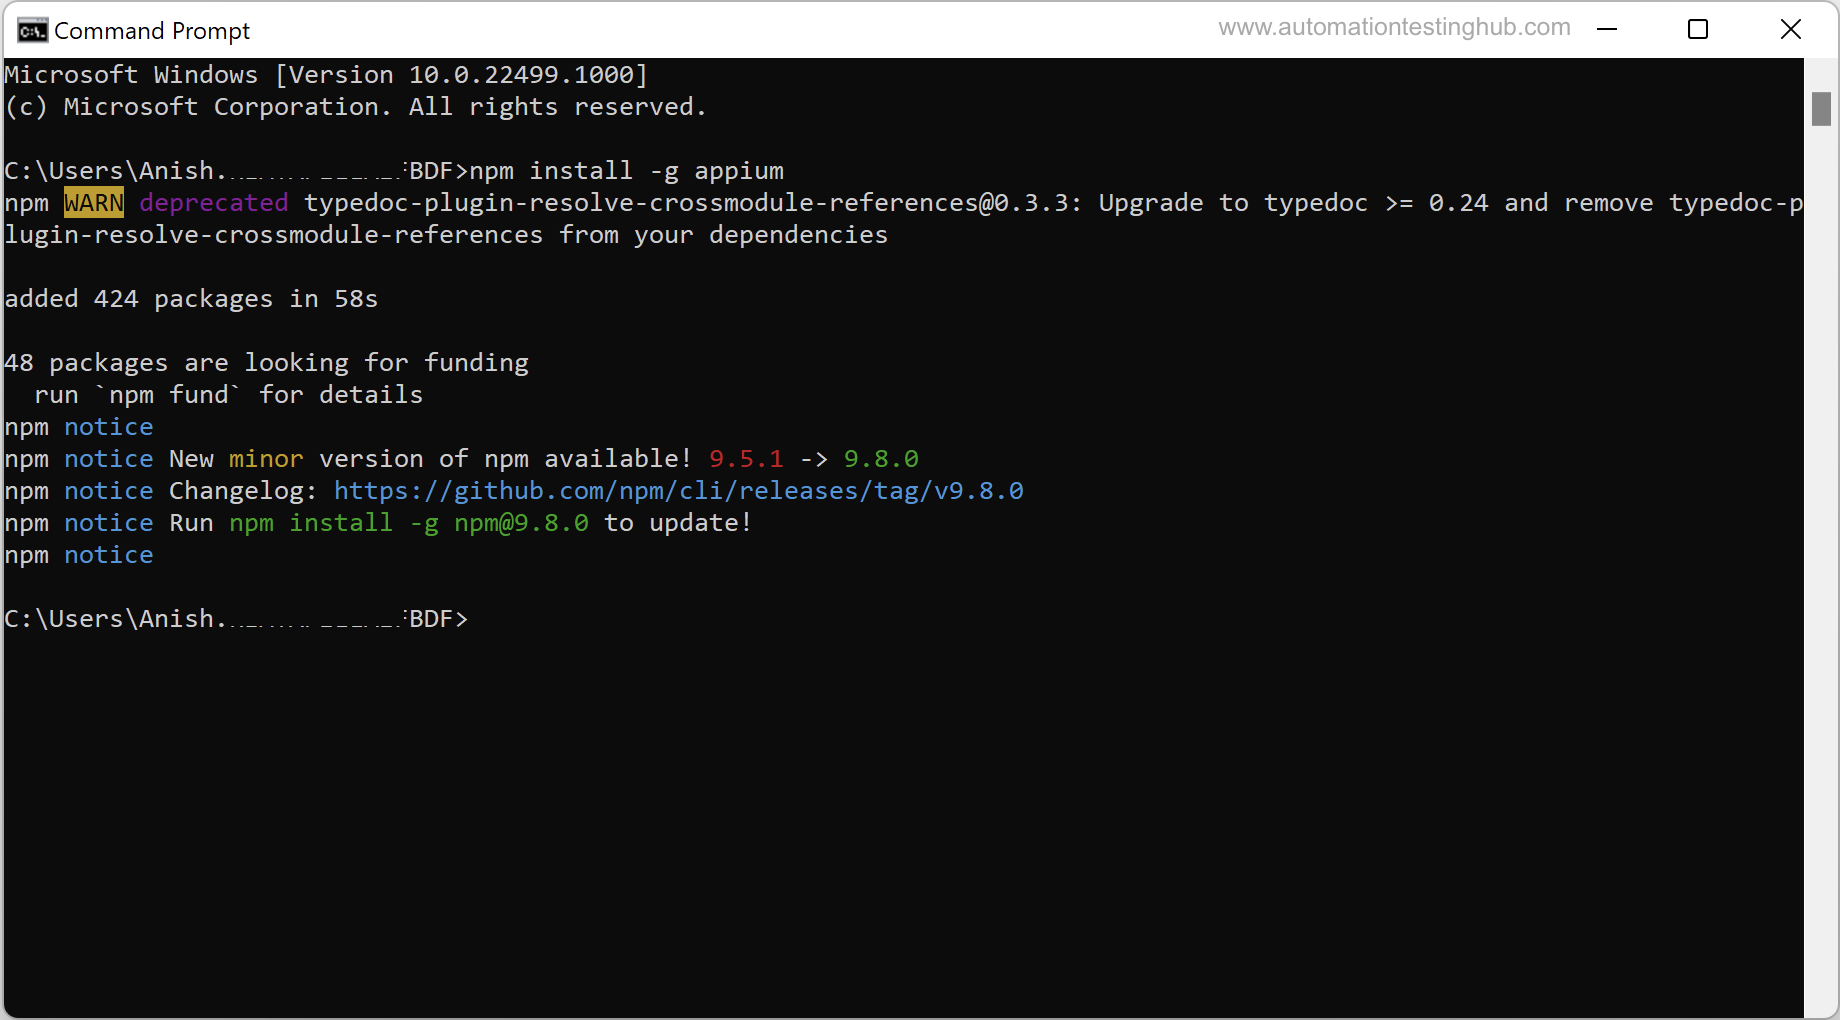
3. In Node.js command prompt, type this command – npm install -g appium and hit Enter
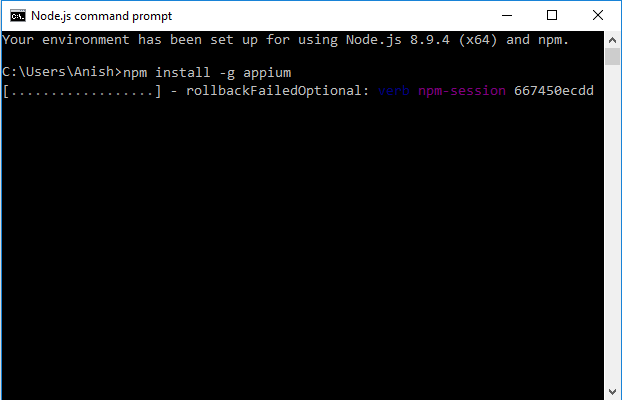
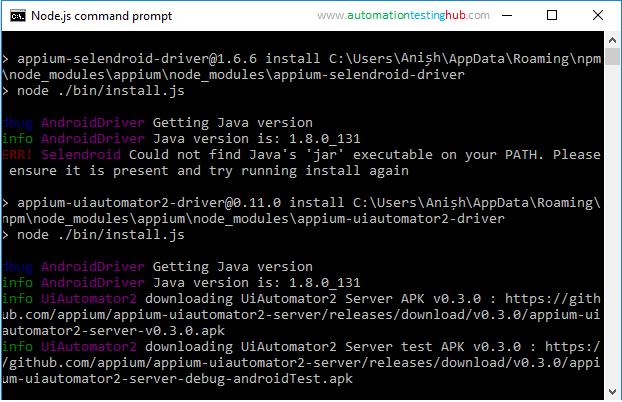
4. Once you hit Enter, you will see that Node will start installing Appium (you might have to wait a few seconds to see the actual installation happening). Some screenshots of the installation steps are given below –
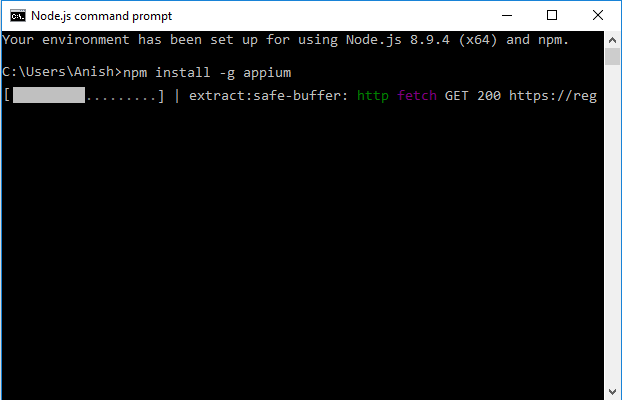
NPM adding few dependencies for Appium…
5. Once the installation is complete, you will see that command prompt screen as shown in the below screenshot
6. As a last step, to check that Appium (and that too it’s latest version) has been installed, run this command : appium -v
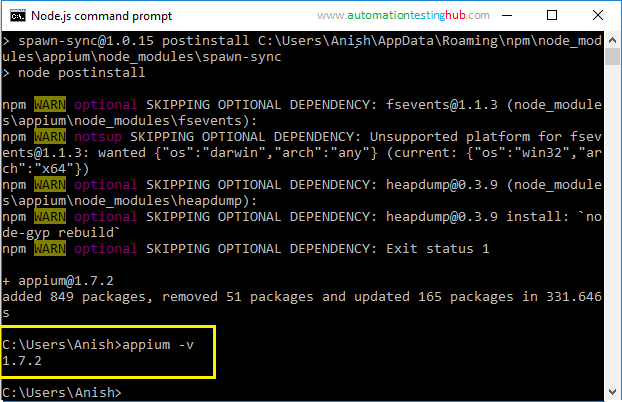
In the above image, you can see that running Appium -v command shows the version number as 1.7.2. This confirms that the latest version of Appium has been successfully installed on your machine.
Starting Appium server from Command Prompt
Since you have downloaded a non-GUI version of Appium, the only way you can start the server is through command prompt. You can either use the default windows command prompt or the Node.js command prompt, which we used in the previous section to install Appium.
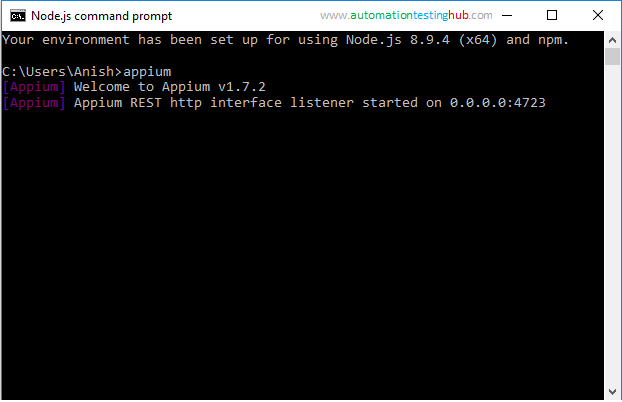
Once you open command prompt, you can simply run command – Appium, which will start the Appium server as shown in the below image. Please note that this command starts Appium on the default address and port which is 0.0.0.0:4723
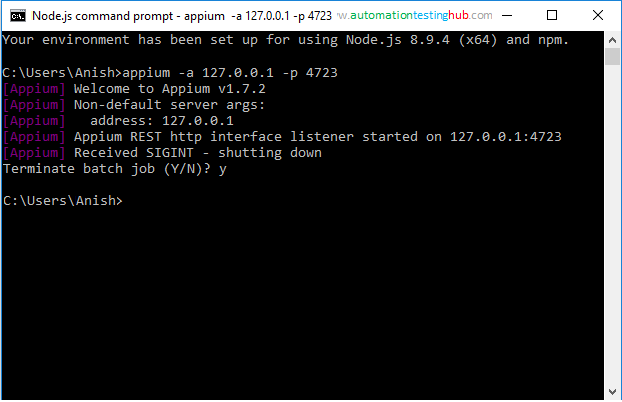
If you want to run Appium on a specific server and port of your choice, then you can provide it with the command like this – appium -a 127.0.0.1 -p 4723. This command starts appium server on address 127.0.0.1
Stopping the Appium server
Stopping of the Appium server is a two step process as mentioned below –
1. In the command prompt window, press the keys Ctrl and C. This will show the Terminate batch job(Y/N) message as shown below

2. Press ‘Y’ and then hit enter. This would stop the Appium server
This completes the article on downloading and installing non GUI version of Appium 1.7.x. Let us know if you found this article helpful and the steps easy to understand. Your feedback would help us improve our content and make it more useful for all our readers.
Related: If you use the non-GUI version of Appium, then you would also be interested in learning how you can start and stop Appium server from Java. Have a look at this article for complete details – Start and Stop Appium server from Java
If you enjoyed this article, like us on Facebook. We share lot of additional information on our Facebook page. See you there!!
