
Welcome to the final article in part 1 of our Cucumber Tutorial series. In the previous article, you learnt how to create a step definition class. In that article, we didn’t add any Selenium code to the class. Due to this, the script didn’t perform any actions on any website (something that your selenium tests would normally do).
Hence in this article, we will first add some selenium logic in our project and then we would integrate this code with the step definition class. Let’s see how this can be done.
Note: This article is a part of our Cucumber Tutorial series. Head over to our Selenium Cucumber Tutorial main page for the step by step cucumber setup guide
Which approach to be used to write selenium code?
You can use any of the commonly used methods such as Page Object model, Page Factory model or any other hybrid approach to write your selenium code. There’s just one important thing that you should be careful about. Make sure that you keep Selenium and Cucumber implementation in separate classes. This way your code will be much easier to understand and maintain.
For this article, we will keep our approach very simple.
- Firstly, we will create a BasePage where we will just add the WebDriver. This way, we will be able to pass this WebDriver reference wherever required
- Then we will create a separate java class where we will add all selenium methods
- Then we would then call these methods in the step definition class
You will be able to easily understand this approach once you start implementing it. So, let’s first work on the BasePage class.
Create new java class and add WebDriver reference to it
Follow the steps given below to add this new class –
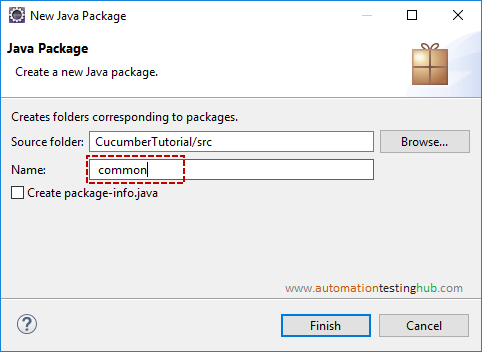
1. We will first create a new package. To do this, right click on src folder and select New > Package


2. Give package name as common and click on Finish button

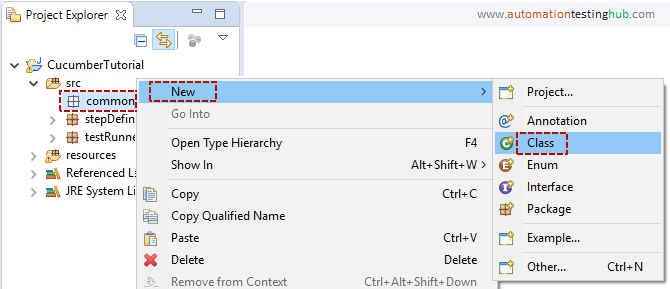
3. New package would be successfully added in src folder. Now, right click on this package and select New > Class

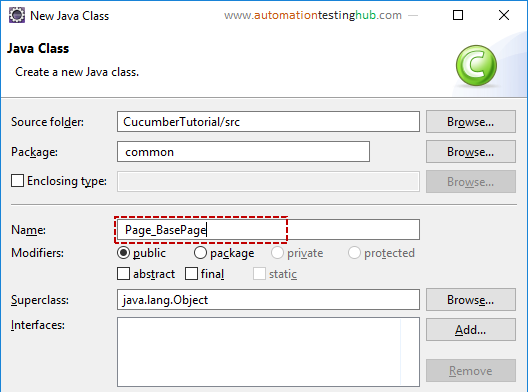
4. Enter class name as Page_BasePage and click on Finish button

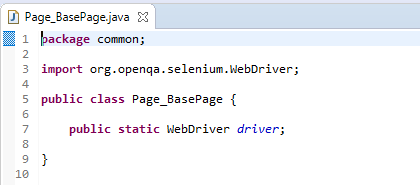
5. Let us add the WebDriver reference to this new class. You just need to add the below line of code to this class
public static WebDriver driver;
6. The entire class would now look like this

Our work with BasePage class is now complete. Let us now create one more class where we will add the Selenium logic.
Create new java class to add Cucumber Selenium code
Follow the steps given below to create new java class –
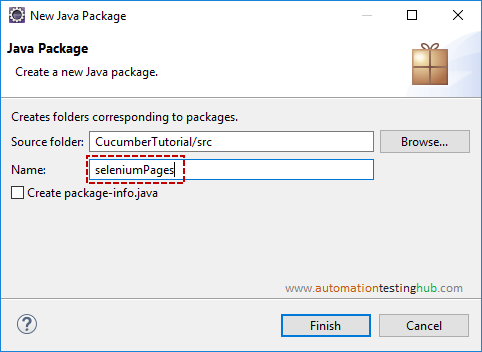
1. Here also, we will first create a new package. To do this, right click on src folder and select New > Package
2. Give package name as seleniumPages and click on Finish button
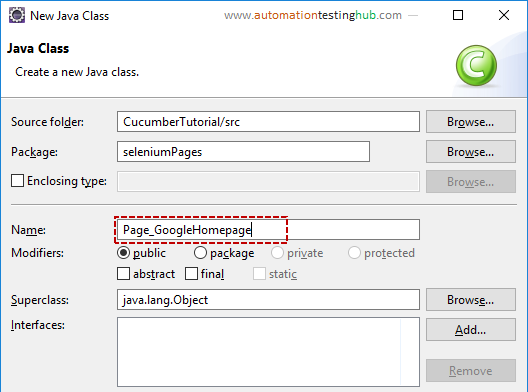
3. New package would be successfully added in src folder. Now, right click on this package and select New > Class
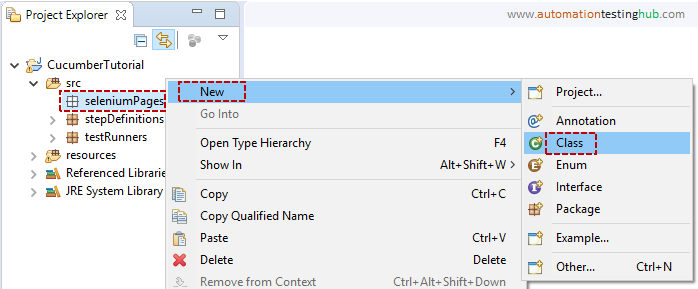

4. Enter class name as Page_GoogleHomepage and click on Finish button
Java class would successfully get created. Let us now add the Selenium code in this class.
Add Selenium code for Google Homepage test
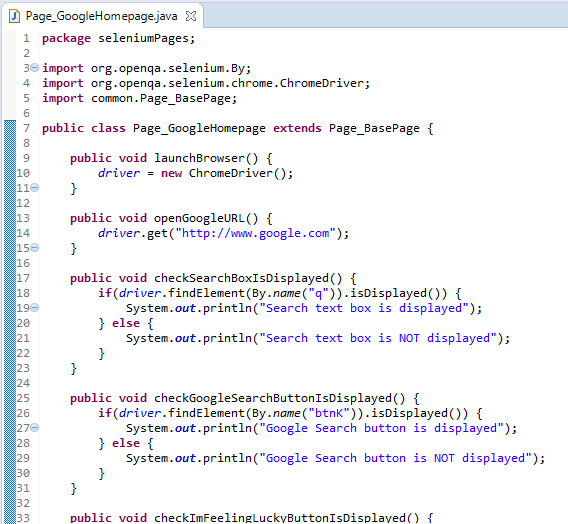
For this article, we have already created the selenium code which you can directly use in your project. To do this, open Page_GoogleHomepage class. Now, delete all the content that’s already present in that class. Then copy paste the entire code that we have given below.
Important Note: In this below code, you will notice that we have not created WebDriver reference here. This class extends Page_BasePage class and thus, it gets the reference to WebDriver instance.
package seleniumPages;

import org.openqa.selenium.By;
import org.openqa.selenium.chrome.ChromeDriver;
import common.Page_BasePage;

public class Page_GoogleHomepage extends Page_BasePage {

	public void launchBrowser() {
		driver = new ChromeDriver();
	}

	public void openGoogleURL() {
		driver.get("http://www.google.com");
	}

	public void checkSearchBoxIsDisplayed() {
		if(driver.findElement(By.name("q")).isDisplayed()) {
			System.out.println("Search text box is displayed");
		} else {
			System.out.println("Search text box is NOT displayed");
		}
	}

	public void checkGoogleSearchButtonIsDisplayed() {
		if(driver.findElement(By.name("btnK")).isDisplayed()) {
			System.out.println("Google Search button is displayed");
		} else {
			System.out.println("Google Search button is NOT displayed");
		}
	}

	public void checkImFeelingLuckyButtonIsDisplayed() {
		if(driver.findElement(By.name("btnI")).isDisplayed()) {
			System.out.println("I'm Feeling Lucky button is displayed");
		} else {
			System.out.println("I'm Feeling Lucky button is NOT displayed");
		}
	}
}
The class would look something like this

With this, we have the selenium code which will drive our test. The only thing left to do now is to integrate this code with the step definition class. We are doing this integration in the next section.
Integrate selenium code with Cucumber step definition class
This step is fairly straightforward, and you can do this by just calling the selenium methods in the step definition methods. The steps for this are given below –
1. Open the step definition class – StepDefs_GoogleHomepage
2. Remove the System.out.println() statements from each method
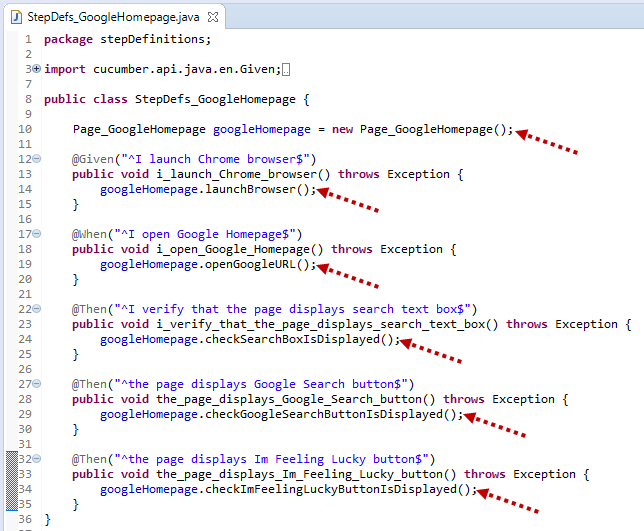
3. Create an object of Page_GoogleHomepage class and then call the correct selenium method from each step definition method as shown below –

In the above image, you can see that we are calling the matching selenium method in each step definition method. This way, we can link all the step definitions with actual selenium logic.
Run the test script
Let us now run the test script and make sure that everything works fine. To do this, simply open TestRunner_GoogleHomepage class, then right click inside the test and select Run As > JUnit Test. You will see that the script opens Google Homepage and verifies if the elements are displayed on the page. If your test script runs fine without any errors, then it means that you have correctly linked selenium code to your step definition class.
Update 1: If you see that your script fails with this error – “The path to the driver executable must be set by the webdriver.chrome.driver system property”, then it means that you would need to setup ChromeDriver as well. This issue is not related to Cucumber, but its a minimum requirement to get selenium up and running on Chrome. To resolve this error, you can follow this article to setup ChromeDriver – Selenium ChromeDriver setup
And with this, we wrap up part 1 of our selenium cucumber tutorial. The structure of scenario in the feature file and the selenium code that we have used here is just an example to present all the concepts in a manner which can be easily understood.
Our suggestion for you would be try out other automation scenarios from your project and then implement it in the way we have mentioned. You can also make changes to how the selenium code is written. This way, you will get a better understanding of how to implement different scenarios in Cucumber BDD format.
What’s next?
As of now, we have only completed part 1 of our tutorial series. This was just the beginning where you learnt about setting up the basic cucumber structure. Next, we will work on part 2 of this tutorial series, where the main focus would be some core concepts such as – data driven tests, scenario outlines, examples, hooks and few other things.
Please check our Cucumber testing tutorial page for next set of articles on Cucumber BDD