
Welcome to the world of automation testing with Selenium!!! This is a how-to guide which would help you download and install Selenium WebDriver with Eclipse.
Update – 18 May, 2018: We strive to do our best to provide you with the most up-to date content. Keeping this in mind, we have updated this article to help you download and install Selenium Webdriver 3.12.0
There are many different ways in which you can download and install Selenium WebDriver. This article will use the bare minimum tools/components that you will need to install the latest version of Selenium. When you work with actual frameworks, you will need to use many more components and jar files. We will come to the frameworks when we start our Selenium tutorial series, but for now let us focus on the basics and start with the download and installation process.
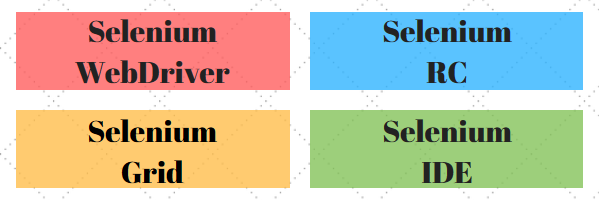
Have you read our article on Selenium Basics yet? It contains some good to know information, which would help you get some general insights about different Selenium tools. Read more about it here: Selenium Basics – The very Beginning
Download and Install Selenium – What all items you need
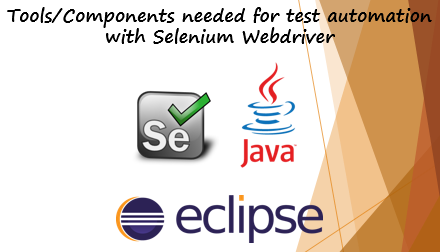
To work with Selenium Webdriver and write your test scripts in Java, you would need –
- Java 8+ installed on your machine
- Latest version of Eclipse
- Latest version of Selenium Webdriver

Java : You can write Selenium scripts in many languages such as Java, C#, Python, Ruby, PHP etc. Since we are writing this tutorial on how to use Selenium with Java, so you need to have Java installed on your machine. Also, the latest version of Selenium needs Java 8+ to work, so have to check if you have Java 8 installed on your machine.
Selenium Webdriver : These are the actual selenium JAR files/libraries which you will use while writing your scripts
Eclipse : Eclipse provides one of the most popular and free Java IDE (integrated development environment) which you can use to write your scripts. In simple words, Eclipse is the tool using which you will write your scripts.
Let us now start with the first step i.e. checking if you have Java 8+ on your machine.
Check if you have Java 8+ on your machine
One important change that is introduced in Selenium 3 is that it needs Java 8+ to run your scripts. This means that if you are using Java 7 or before, you will not be able to use the latest version of Selenium. The initial version of Java 8 was released in March 2014, so it is safe to assume that a majority of machines would already have one or the other version of Java 8.
But to be double sure, its a good idea to check if you have Java 8 installed on your machine. Although any version of Java 8 would work with the latest version of Selenium, but we always recommend to use the latest versions. Using the below link, you can check if you Java 8 installed on your machine. You can also update Java if you wish so.
After you have checked the version of Java on your machine, its time to download Eclipse IDE.
Download Eclipse
Perform the steps given in the below link to download and install the latest version of Eclipse IDE –
Download Selenium Webdriver
Follow the steps given below to download the latest version of Selenium WebDriver –
1) Open Selenium download section using this link – http://www.seleniumhq.org/download/
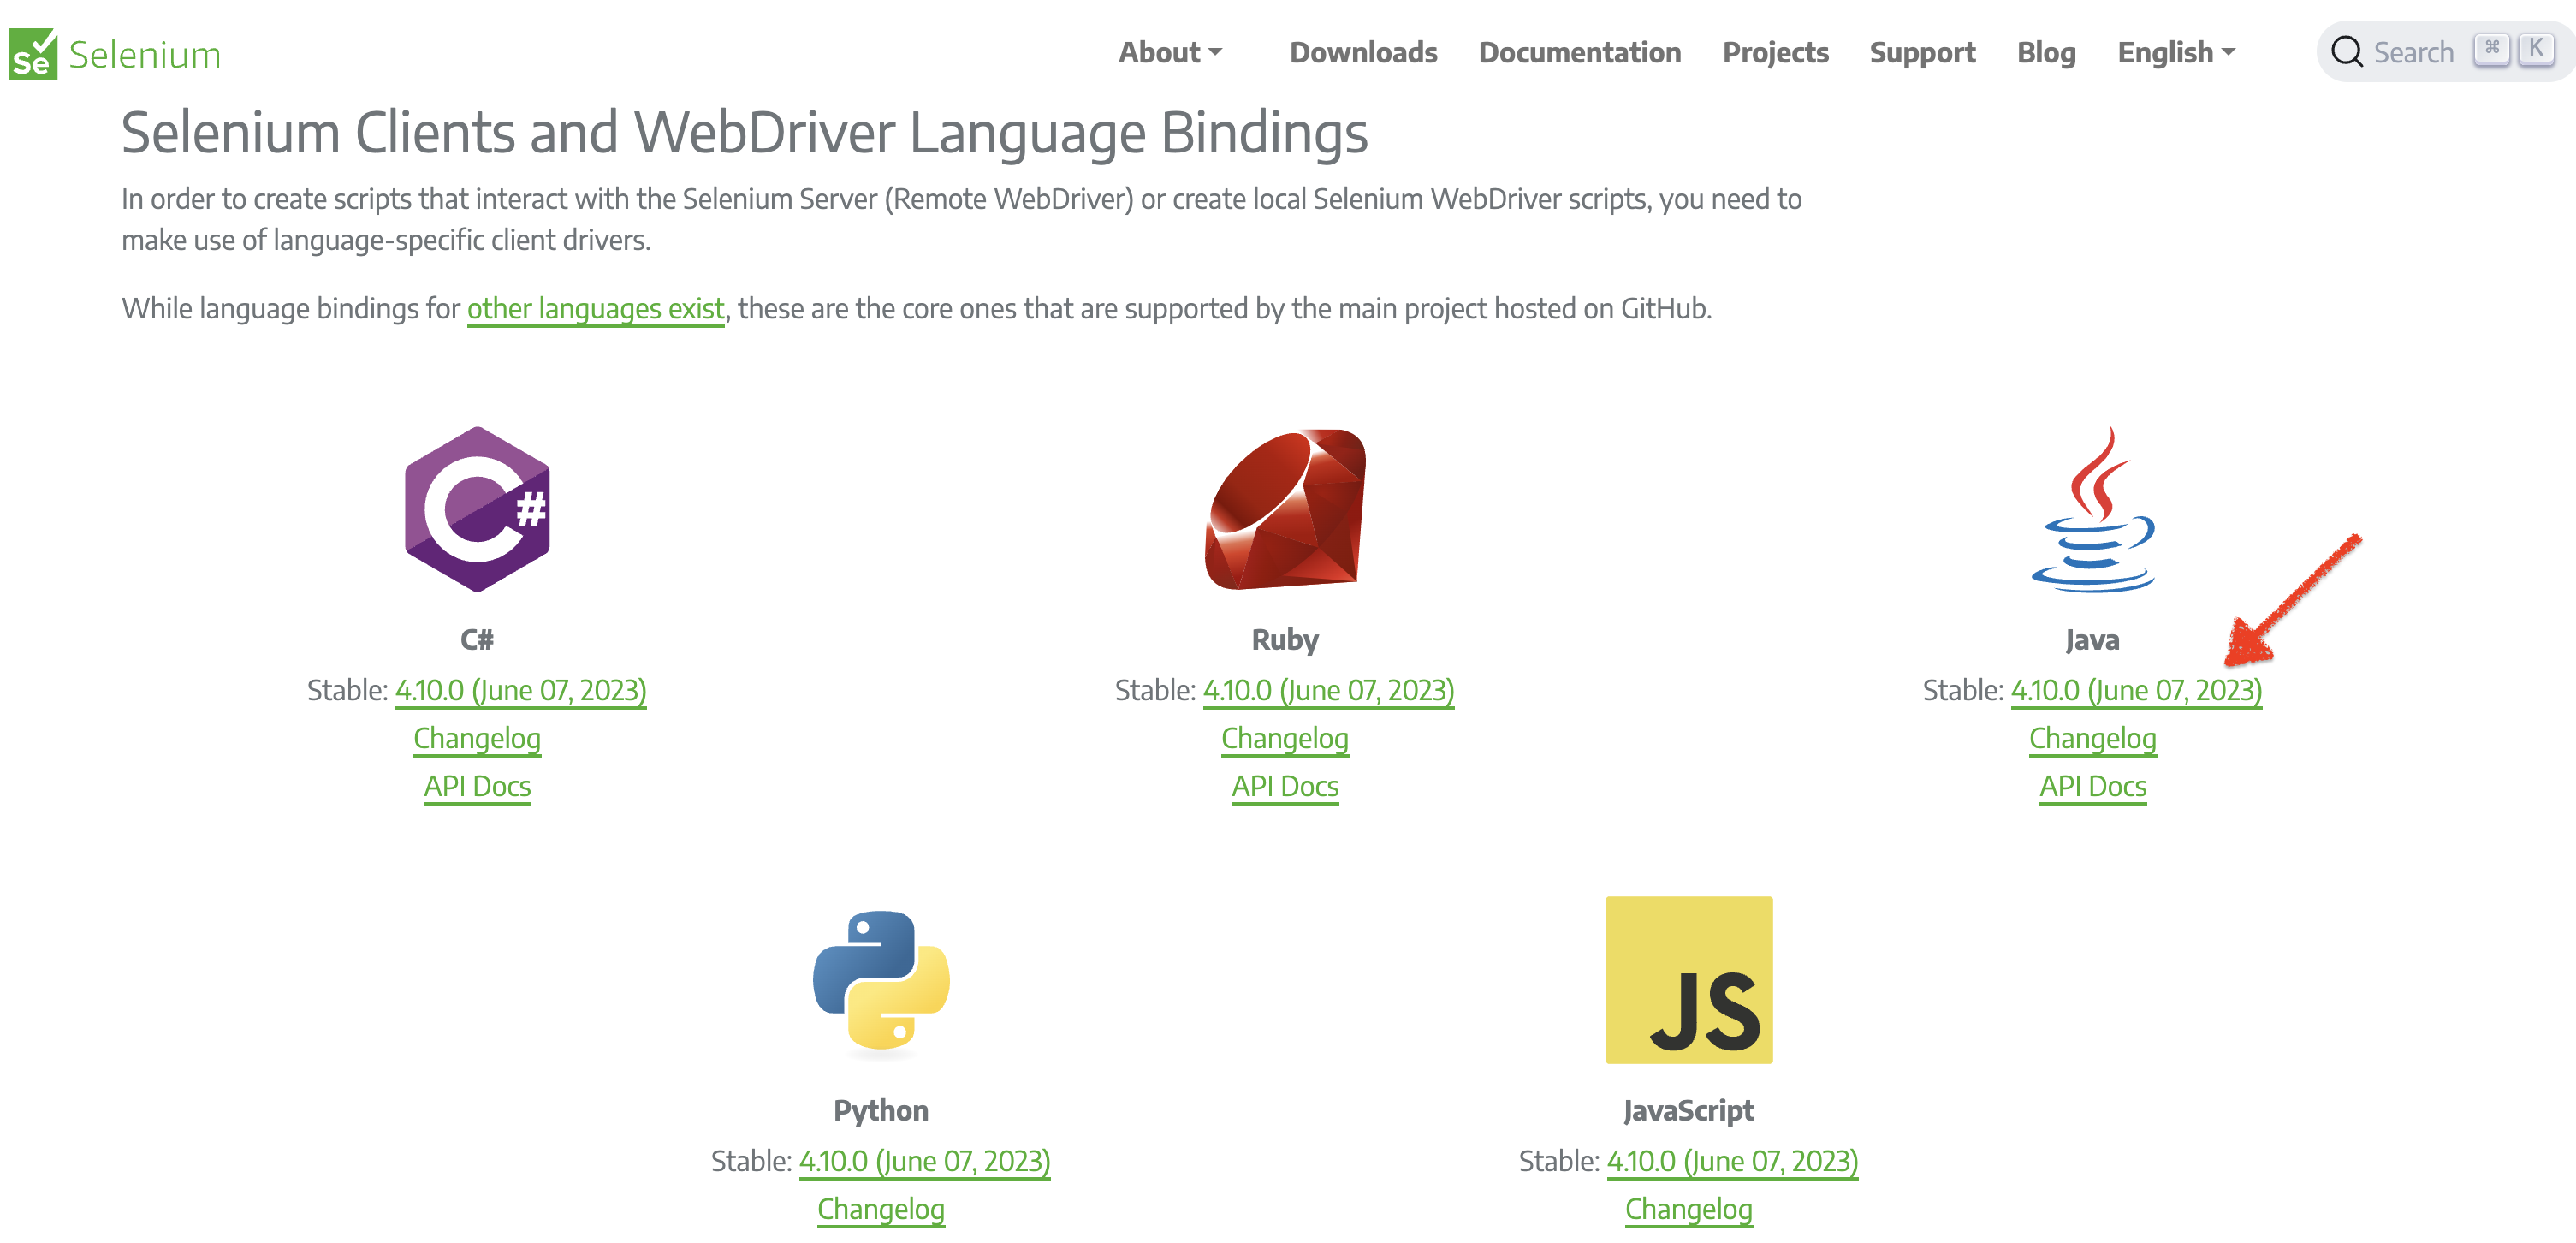
2) Scroll down a bit. You will see a section called Selenium Client & WebDriver Language Bindings. Here you will see download links next to different languages such as Java, C#, Ruby etc. Since we will be using Java with Selenium, you will need to download Java specific drivers. To do so, click on Download from the Java section

3) Selenium Webdriver JARs would start downloading. The file size is around 8.5 MB
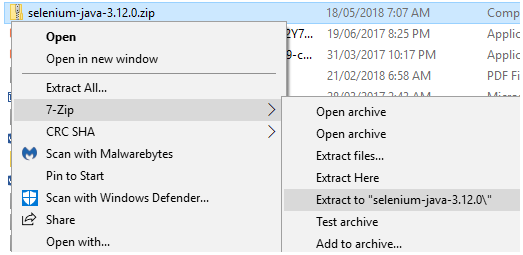
4) Once the file is downloaded, unzip it. We are using 7-zip to extract the files, but you can use any extractor of your choice

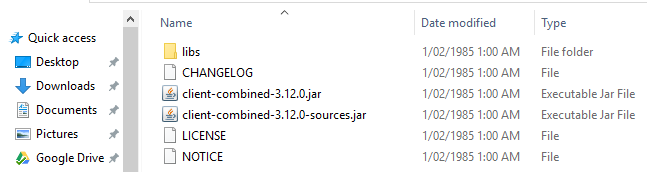
5) Open the unzipped folder. It would look something like this. The JAR file names might change depending on the version you are downloading. Generally speaking, you should find a libs folder and one or two other JAR files in the Selenium folder. You would also see some other files such as LICENSE, NOTICE etc.

With this, we have completed the download process of the latest version of Selenium Webdriver. Let’s now start with Selenium Installation
Configure Eclipse and Install Selenium
In software terms, there’s nothing like Selenium Webdriver installation because you don’t “install” Selenium like you do with other software. You just configure Selenium in Eclipse. But since Selenium install is the more commonly used term, we are also using it that way here. Let’s now start with the actual configuration process –
1) Open the location where you had unzipped the eclipse folder. Double click on eclipse.exe to open it


2) Eclipse would start opening and you would see the Eclipse logo
![]()

3) Next you would see Workspace Launcher popup box. You can either leave the Workspace location as the default value, or you can browse to any folder path you wish. For this article, we are leaving it as it is


4) Click on Ok button. Eclipse would start loading all the files. Once its done, you will see the Eclipse IDE Welcome page like this


In Eclipse, you will have to create a new project and then setup the dependencies (like adding the JAR files) before you start writing any scripts. This process has to be followed for any project that you work on with Eclipse or infact any other IDE.
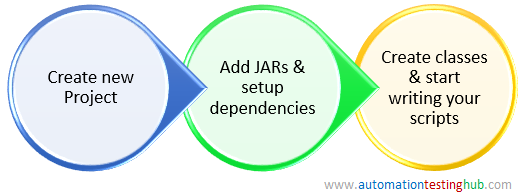

Let us now start with the creation of new Project.
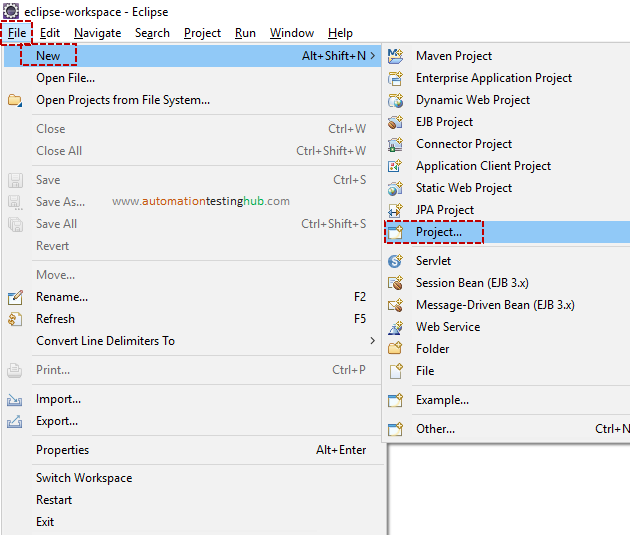
5) To create a new Project, click on File > New > Project…

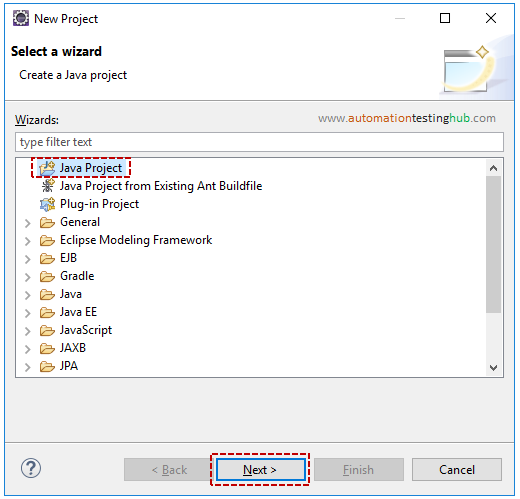
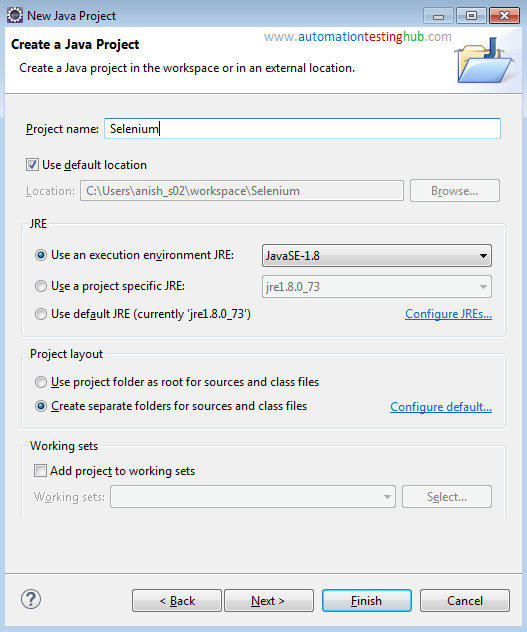
6) In the New Project popup box, select Java Project and then click on Next button

7) In the New Project Name popup box, write the project name as Selenium. Leave all the other fields as default and then click on Finish button

8) Click on Restore option at the top corner
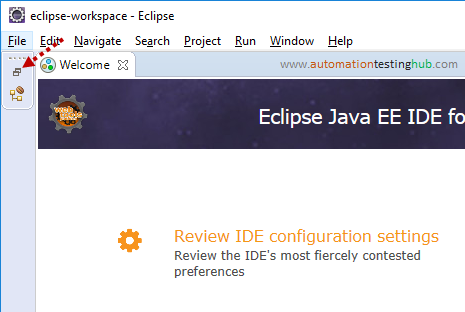

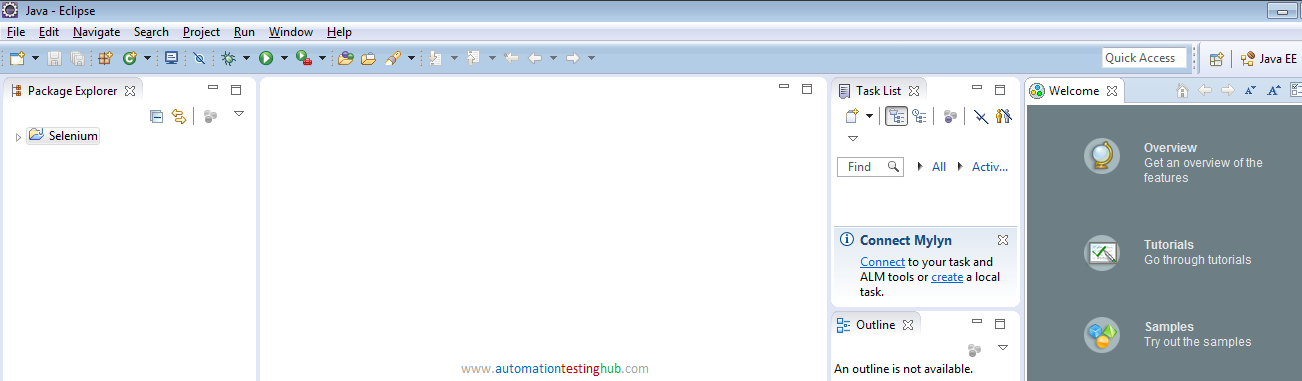
9) The screen would look something as shown below. Close the windows on the right side – Task List, Welcome etc so that the screen looks uncluttered

Add Selenium JAR files in Eclipse project
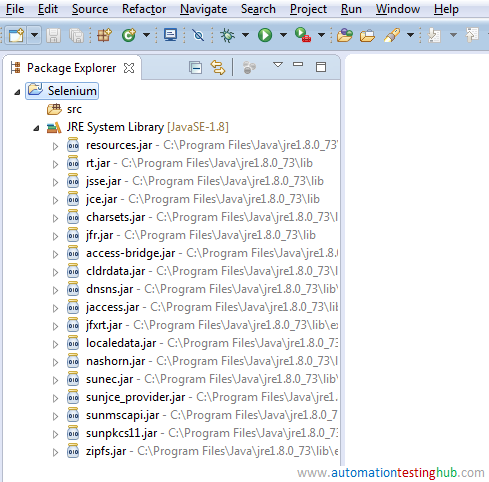
We have now created a new project. The next step is to add all the JAR files that we had downloaded from Selenium website. Before doing that, we will first have a look at the project that we created. Expand the project ‘Selenium’ that you had created. You will see two components or sub-folders. These are – src & JRE System Library. Expand JRE System Library also. You will see a list of JAR files already added by Eclipse. This is the minimum set of JAR files needed to run a Java program. So Eclipse adds it by default.

Don’t think much, if you are not able to understand this. We will cover these in detail in the upcoming articles. The only thing we have to do now is do add the JAR files that are required for Selenium. Follow the steps given below to do this –
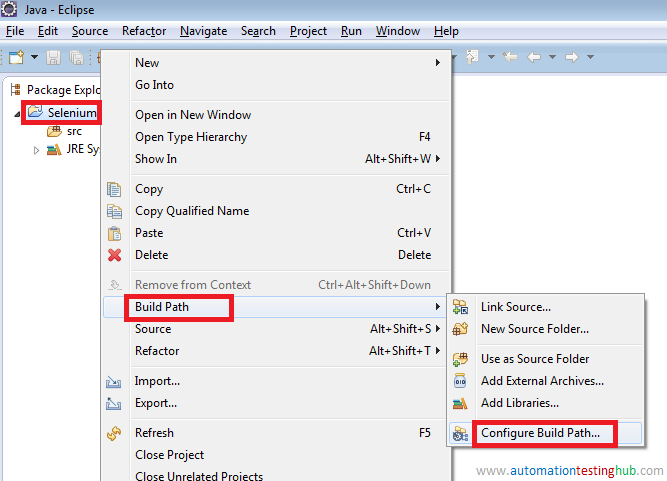
1) Right click on the Project. Then select Build Path > Configure Build Path…

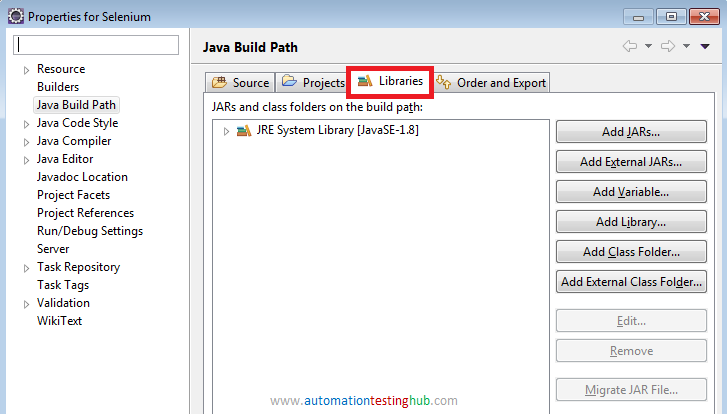
2) Properties window will get opened. In this window, click on Libraries tab

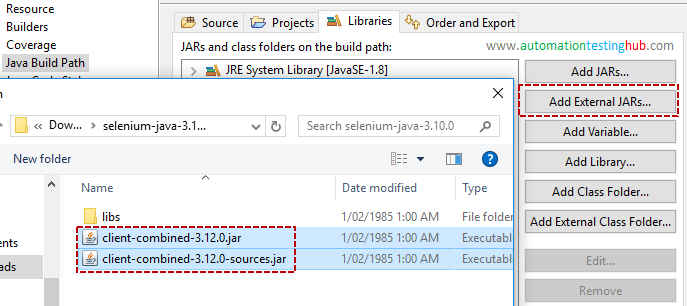
3) Click on Add External JARs button.
4) Now navigate to the folder where you had downloaded Selenium WebDriver JAR files. Select the selenium JAR (named client-combined…) and click on Open button

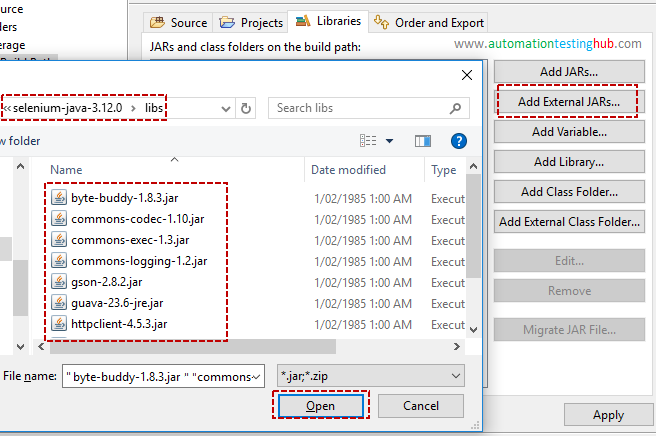
Do the same for all the JARs in the lib folder

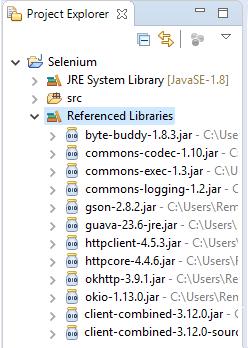
5) Click on Ok button in the Properties window. You will now notice that a new section called Referenced Libraries is displayed beneath the project folder. Expand Referenced Libraries and you will see that the same JAR files you added are displayed here

We have now added the JAR files and this technically completes the Download and Install Selenium part. We will just go one more step forward and write a basic test script. We will do this to make sure that the setup we have created works fine.
Write a sample Test Script to check that Selenium setup works fine
In Java, you will need to create a new class to write test scripts. And you club similar classes in packages. So let us now start with creating a package, then create a class in that package and write the sample script in that class.
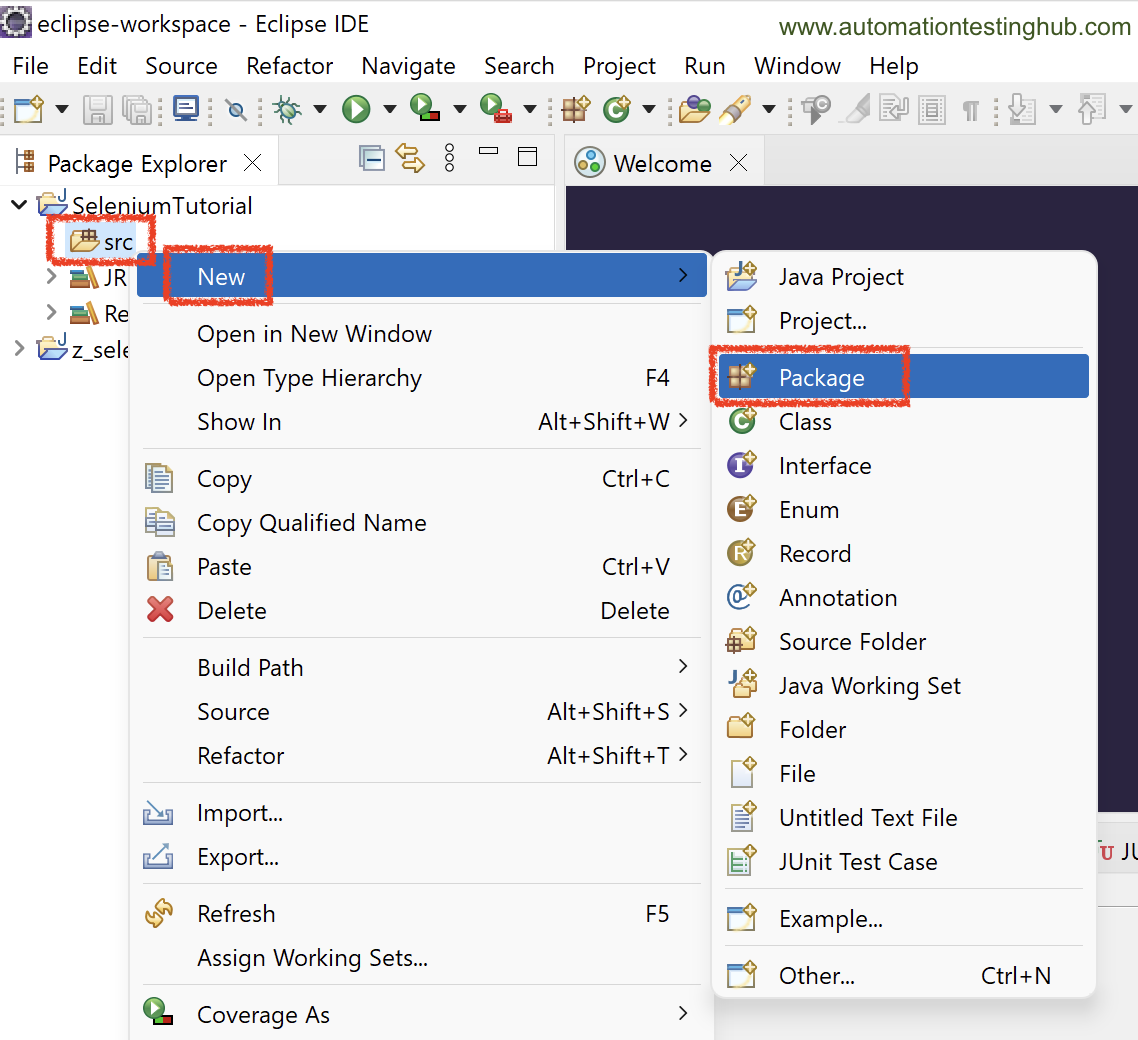
1) Right click on src folder. Then select New > Package

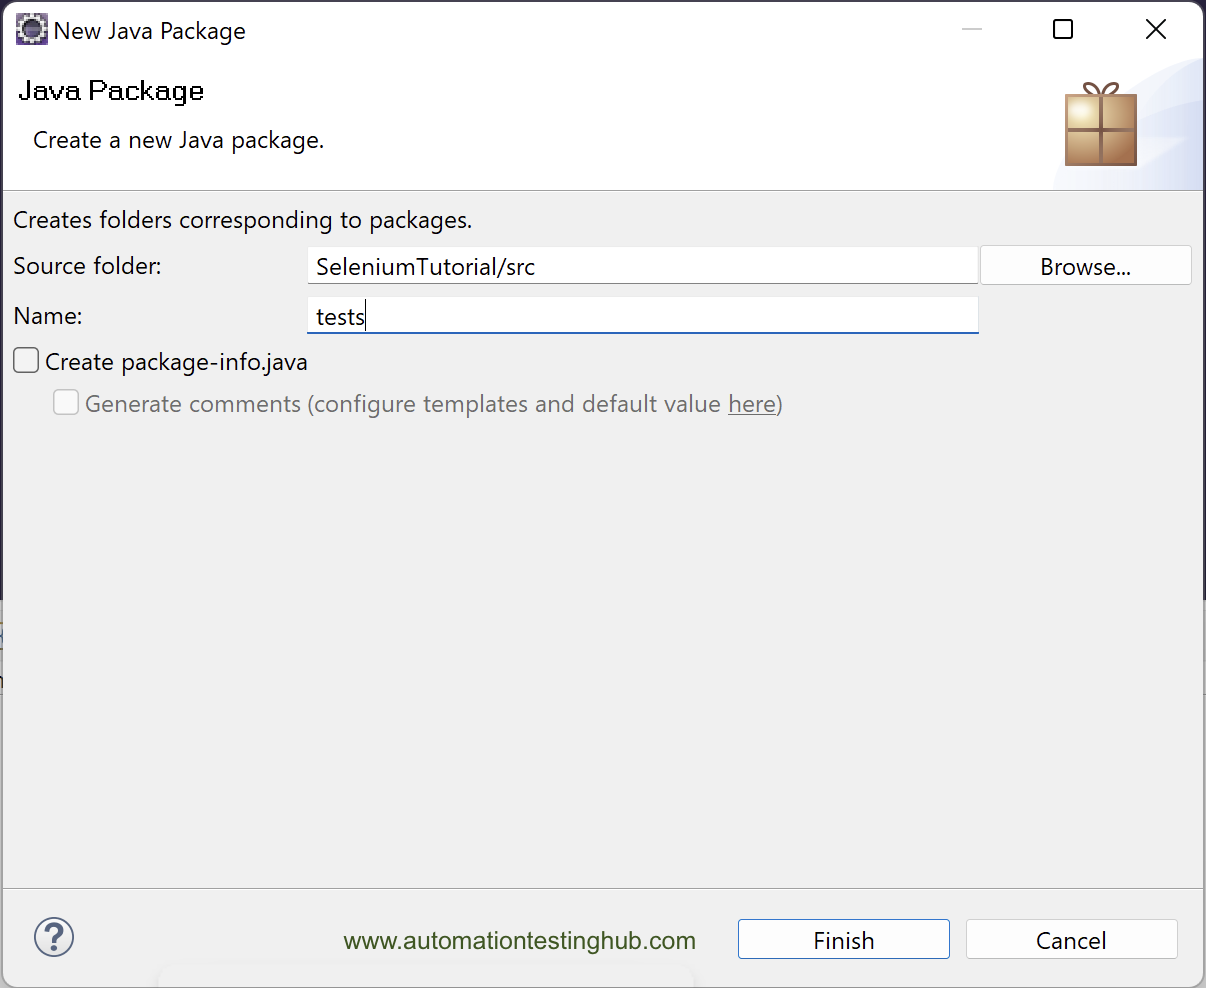
2) In the New Java Package popup window, enter name as firstPackage and click on Finish button.

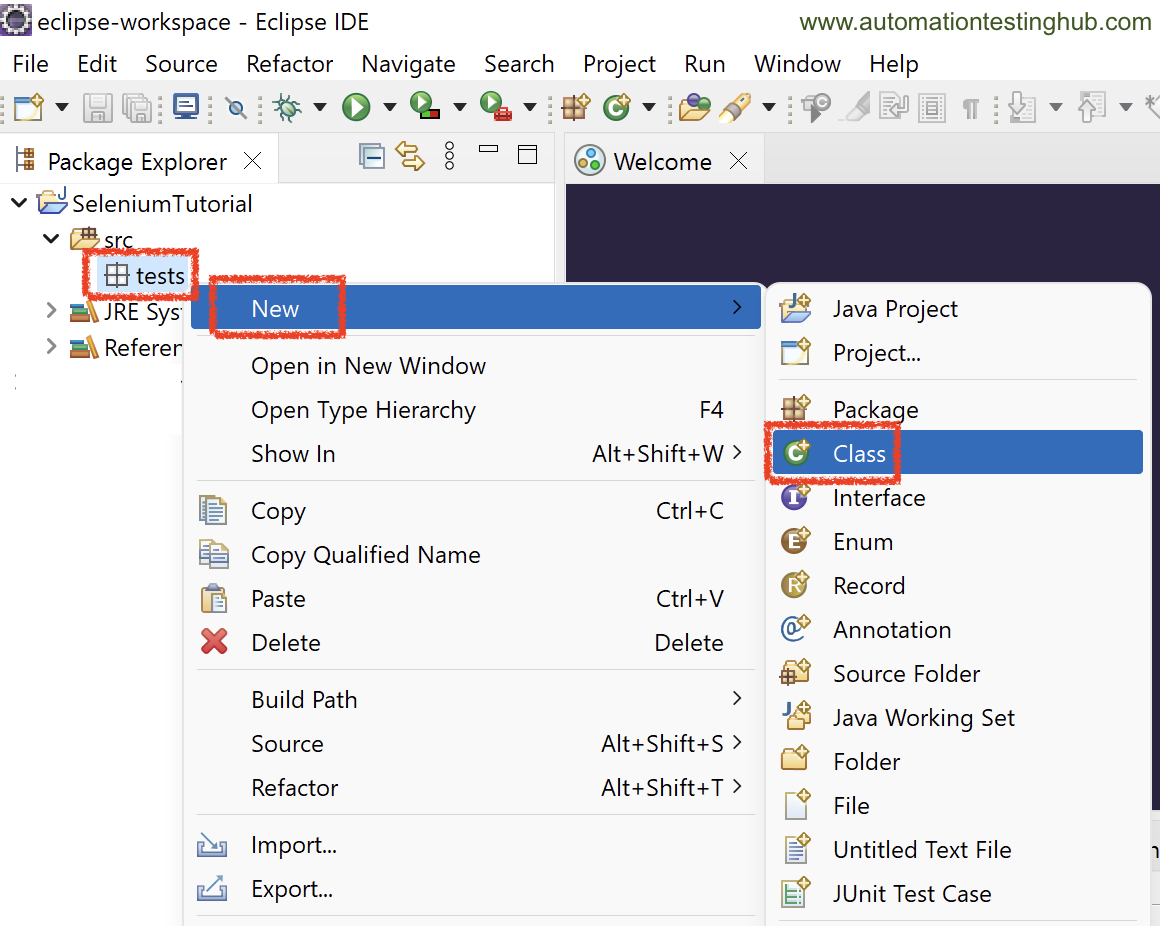
3) You will now see the package displayed under src folder. Right click on the package, and then Select New > Class

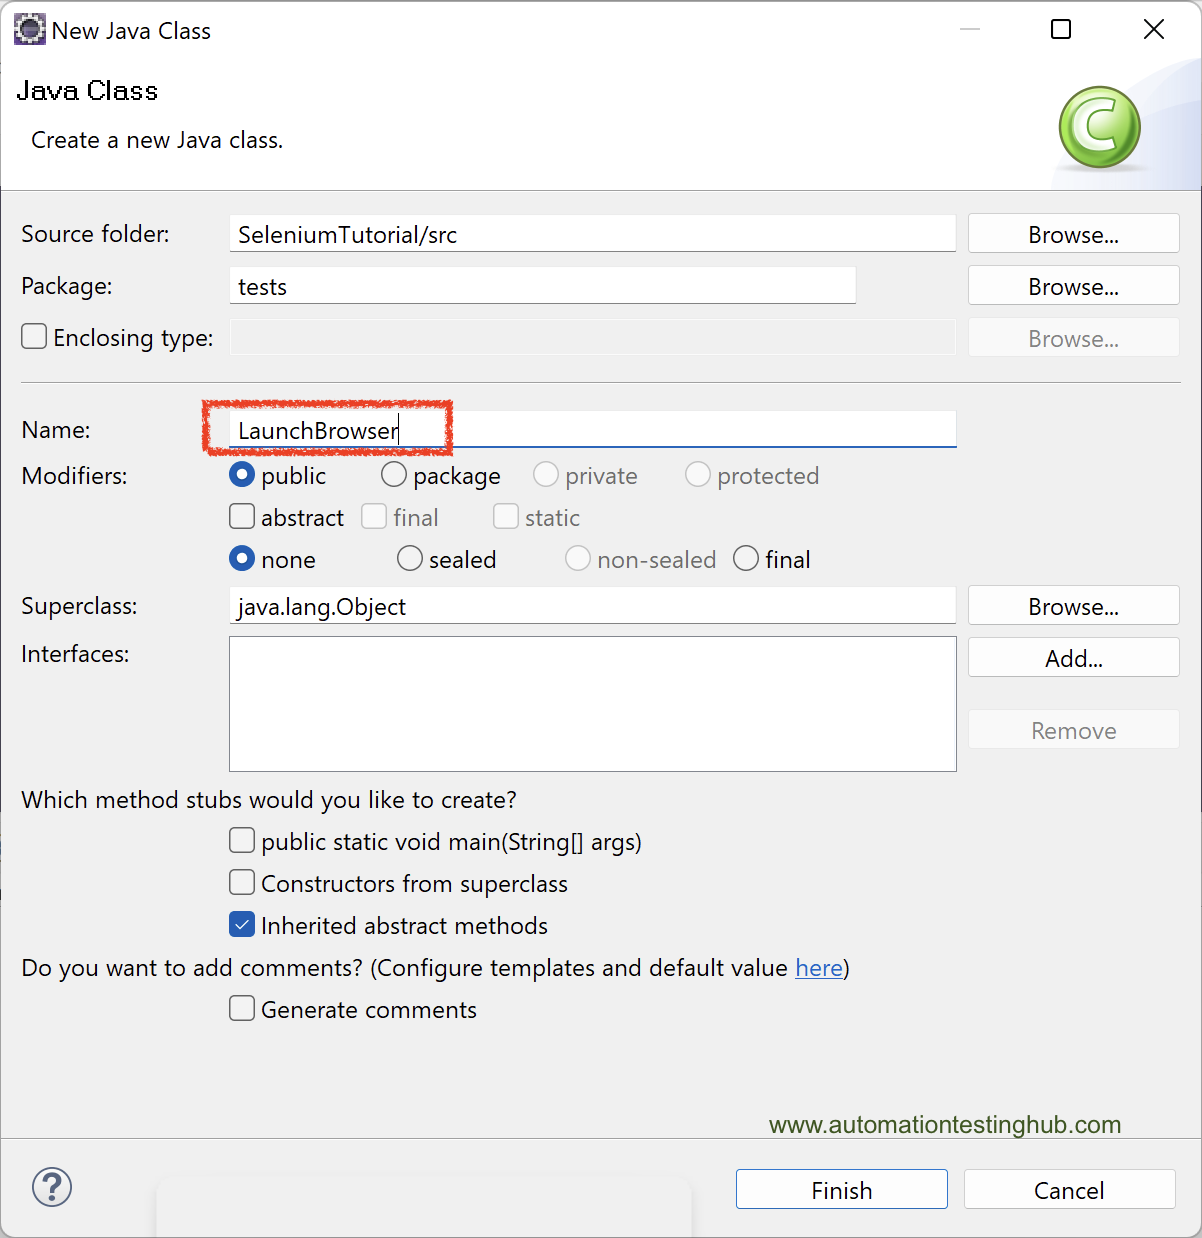
4) In the New Java Class popup window, write the name as FirstScript and click on Finish button

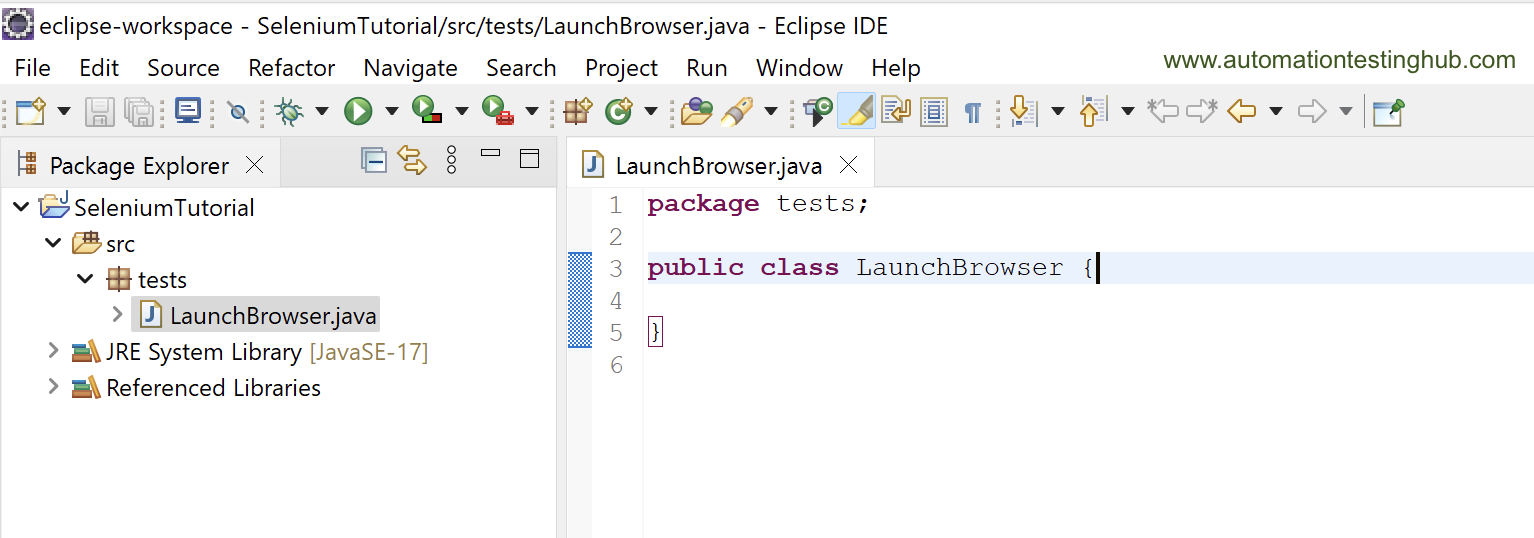
5) The new class is now created and it looks as shown below. This is where you would be writing your script

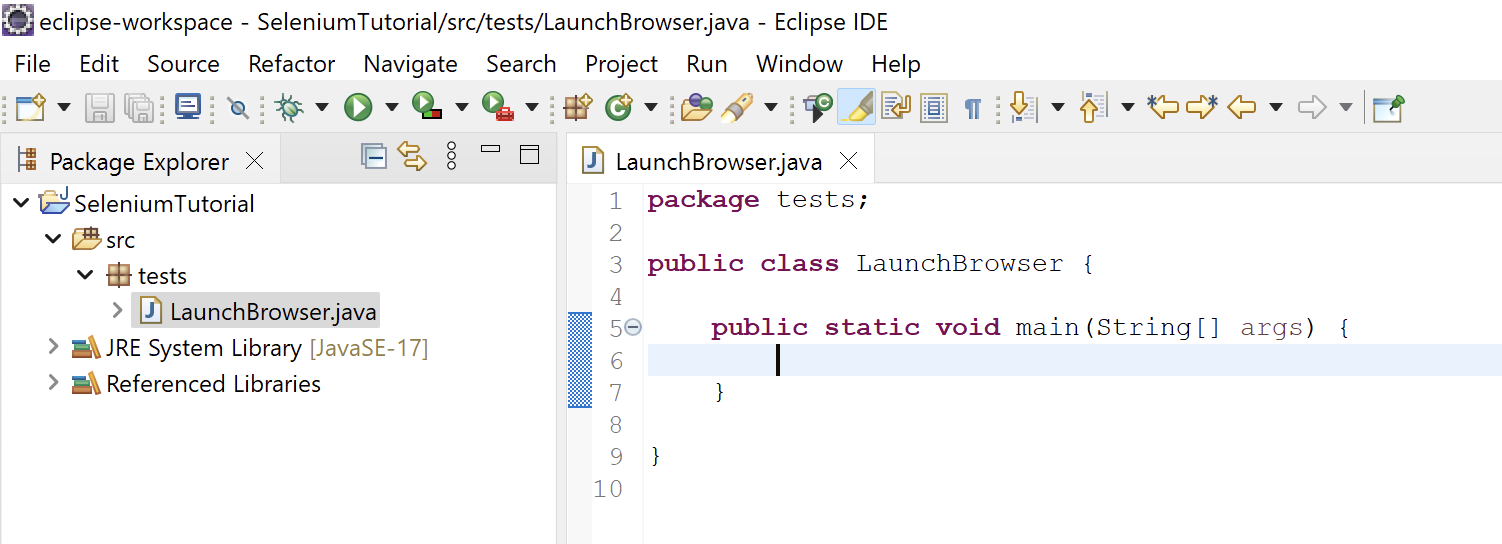
6) Inside this class, we will have to create a main() method. Main method acts as a starting point for Java, and it won’t be able to run your script if main method is not available. The code for main() method is –
public static void main(String[] args) {

}
and it should be added inside the class as shown below

Now comes another important part where you would need to setup your browser to make it ready for scripting with the latest version of Selenium WebDriver. Based on what browser you would want to use, do the setup by following one of the below links. Once you are done with the setup, come back here to complete the remainder of the steps. If you are a beginner, then we would recommend you to use Chrome or Firefox, as they are much more easier to use for scripting.
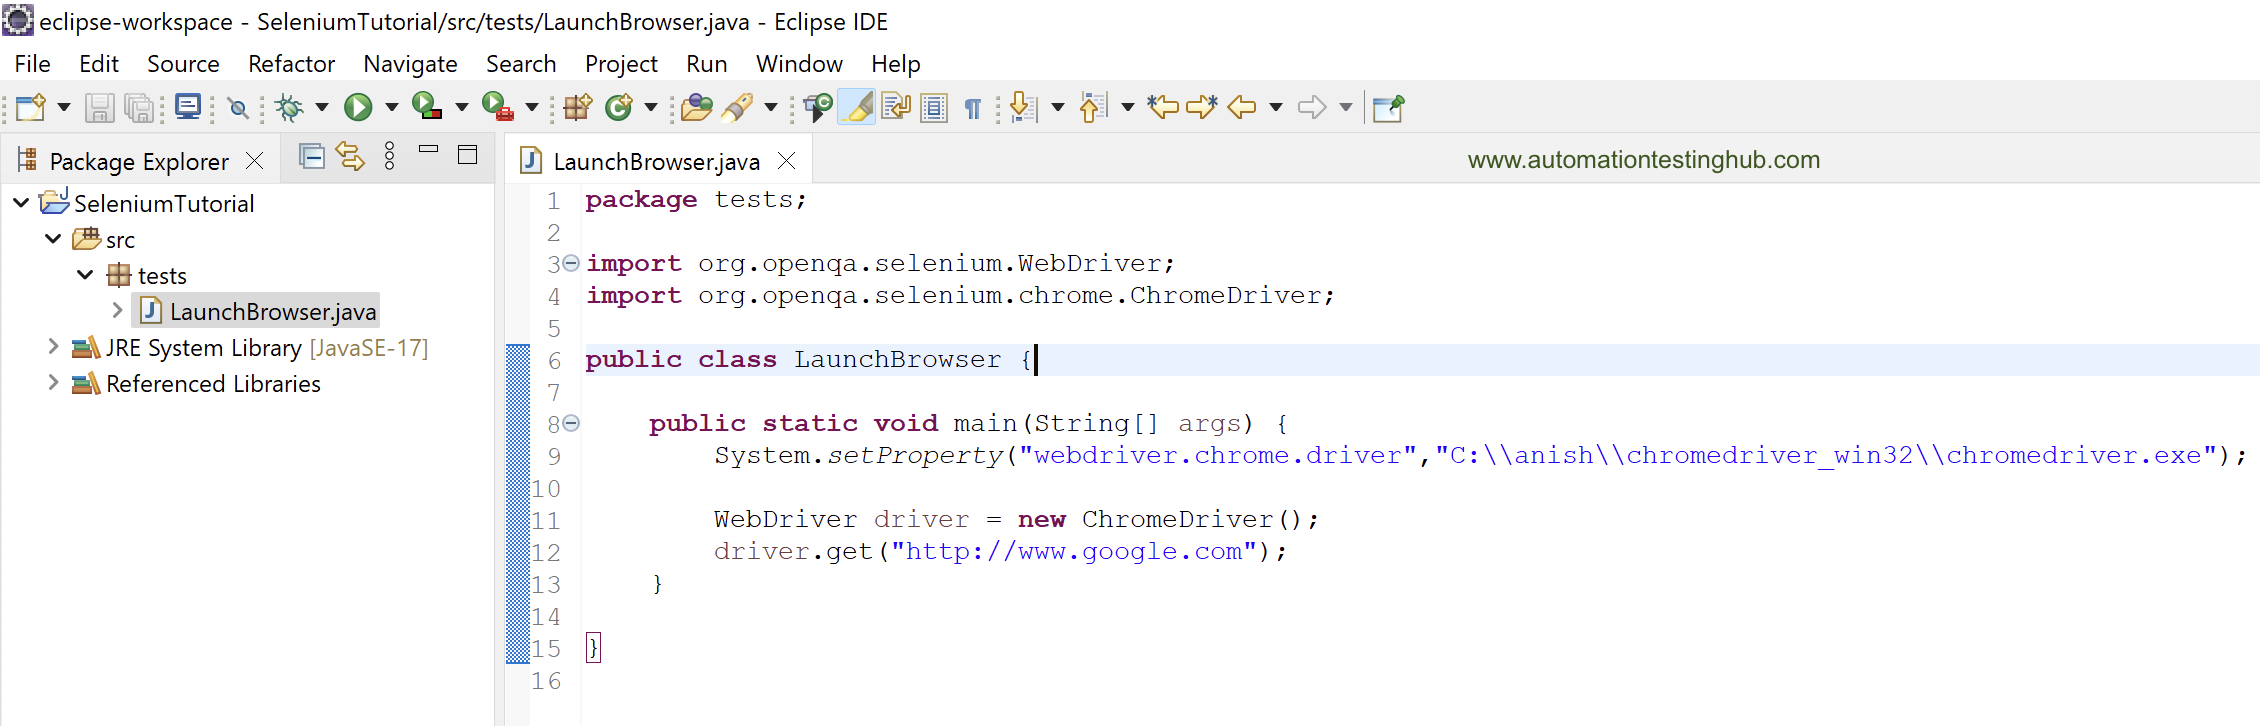
6) Once your browser setup is complete, you would have written the code snippet which launches the browser. The example below shows how the code would look like if you use Firefox –
package firstPackage;

import org.openqa.selenium.WebDriver;
import org.openqa.selenium.firefox.FirefoxDriver;

public class FirstScript {

	public static void main(String[] args) {
		System.setProperty("webdriver.gecko.driver","D:\\Firefox\\geckodriver.exe");

		WebDriver driver = new FirefoxDriver();
		driver.get("http://www.google.com");
	}
}
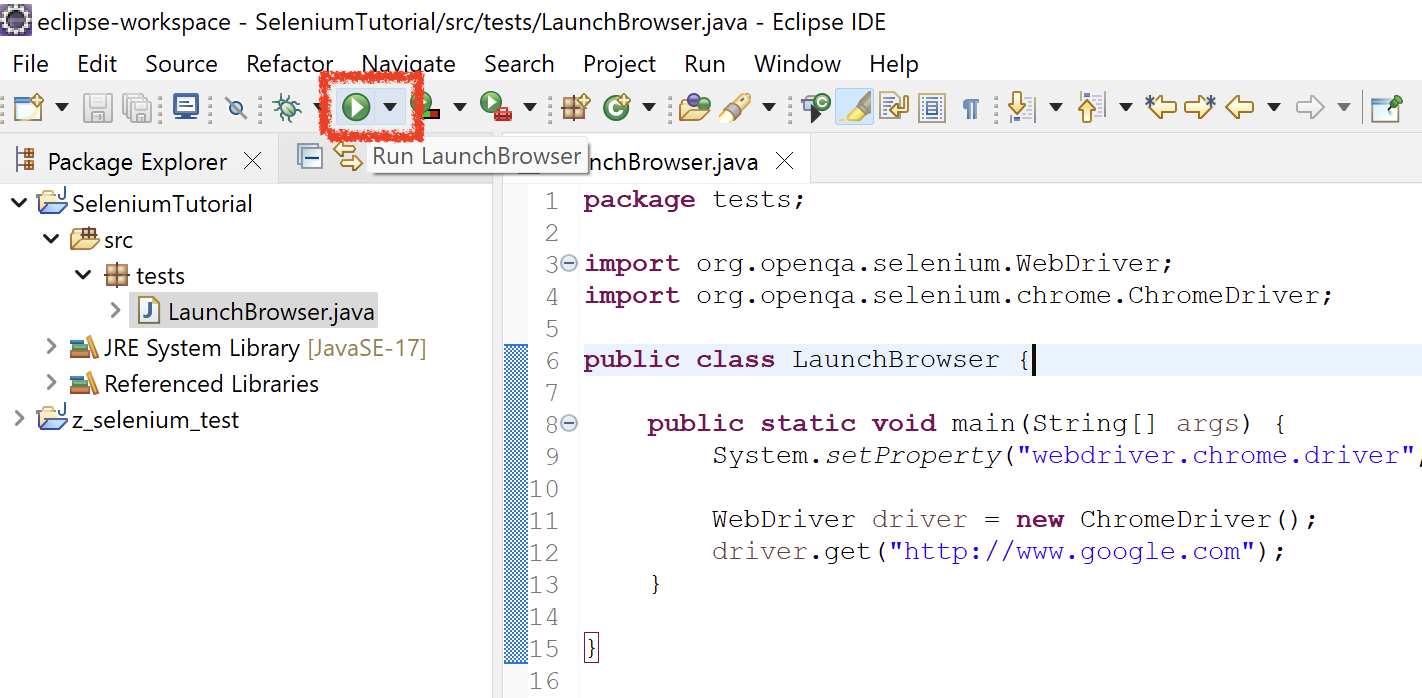
7) The eclipse code should look similar to the screenshot given below. We will now run the code to see if it works fine.

8) To run the script, click on the run icon from the toolbar

If everything works fine, you will see that a new browser window will open and google.com webpage would be opened in the browser.
Congratulations!! This shows that the selenium configuration that you have done works fine. Let us know how it worked for you? Were you able to set it up without much issues? Or are you facing any issues? Let us know your thoughts in the comments section.
Suggested Readings:
1) Head over to our Selenium Webdriver main page where we have added some more useful articles for selenium.
2) You can also try using our Selenium Cucumber tutorial to setup a basic Cucumber BDD framework.