Welcome to this pre-requisite article in our Playwright automation tutorial series. Before you can install Playwright and start writing automated tests, you need to set up your machine with the correct runtime and tooling. For Playwright JavaScript and TypeScript projects, this means installing Node.js and npm.
This guide shows you how to download and install Node.js on Windows and macOS, choose the right Node.js version for Playwright, and verify your setup before continuing with the Playwright tutorial series.
What Is Node.js and Why It Is Required for Playwright
Node.js is a JavaScript runtime that allows JavaScript to run outside the browser. Playwright is implemented on top of Node.js, and its CLI and automation engine are powered by it.
If you are using Playwright with JavaScript or TypeScript, Node.js is required to install Playwright, manage dependencies using npm or npx, and run your tests.
If you are using Playwright with Python, Java, or .NET, Node.js does not need to be installed separately, as it is managed internally by Playwright.
Note: Since our Playwright tutorial series focuses on JavaScript and TypeScript, so we need to installing Node.js as a prerequisite before installing and using Playwright.
Recommended Node.js Version for Playwright
Refer to the table below for the supported Node.js versions for different Playwright releases.
| Playwright Version | Supported Node.js Versions |
|---|---|
| Playwright 1.54+ | Node.js 20, 22, 24 (LTS) |
| Playwright 1.40 – 1.53 | Node.js 18, 20 (LTS) |
| Playwright 1.31 – 1.39 | Node.js 16, 18 (LTS) |
| Playwright 1.13 – 1.30 | Node.js 14, 16 (LTS) |
| Playwright ≤ 1.12 | Node.js 12 |
Recommended: Use the latest Node.js LTS version for Playwright. The next article in this tutorial series installs the latest Playwright release, which works best with the latest Node.js LTS.
How to Download Node.js (Windows and macOS)
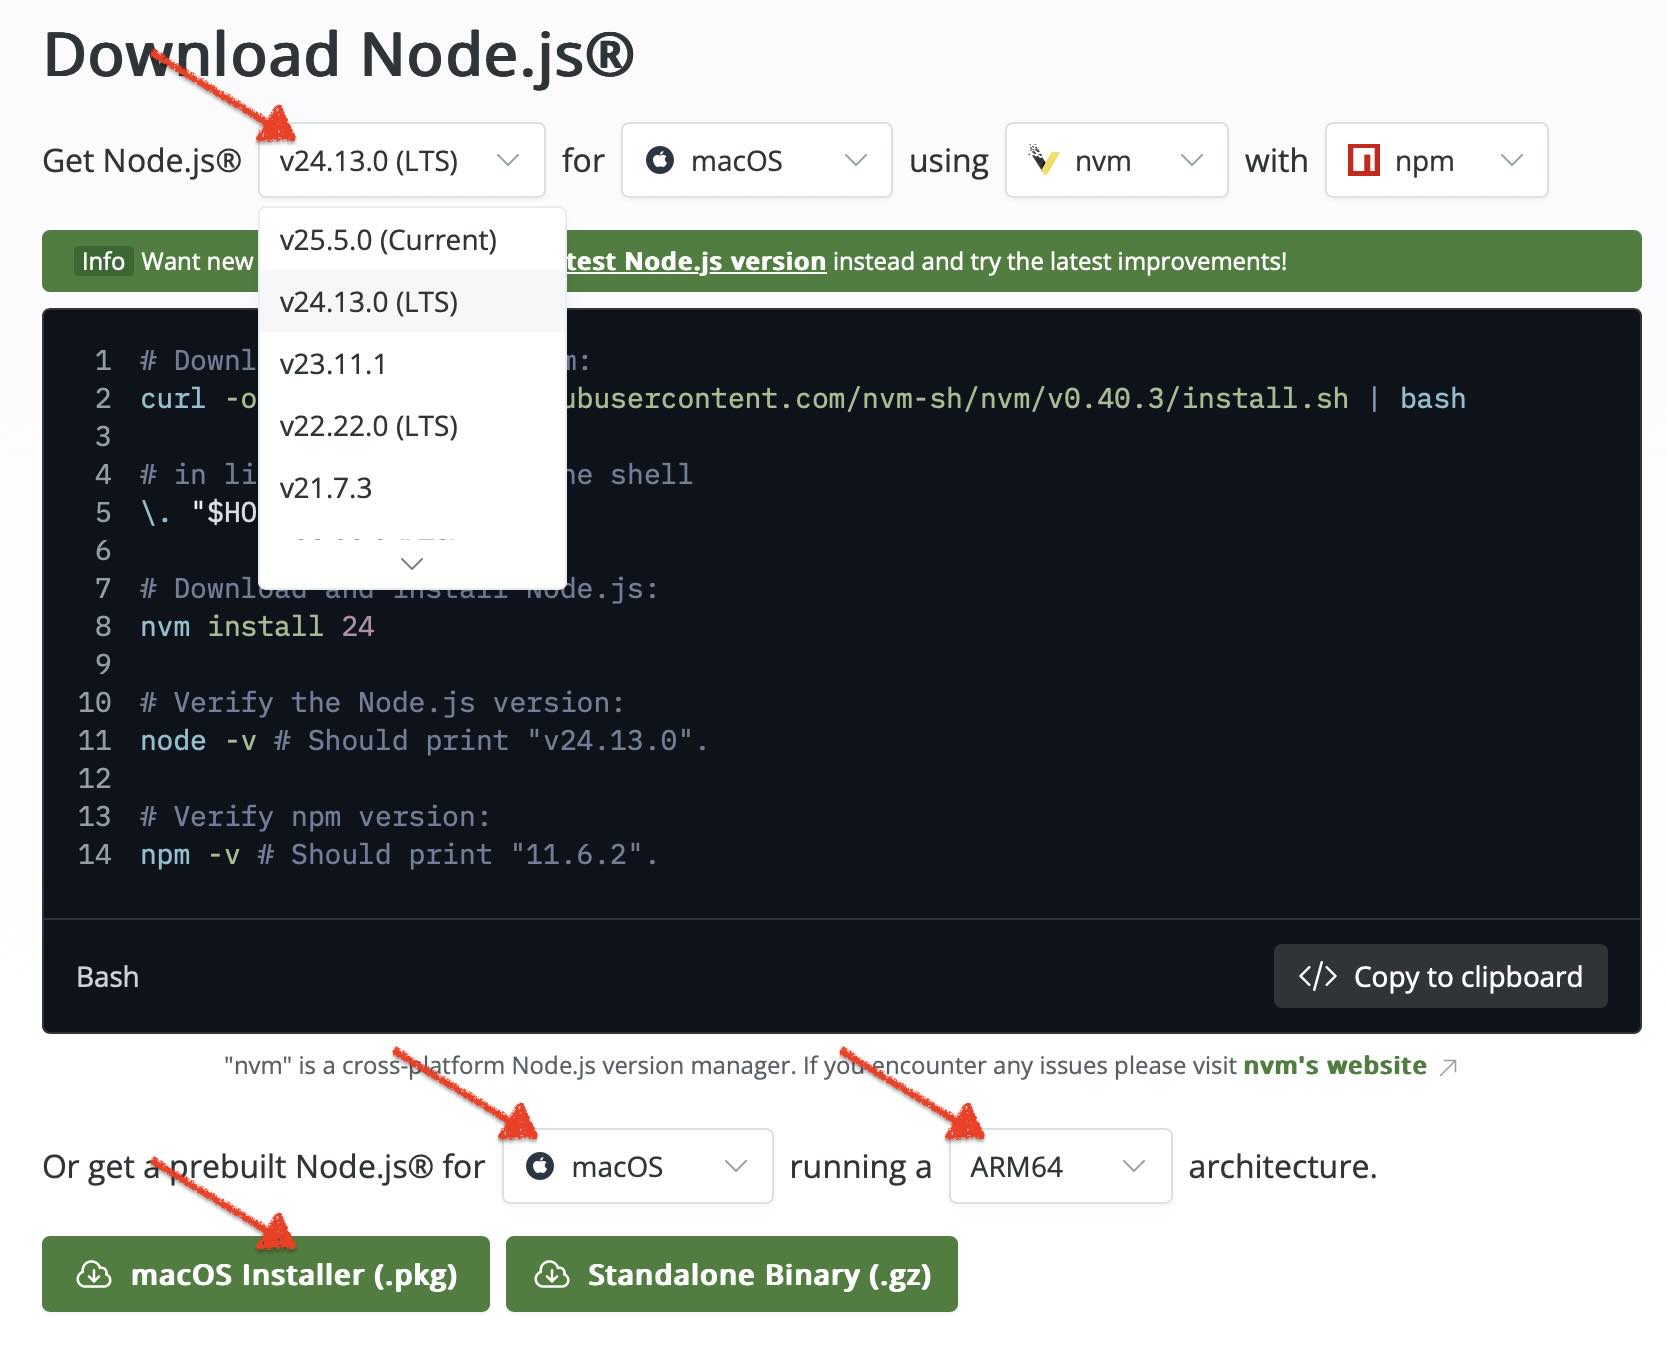
Before downloading Node.js, it’s important to understand the difference between LTS and Current versions. On the Node.js download page, the Get Node.js dropdown lets you choose between the Current release and multiple versions marked as LTS.
- LTS (Long Term Support) versions are stable and receive long-term security and bug fixes.
- Current versions include the latest features but may introduce breaking changes.
Since this Playwright tutorial series uses JavaScript/TypeScript, we recommend downloading the LTS version of Node.js.
Steps to Download Node.js
Step 1:
From the Version dropdown, select the latest LTS version.
Step 2:
Verify that the Operating System and Architecture drop downs show the correct values.
The website automatically detects these values for Windows and macOS in most cases.
Step 3:
Click the Download button to start downloading the installer.
Step 4 (Optional):
If you are downloading Node.js for a different machine or setup, adjust the OS or architecture from the drop downs before downloading.
At the time of writing (February 2026), the most recent LTS version is v24.13.0, as shown in the below screenshot. In case you see a newer LTS version, go ahead and download that newer version.
Steps to Install Node.js (Windows and MacOS)
Once the Node.js installer has finished downloading, follow the steps below to complete the installation. The installation process is largely the same on Windows and macOS.
Step 1:
Open the downloaded installer file (.msi on Windows or .pkg on macOS) to start the installation process.
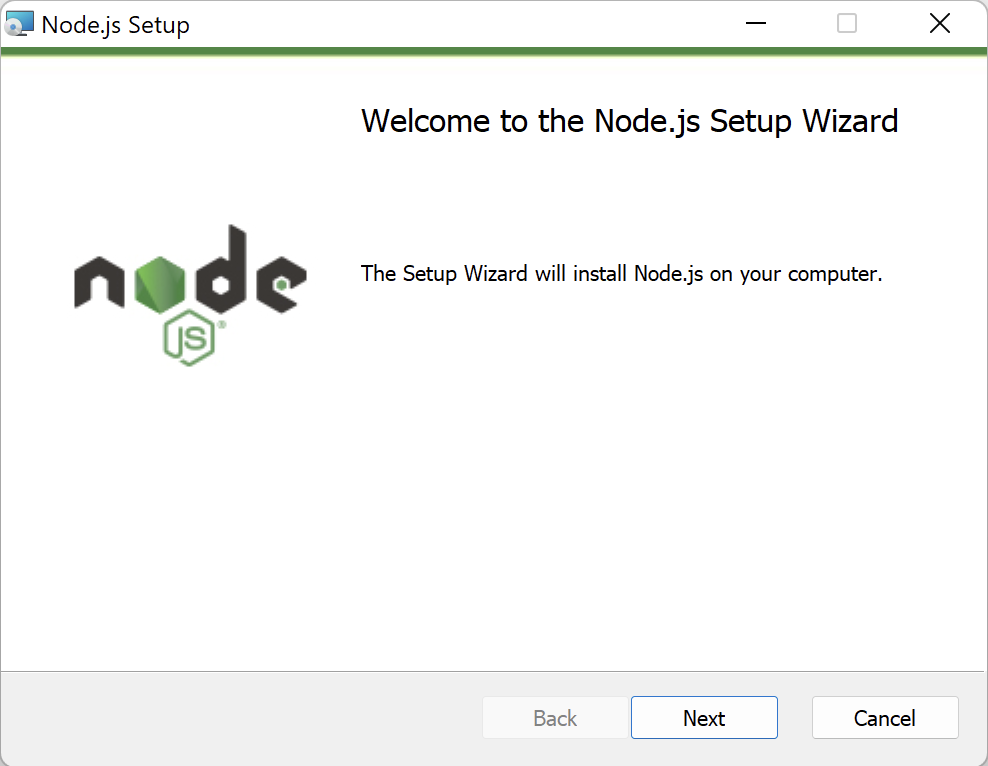
Step 2:
Proceed through the setup wizard by clicking Next, accept the license agreement, and leave the default values selected for the installation location and configuration options.
Step 3:
On Windows, you may see an option to install Tools for Native Modules. Leave this option unchecked unless you specifically need it, and continue with the installation.
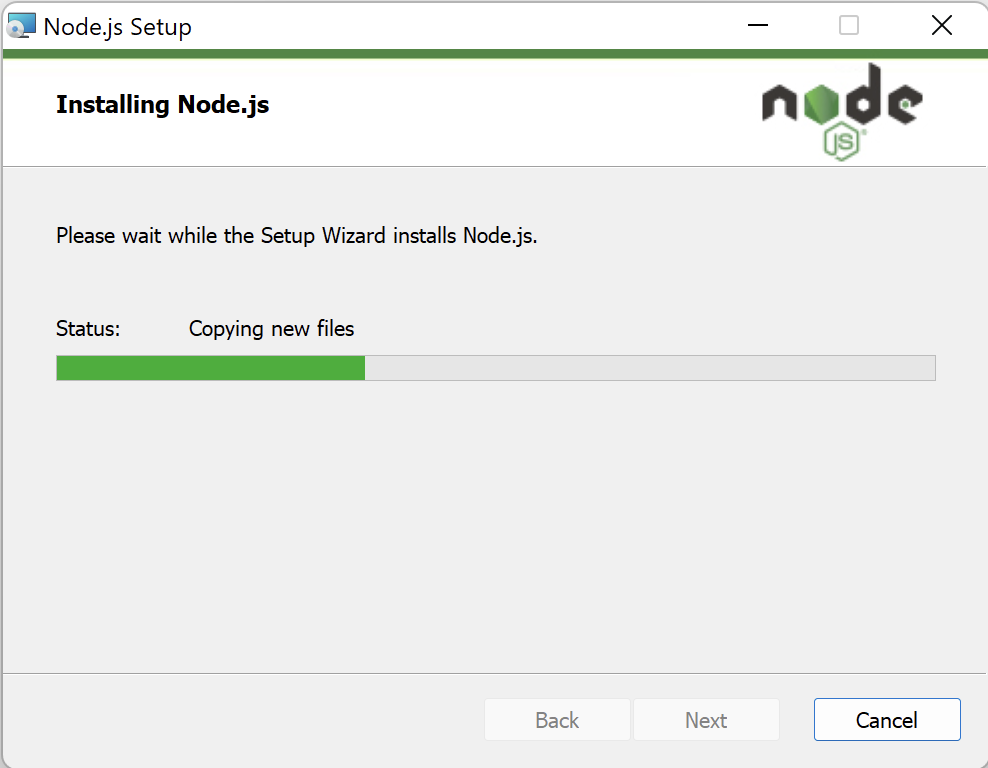
Step 4:
Click Install to begin the installation.
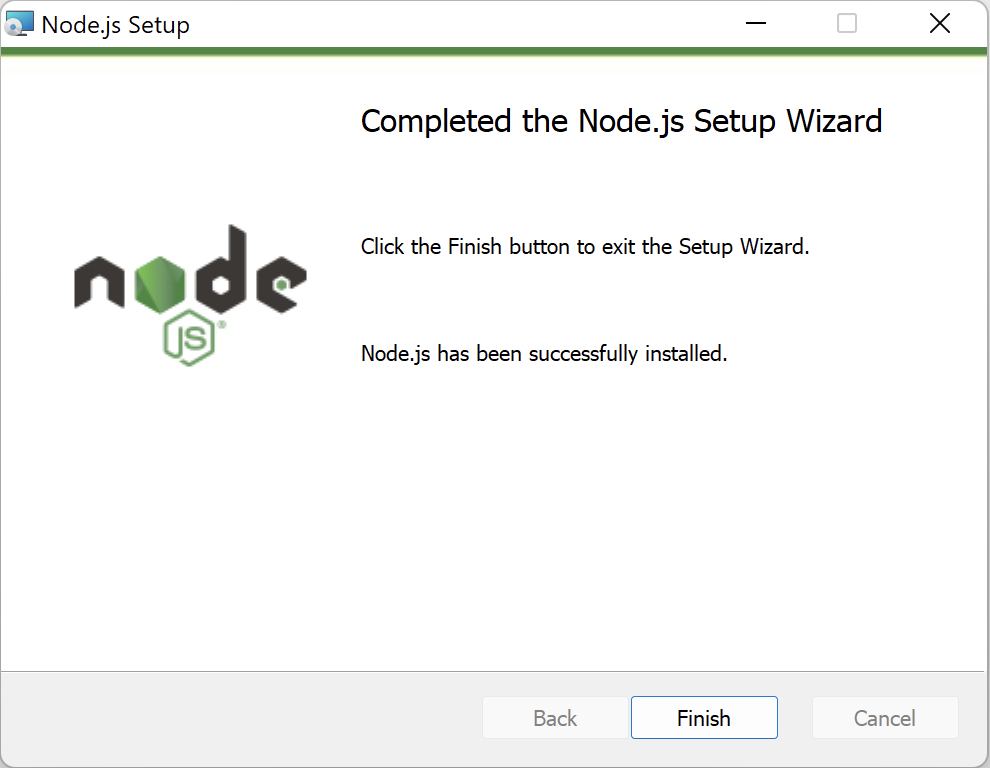
Step 5:
Once the installation is complete, click Finish to exit the setup wizard.
Verify Node.js and npm Installation
After installing Node.js, the next step is to verify the Node.js installation and confirm that npm is set up correctly.
Open a terminal:
- Command Prompt on Windows
- Terminal on macOS
Run the following commands to check if Node.js is installed: node -v and npm -v

If both commands return version numbers, it means Node.js and npm are installed correctly and are ready to be used with Playwright.
Alternative: Install Node.js on macOS using Homebrew
If you are using macOS and already have Homebrew installed, you can install Node.js using Homebrew instead of the official installer. Run the following command in terminal to install Node.js:
brew install node
After the installation completes, verify that Node.js and npm are available:
node -v
npm -v
This approach is commonly used by developers who manage packages on macOS using Homebrew. For most users, especially beginners, the official Node.js installer remains the simpler option.
Next Steps: Install Playwright
With Node.js and npm installed, your system is now ready for the next step in the Playwright tutorial series.