In our previous article on Appium Tutorial series, you learned how to install Appium 2 server using NPM. In this article, we will cover the steps using which you can install UiAutomator2 driver. Before we begin, let us have a quick look at what UiAutomator2 driver is.
What is an Appium Driver?
As you already know, Appium is an open-source project which can be used to perform UI automation on many app platforms such as iOS, Android, Chrome, Firefox, Roku, Android TV and much more.
Now, the next question that comes to the mind is, how is Appium able to connect to all these different types of platforms for perform UI automation. Well, this is where Appium Drivers come into picture.
Essentially, Appium Drivers are modules which provide Appium with the power to automate a given platform. For example, Apple has a technology called XCUITest for UI automation of Apple platforms like iOS, iPadOS etc. And Appium has a driver called XCUITest Driver, which can, in simple terms, interact with XCUITest library and help with UI automation of these Apple platforms
What is UiAutomator2 Driver?
Similar to what XCUITest is for Apple, UI Automator is a UI testing framework maintained to Google to automate Android platform. And hence, UiAutomator2 driver is the Appium Driver which interacts with UI Automator framework to perform automation testing on Android
Steps to install UIAutomator2 Driver
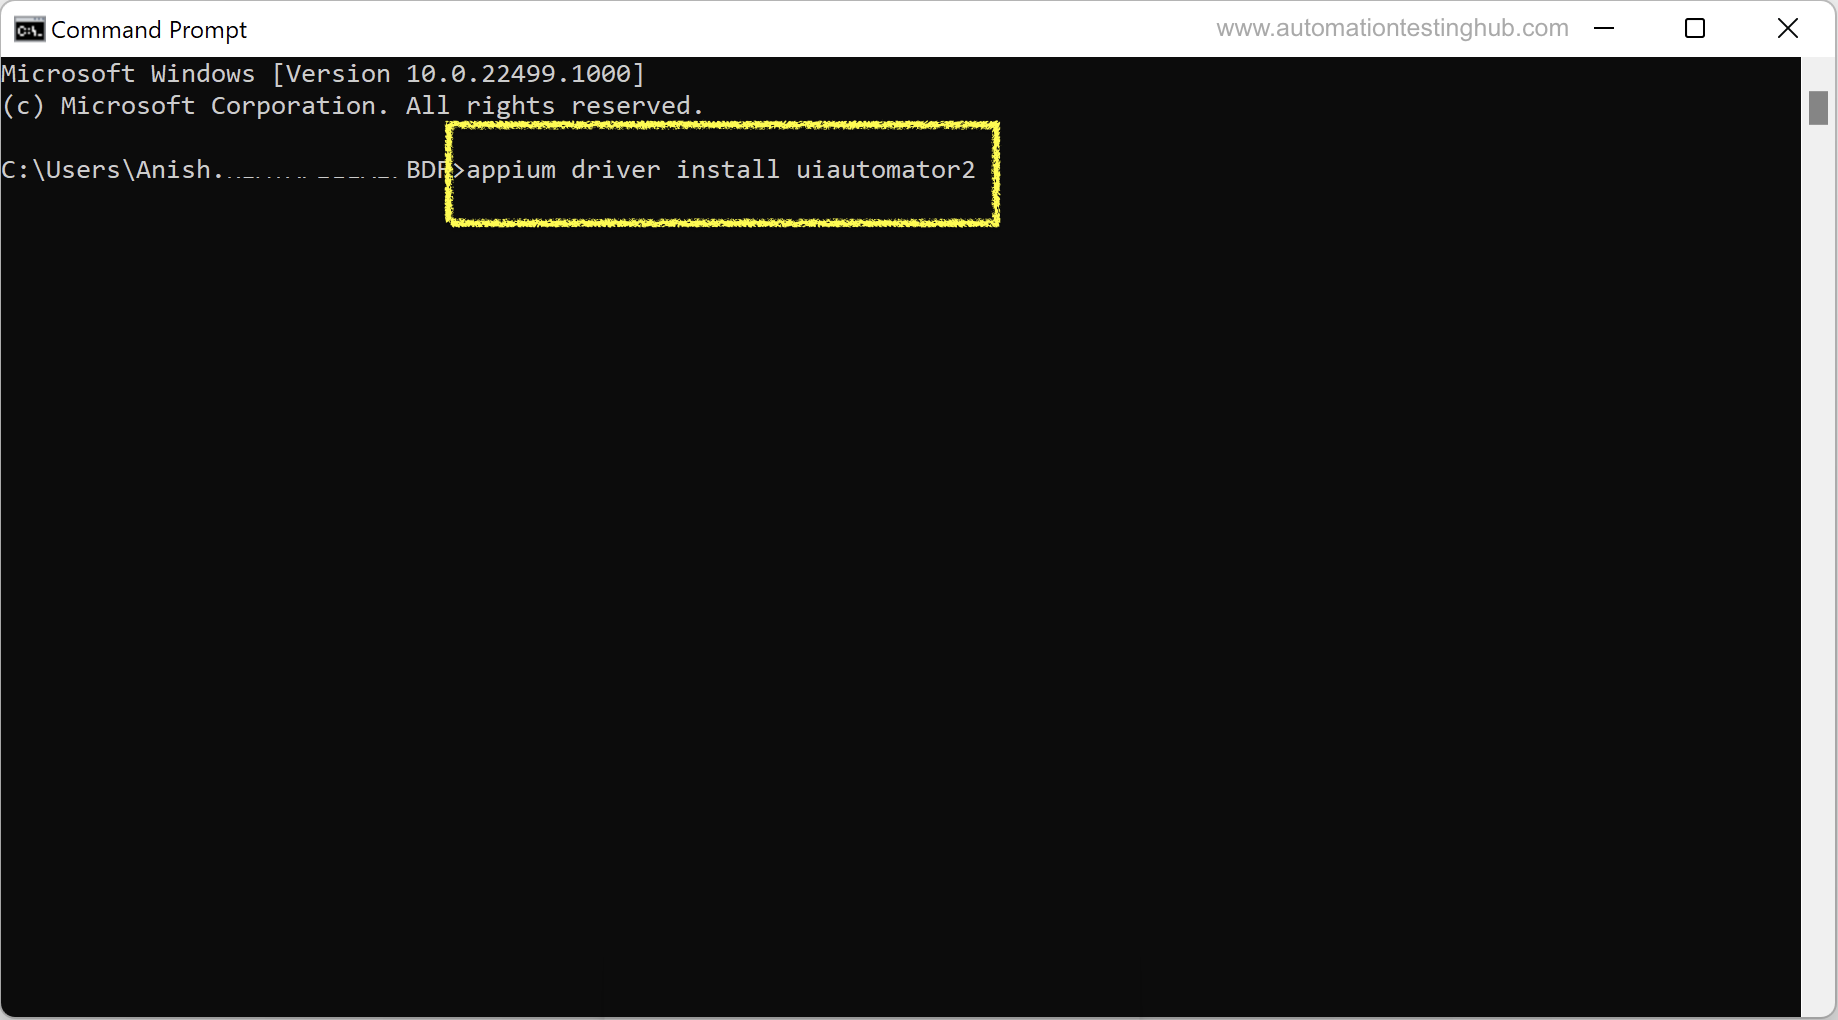
Step 1) Open command prompt and run this command –
appium driver install uiautomator2
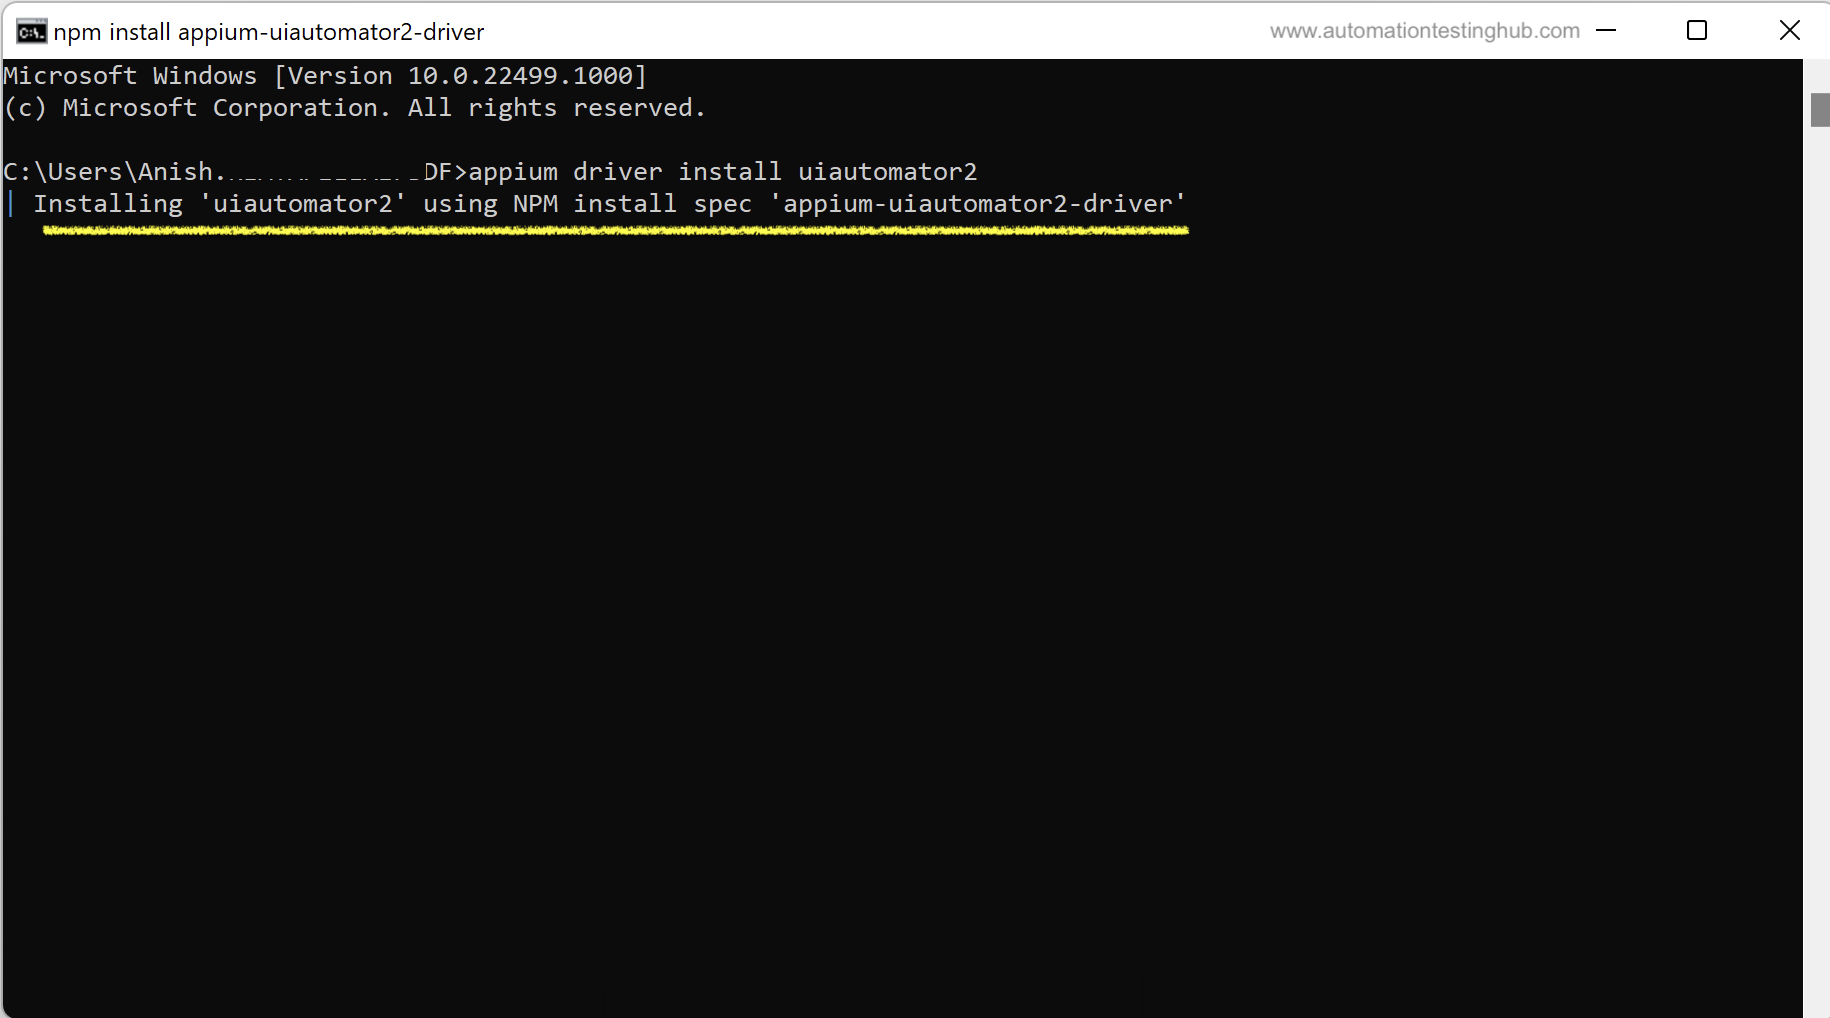
Step 2) Once you hit Enter, NPM will start installing the driver
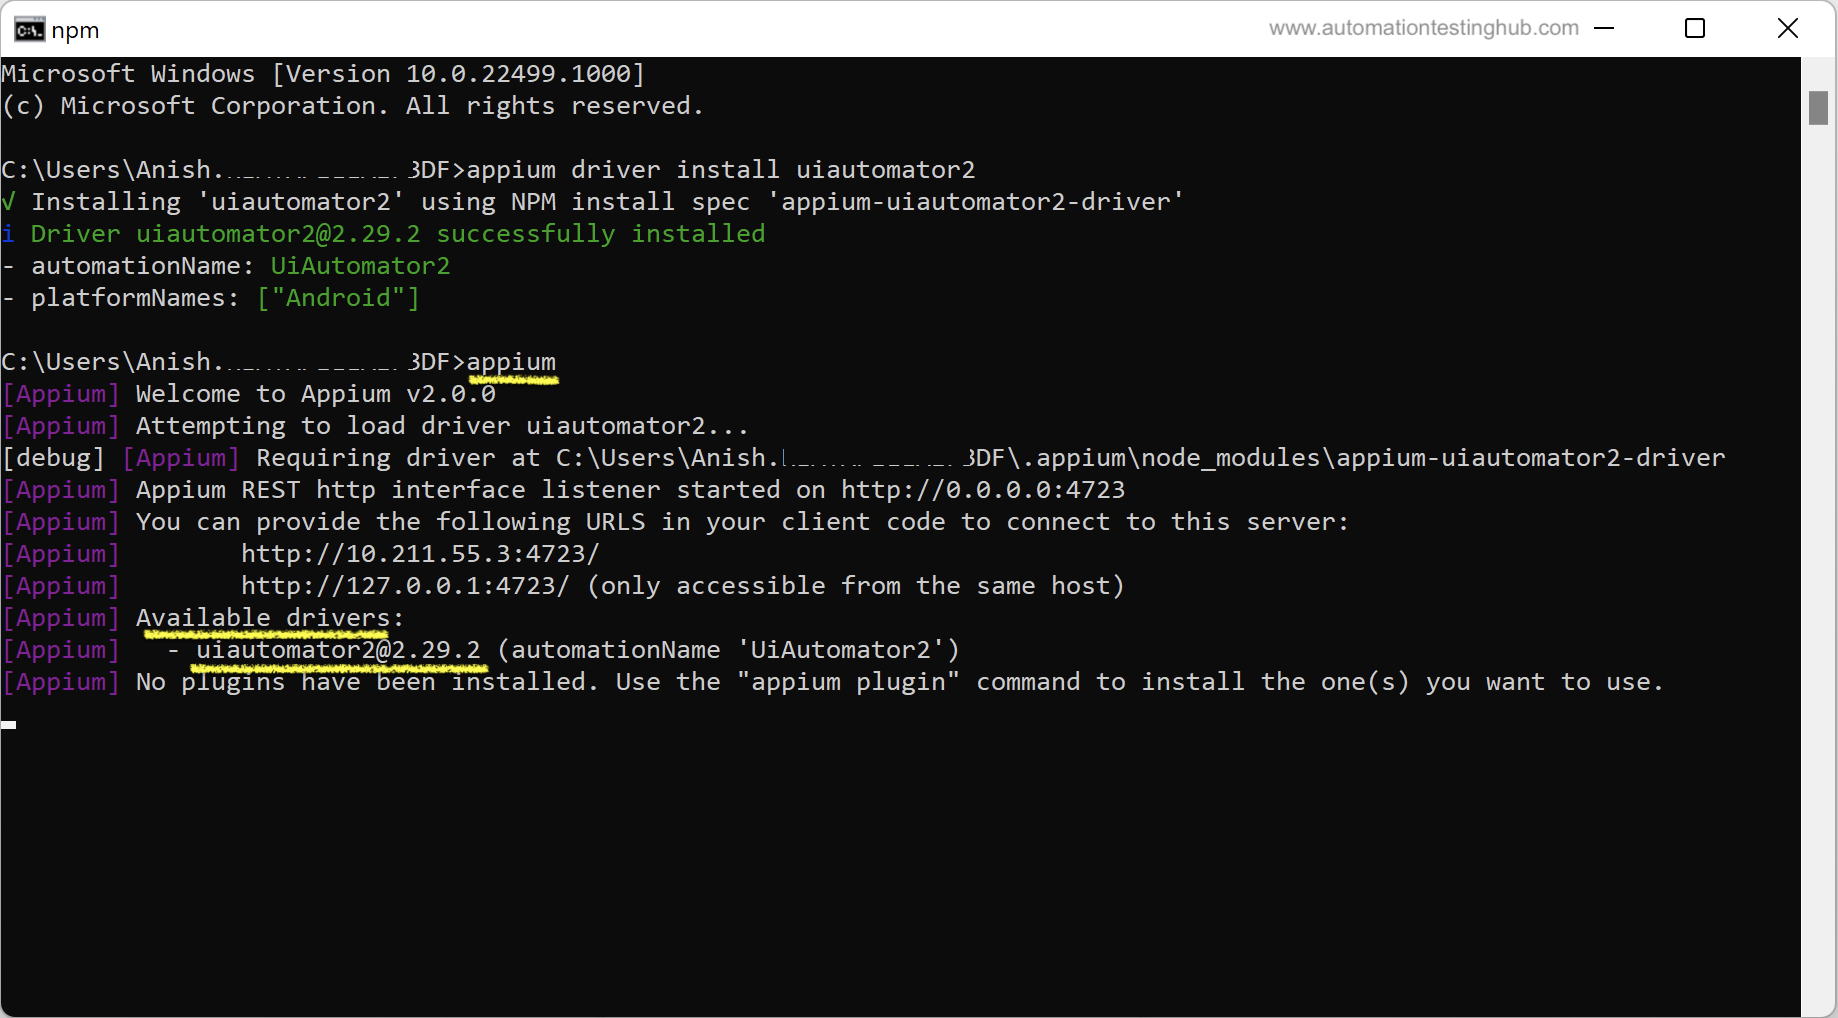
Step 3) Once the installation is complete, you will see the command prompt screen as shown in the below image
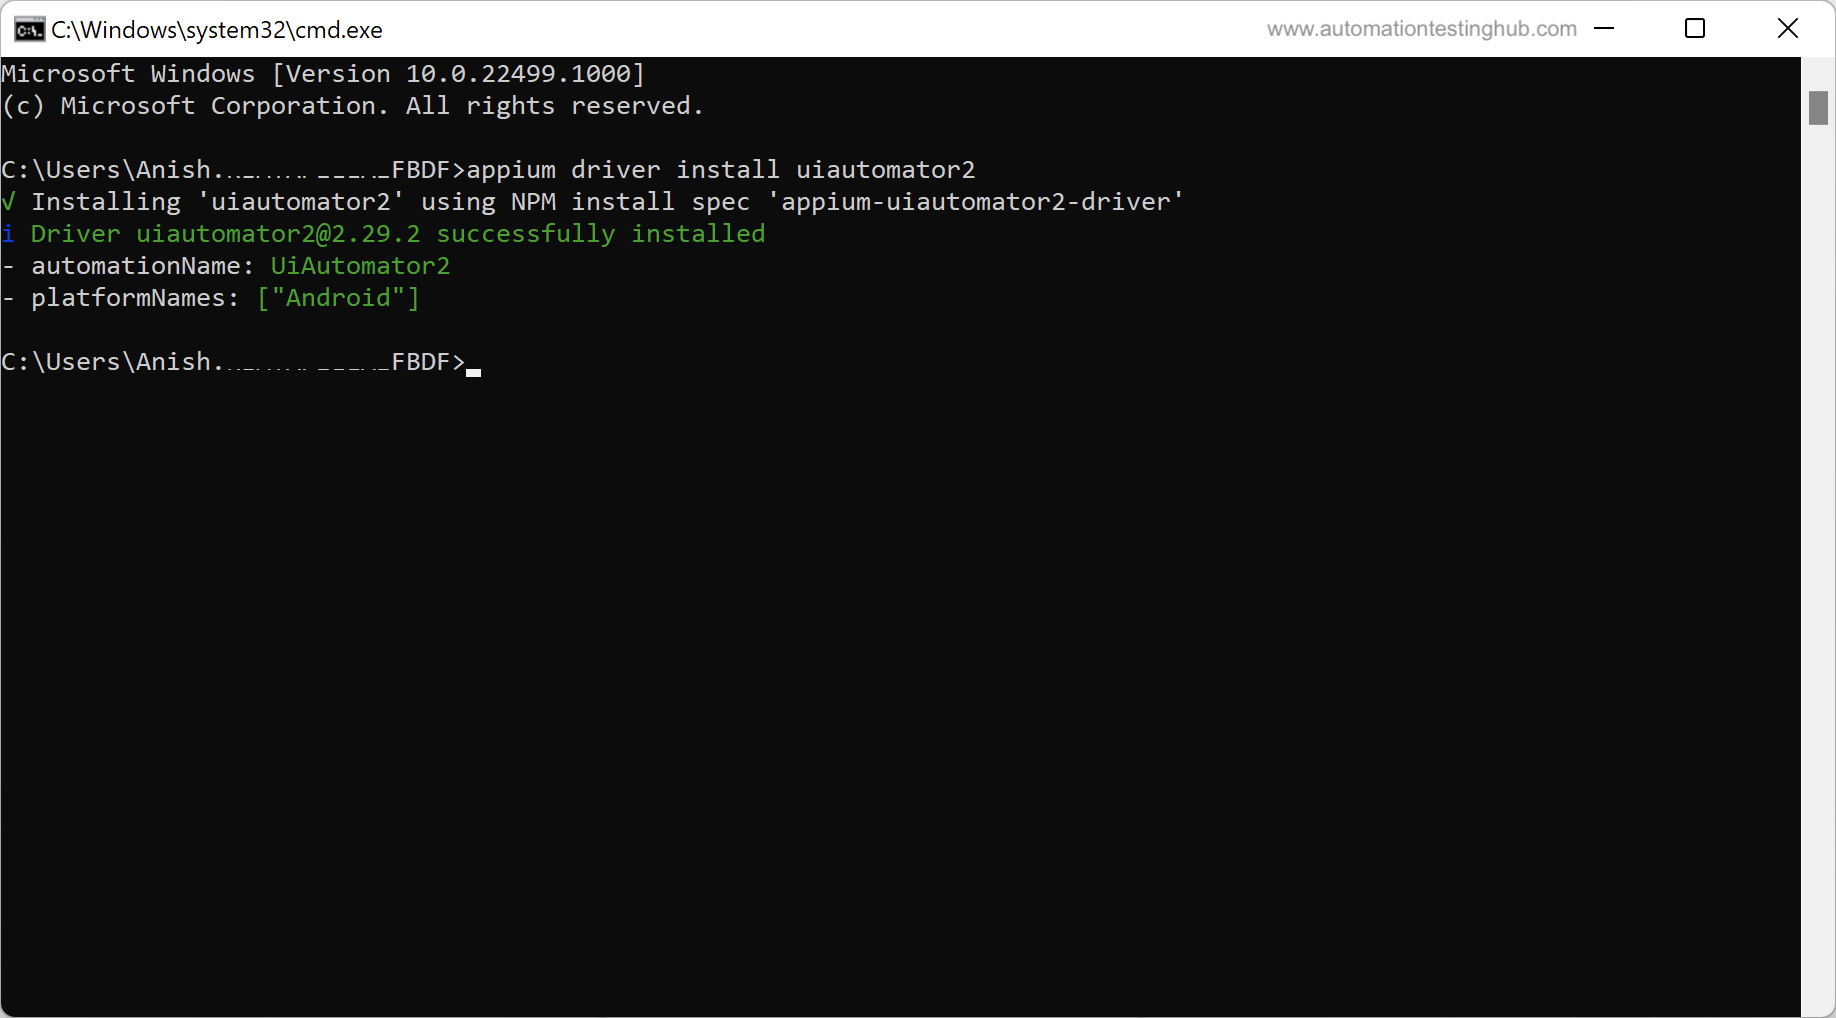
If you notice in the above screenshot, the logs show the platform name supported by the Appium driver you download. So in this case, you have downloaded UiAutomator2 driver which supports Android platform.
As a last check, let us start the appium server as well by running appium command. You will see that the logs mention UiAutomator2 in the list of available drivers. You can compare this with our previous article on installing Appium 2 server, where the logs showed – No drivers have been installed message
With this, we have completed our article on how to install UiAutomator2 driver. Head over to our Appium Tutorial page for the next set of articles on Appium installation and setup.