

This article is a continuation of our previous article where you downloaded and installed Android Studio. In this article, you will download and install additional Android SDK tools, if required. Please note that with newer versions of Android Studio, all the important components are already installed (some of these components are installed when you open Android Studio for the first time). We will list down the components that are needed to be installed, and you can install them only if they are already not installed in Android Studio.
Verify that all necessary components are already installed with Android Studio
First of all, please make sure that you have installed the latest version Android Studio, which we have mentioned in our previous article on downloading and installing Android. Follow the steps given below to check if all the required SDK tools are already installed (you will have to open Android Studio to check this) :
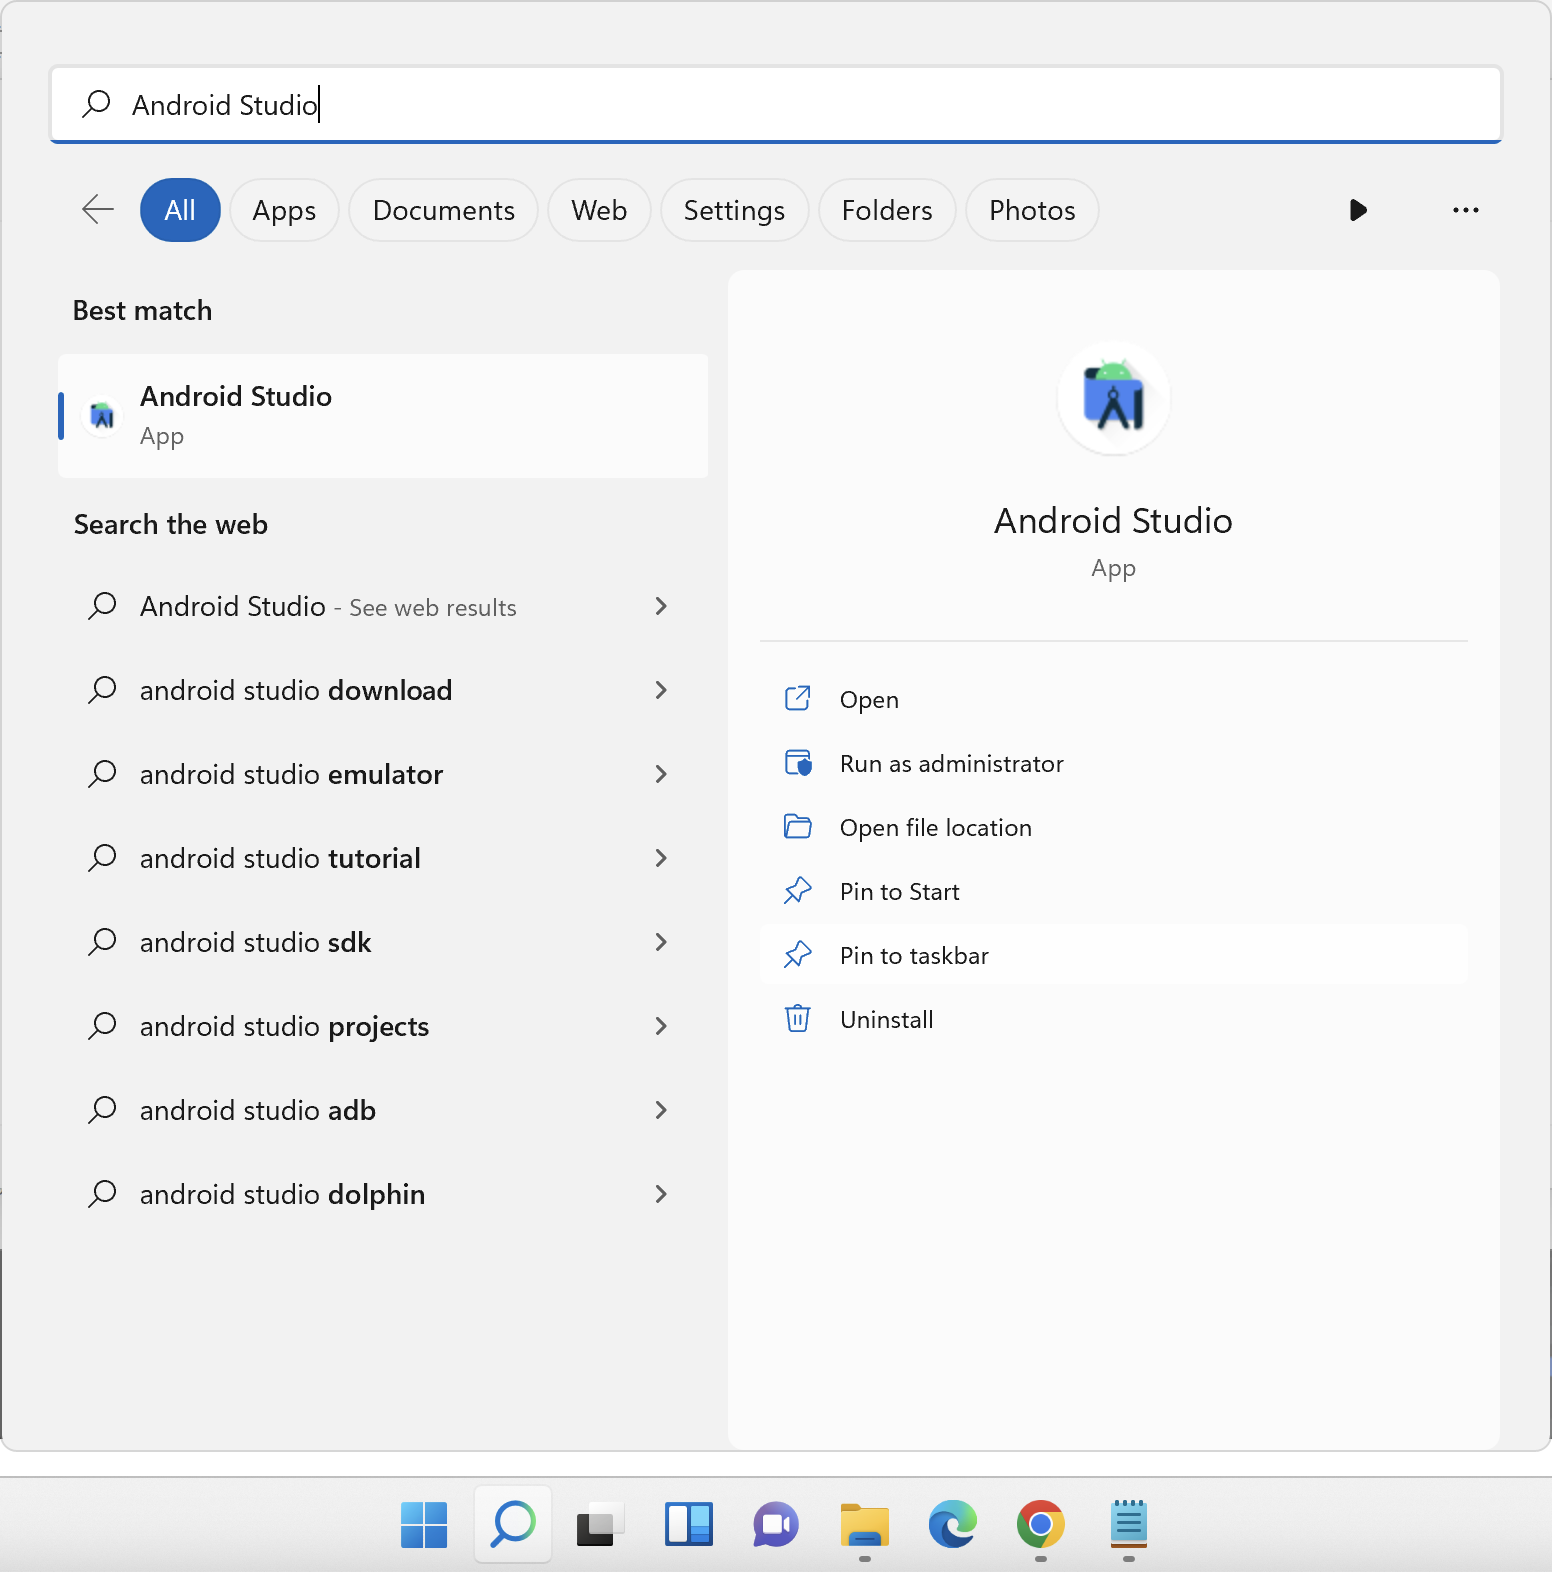
- Search and open Android Studio app on your device

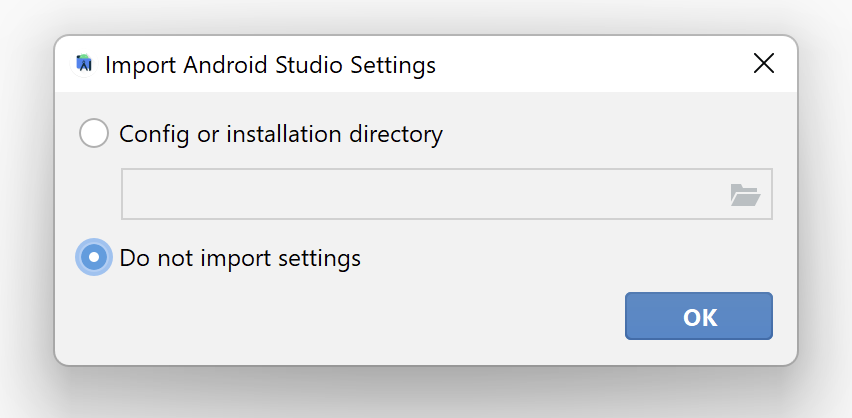
2. If Import Android Studio Settings popup comes up, then select Do not import settings option and click on OK button

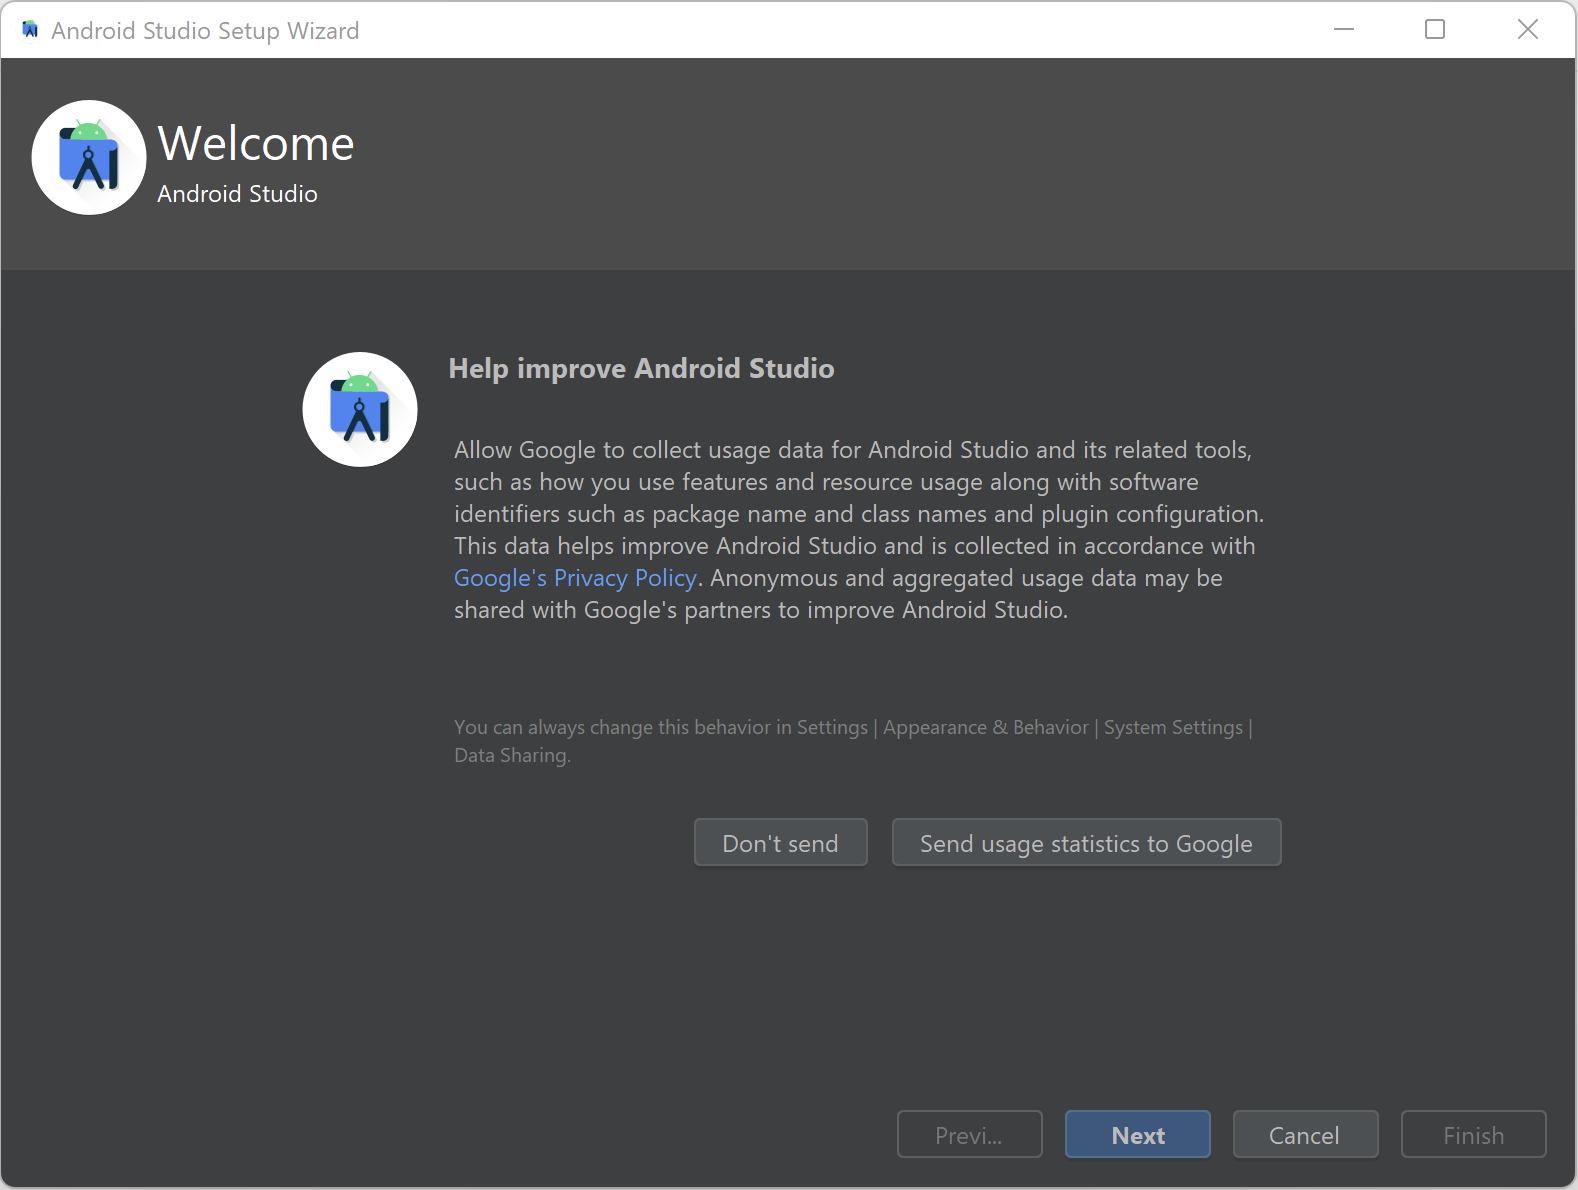
3. Help improve Android Studio screen will be displayed. Select any option you wish and then click on Next button

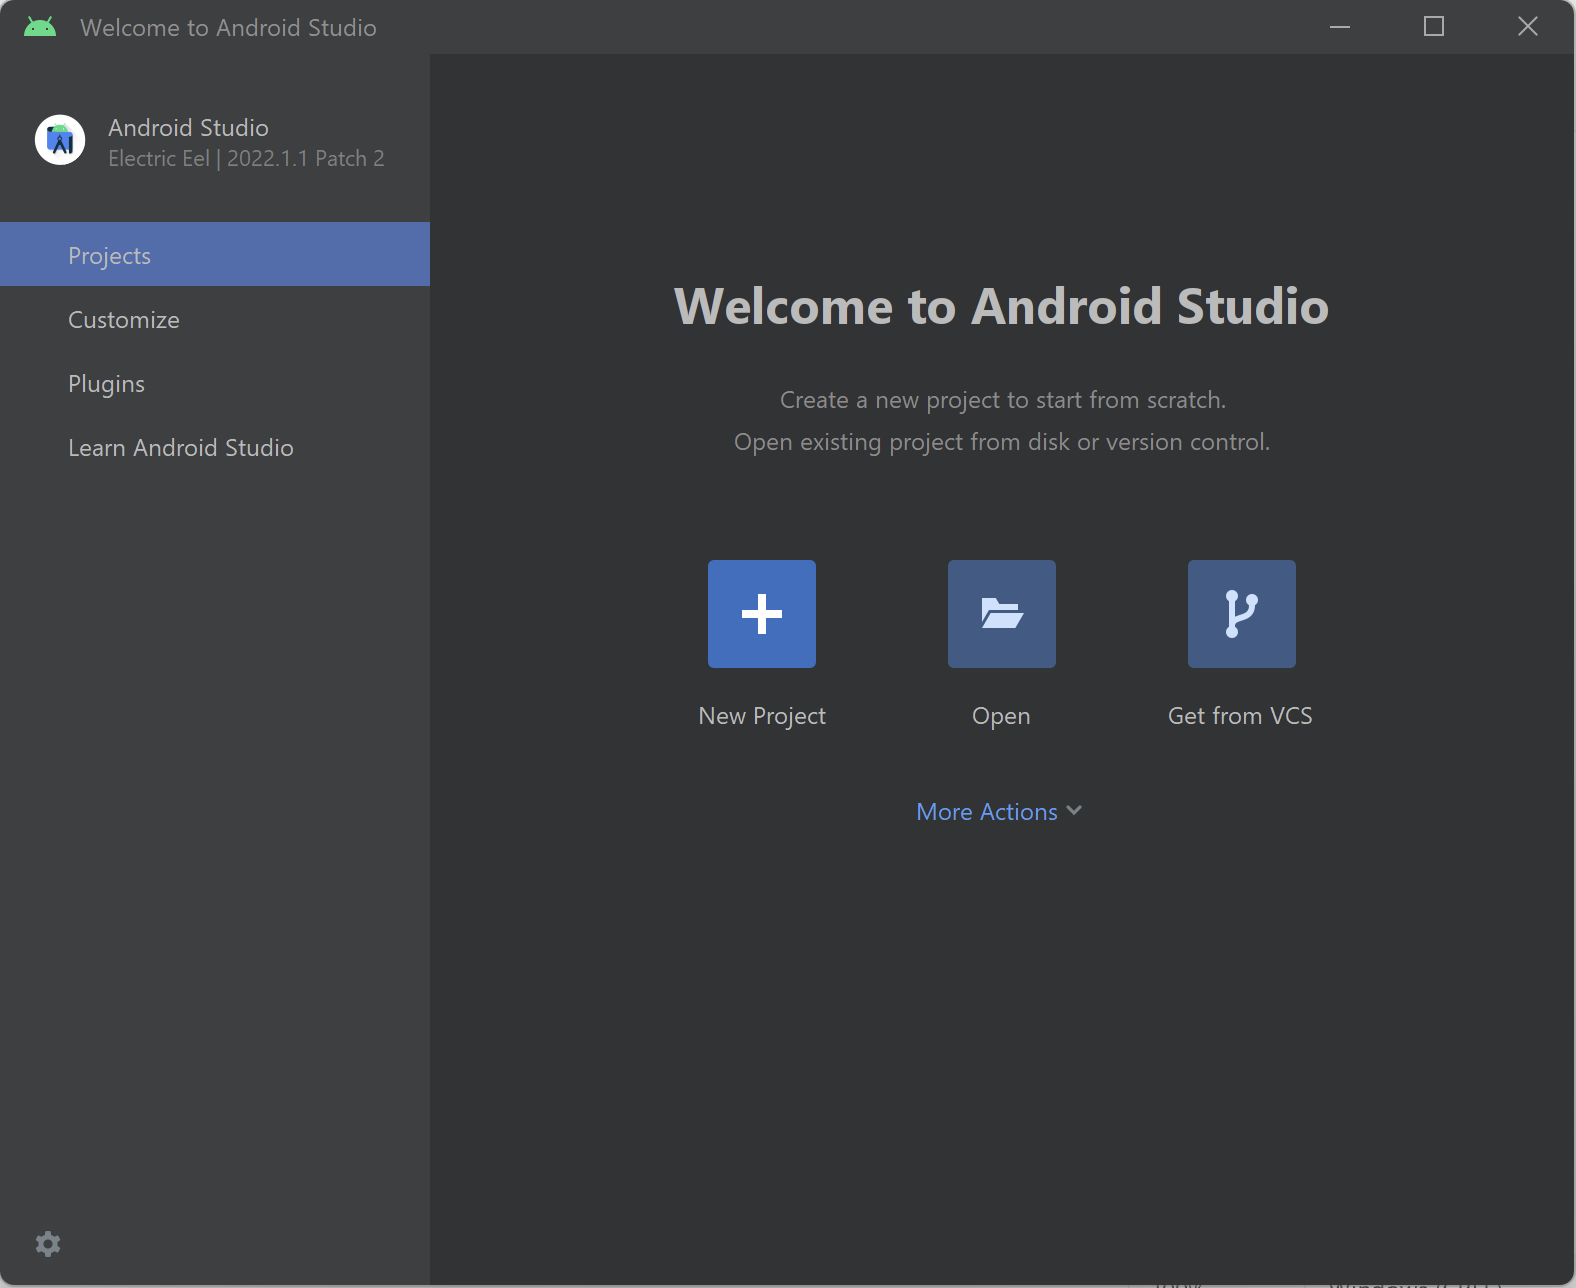
4. Android Studio Welcome screen will be displayed as shown below

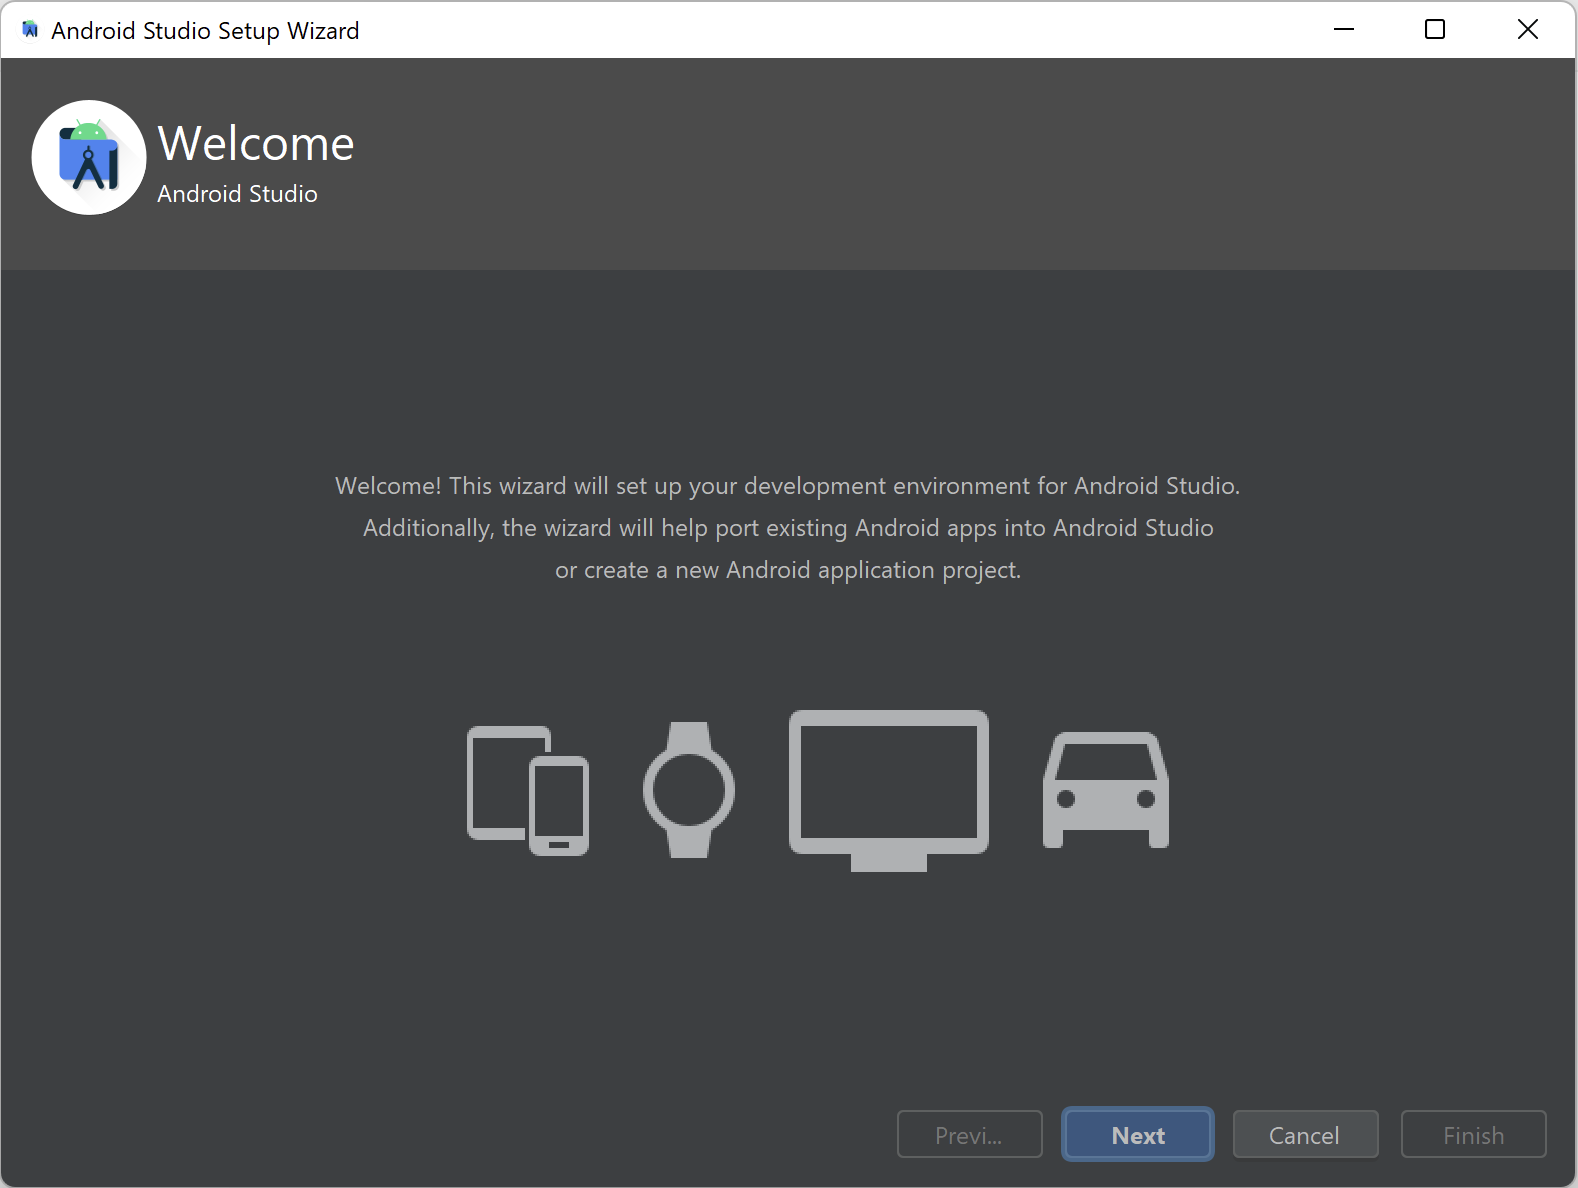
5. Click on Next button. You will be taken to Install Type screen
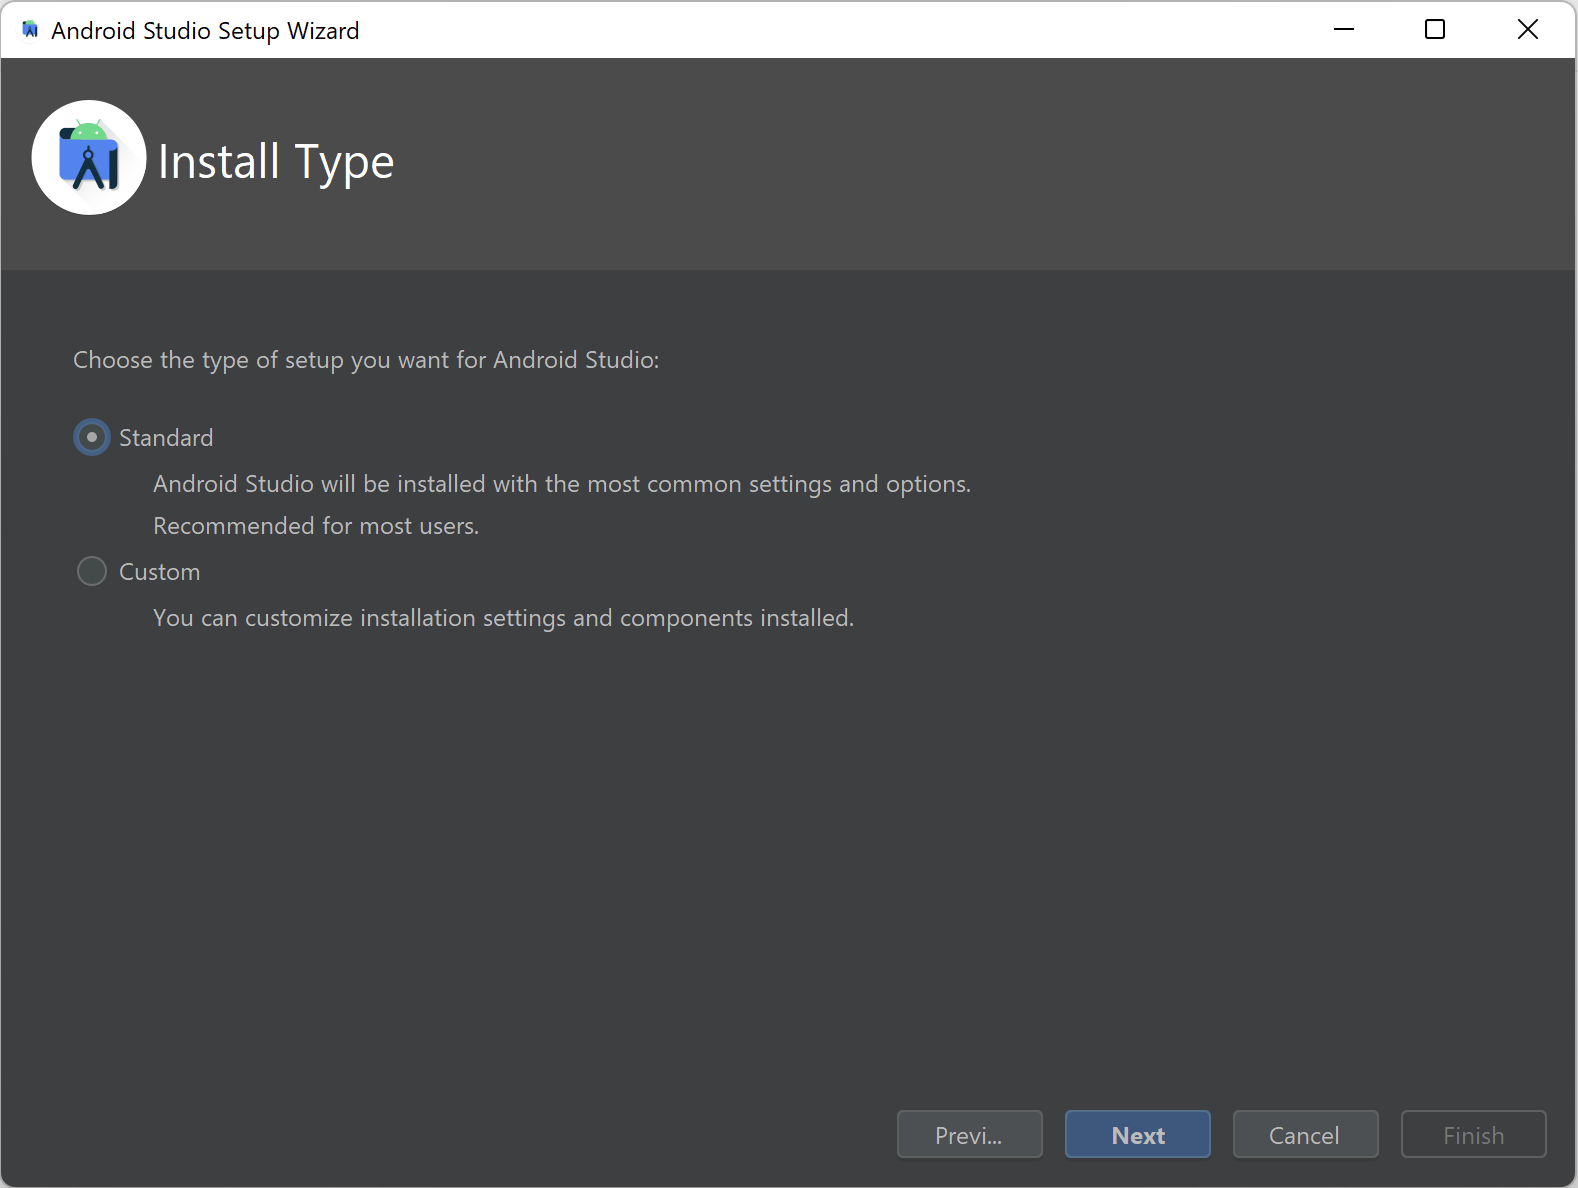
6. In the Install Type screen, let Standard option remain selected and then click on Next button. You will now be taken to the Select UI Theme screen.
Select any theme here and click on Next button. Verify Settings screen would now be displayed. This is where Android SDK Tools will be installed.


Don’t worry if you see a different list in SDK Components to Download section. This list depends on what version of Android Studio you install, and also if you had previously installed some older version as well. Whatever list of items you see on your machine would work fine.
7. Click on Next button. License Agreement screen will be displayed

8. Click on Accept, and then click on Finish button. Android Studio will now start downloading these components
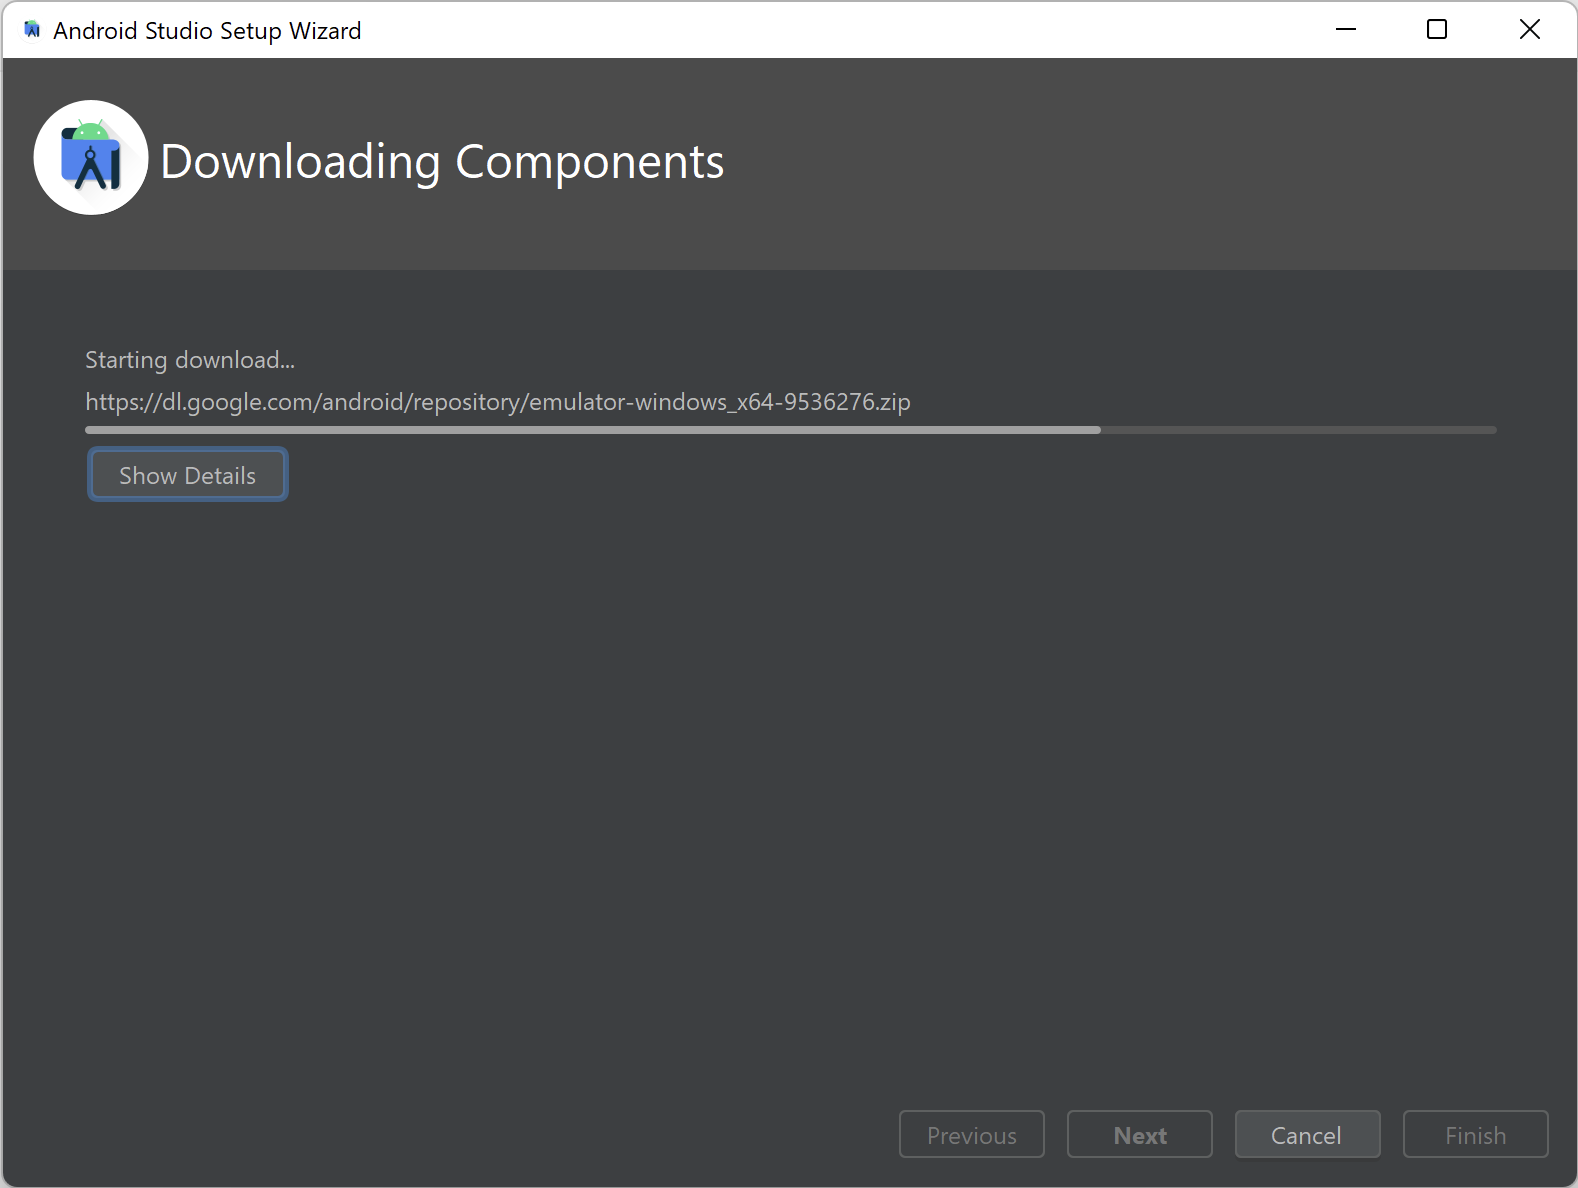
9. You will see this screen once downloading is successfully completed

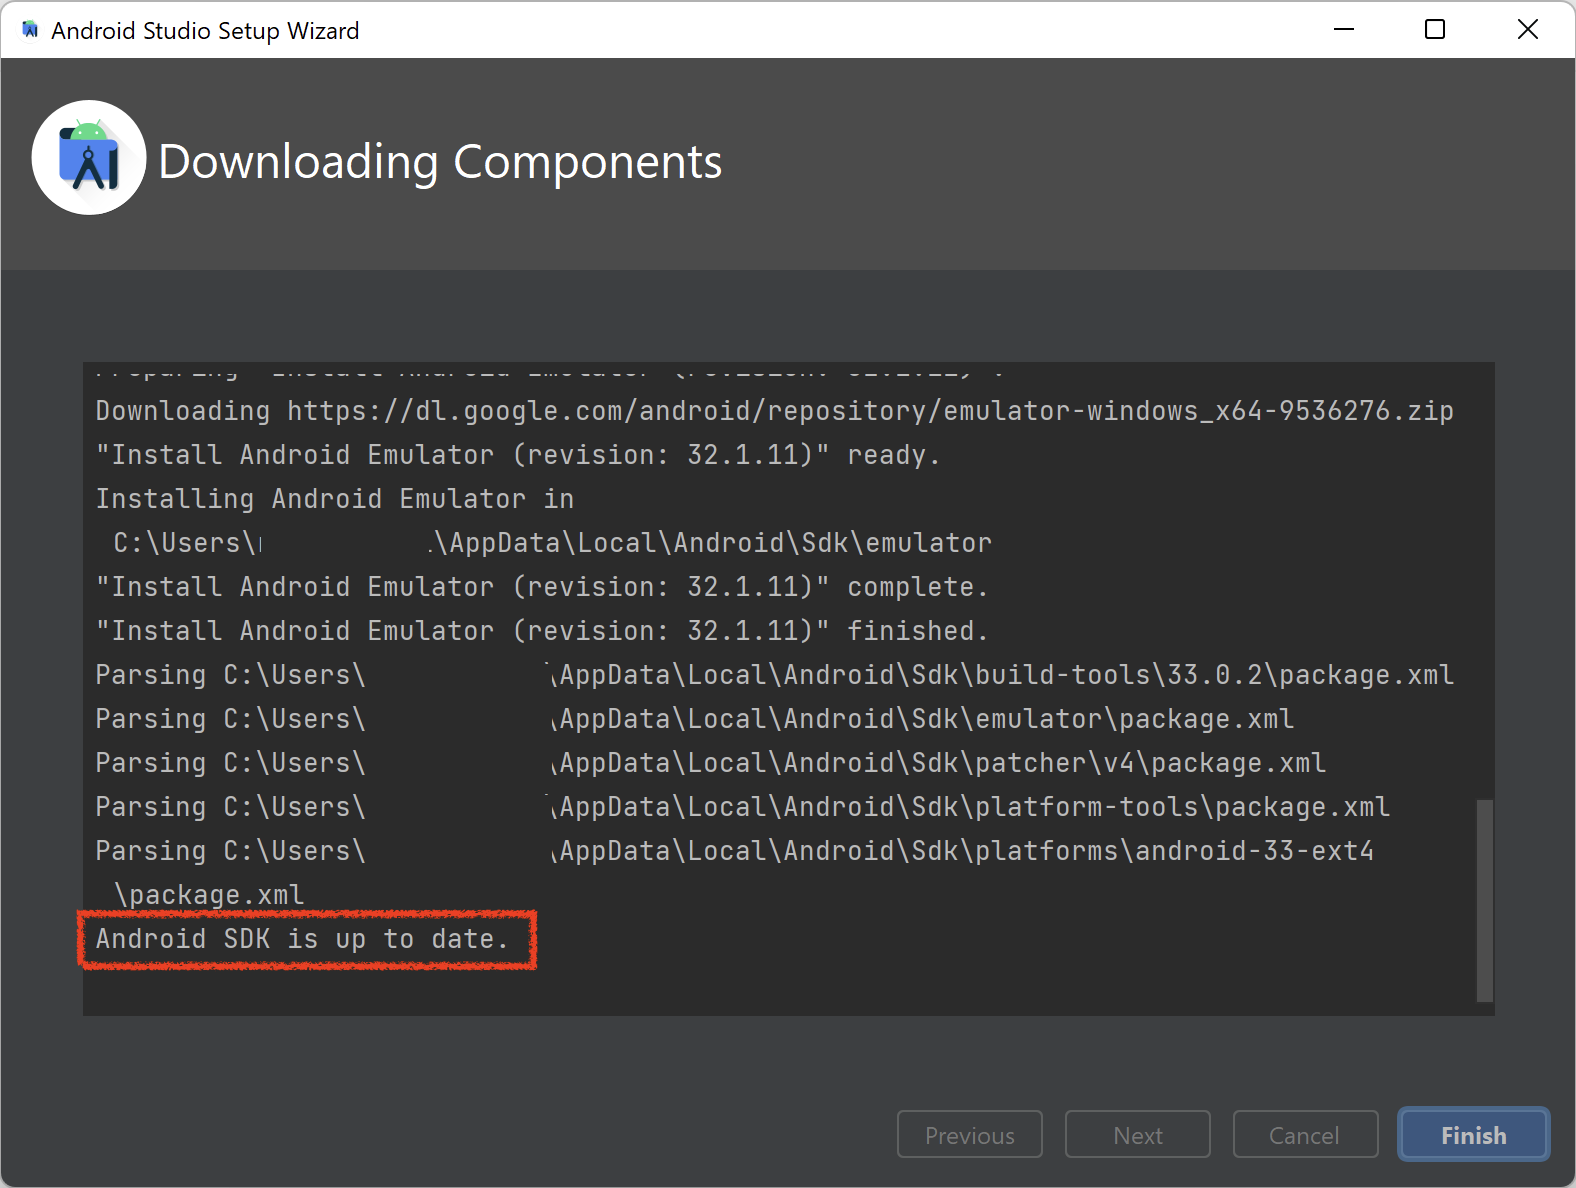
10. Click on Finish button. You will now see Welcome to Android Studio screen

11. Open any existing project in Android Studio, or create a new sample project (if you have never used Android Studio before, then you can follow this quick guide on how to create project in Android Studio)
12. Once your Android Studio project is opened, go to Tools > SDK Manager (in older versions of Android Studio, this option was Tools > Android > SDK Manager)

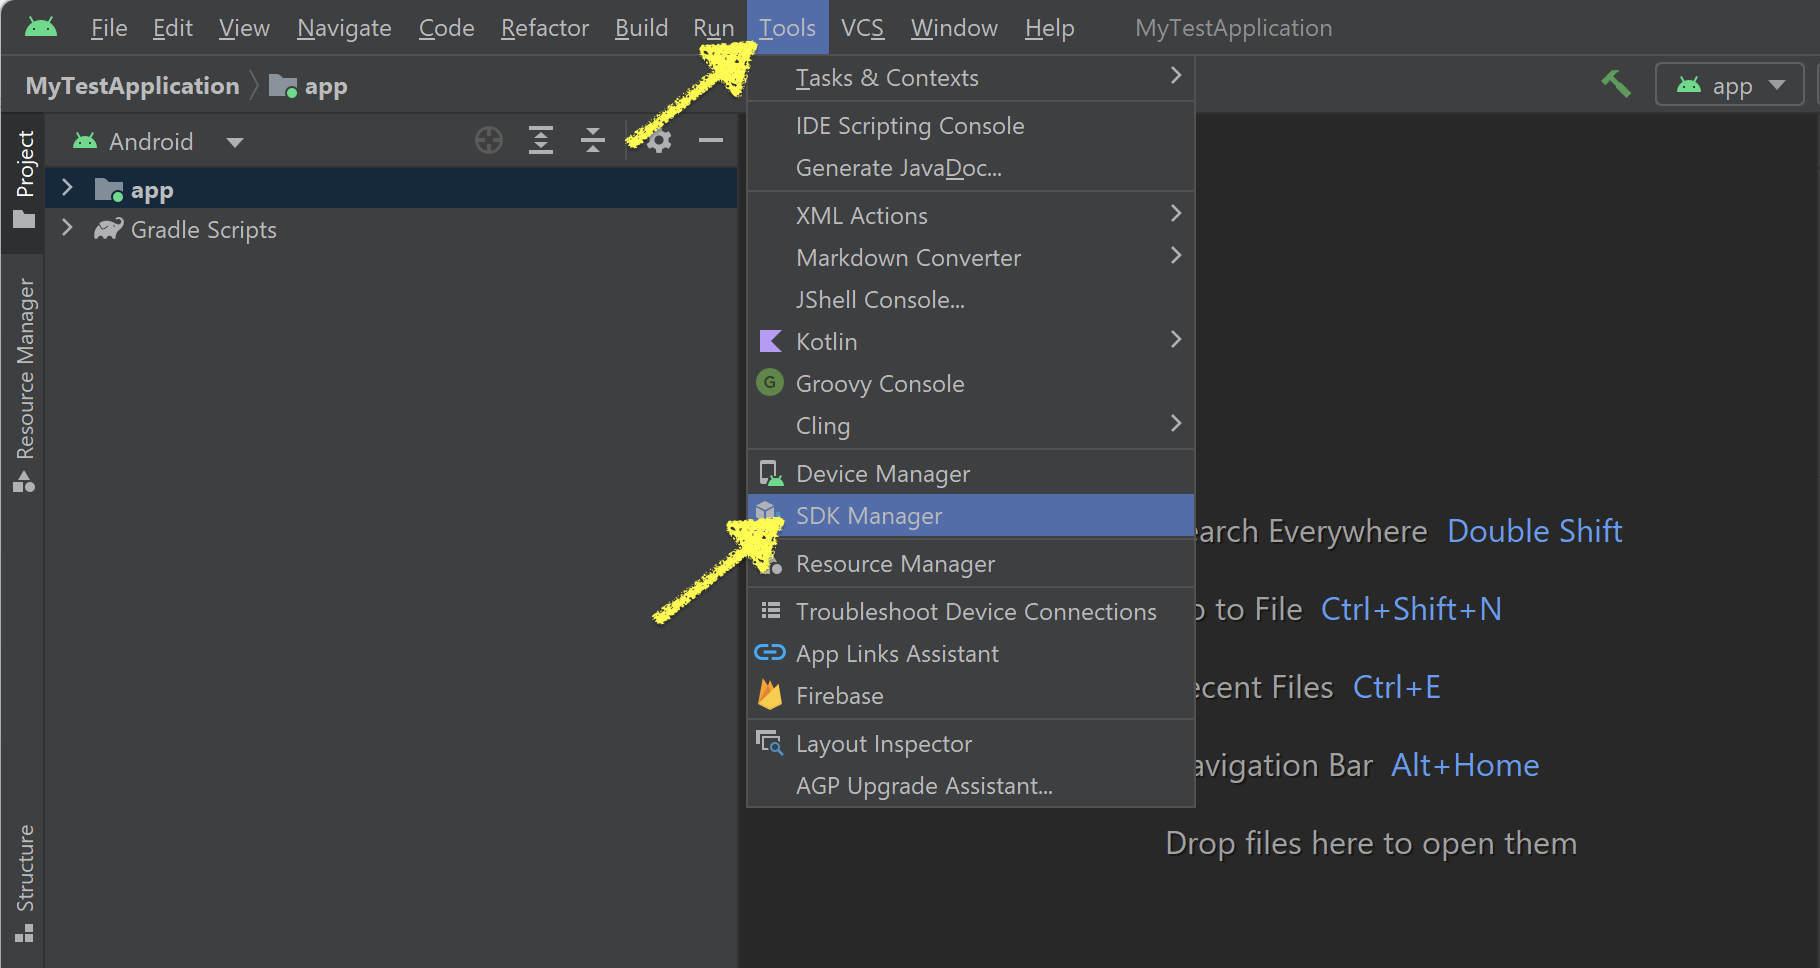
If you don’t see SDK Manager option in Tools menu, then please wait for a couple of minutes. Android Studio takes some time to setup all the necessary components when you open it for the first time. After 2-3 minutes you would start seeing this Android option in Tools menu.
You can check the bottom right corner of Android Studio. It would usually show some progress bar and some text as well. This indicates that Android Studio is still setting up things for first use.
13. Once you select SDK Manager option,Settings screen would be opened with Android SDK option selected by default, as shown in the below image. Also, please note that there are 3 main tabs in this screen – SDK Platform, SDK Tools and SDK Update Sites. We will be checking only the first two tabs – SDK Platform and SDK Tools

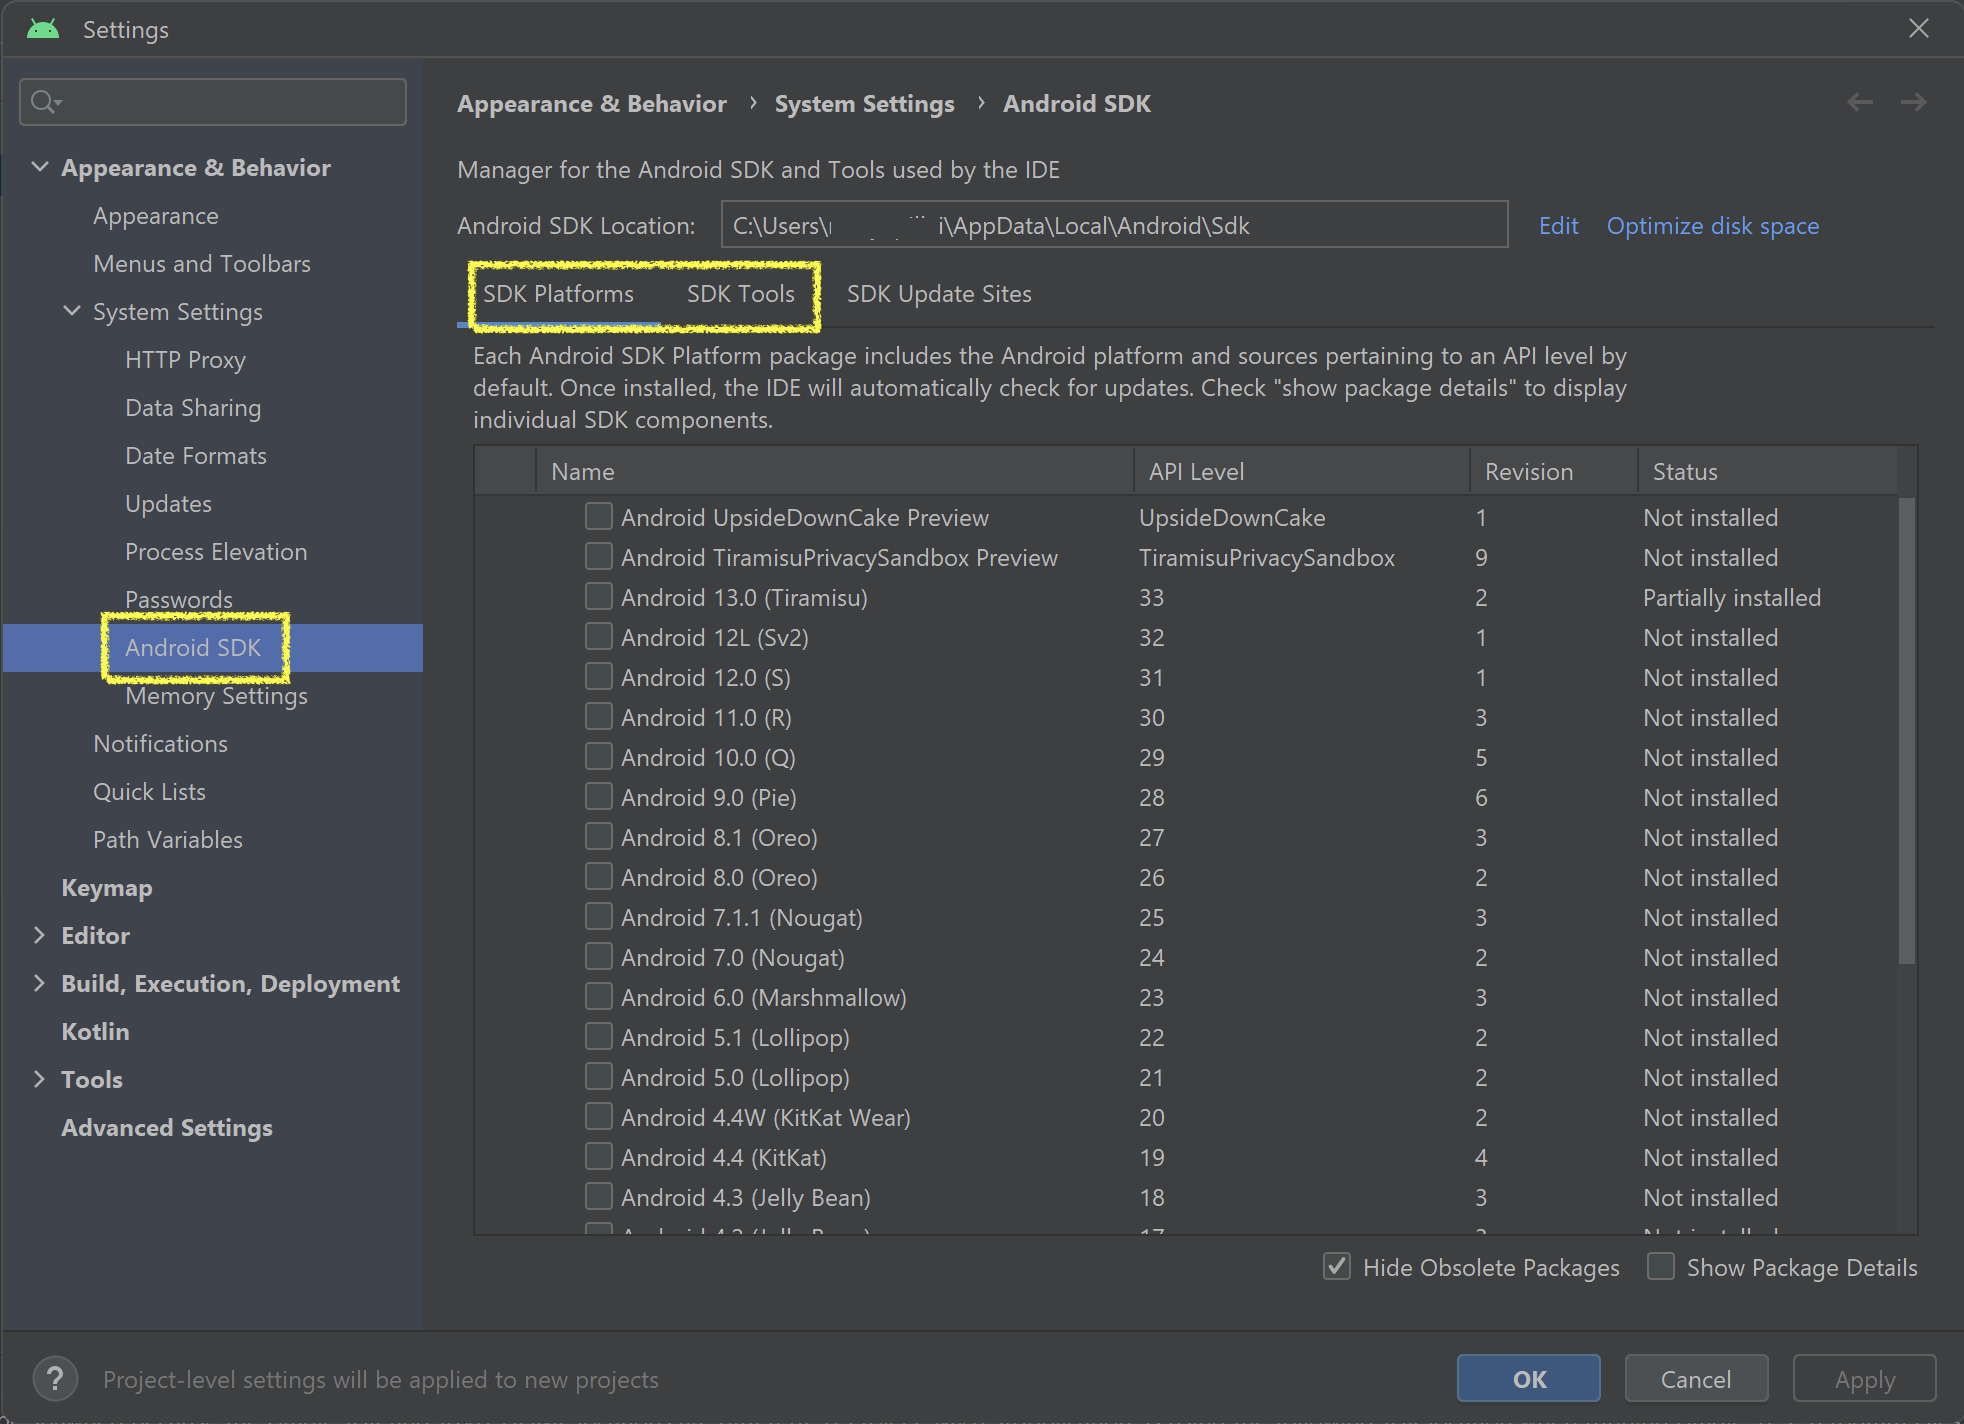
14. In SDK Platform tab, check that the latest version of Android is installed. Even if it shows Partially Available or Update available, then its ok for now
If you are working on real android devices then it doesn’t matter if your device’s OS version doesn’t match with the OS version installed in Android SDK. But if you want to run your scripts on an emulator, then you would need to install the OS version which you want in your emulator.
For example, if you want to create an emulator on Android 12.0, then you need to install Android 12.0 (S) from this Android SDK screen. If you select the checkbox, then a download icon would appear before its name, indicating that Android Studio will download the component.
For now, we are not installing any Android version, as we will be working with a real android device.
15. Click on SDK Tools tab. Verify that the components marked with arrow marks in the below image are already installed
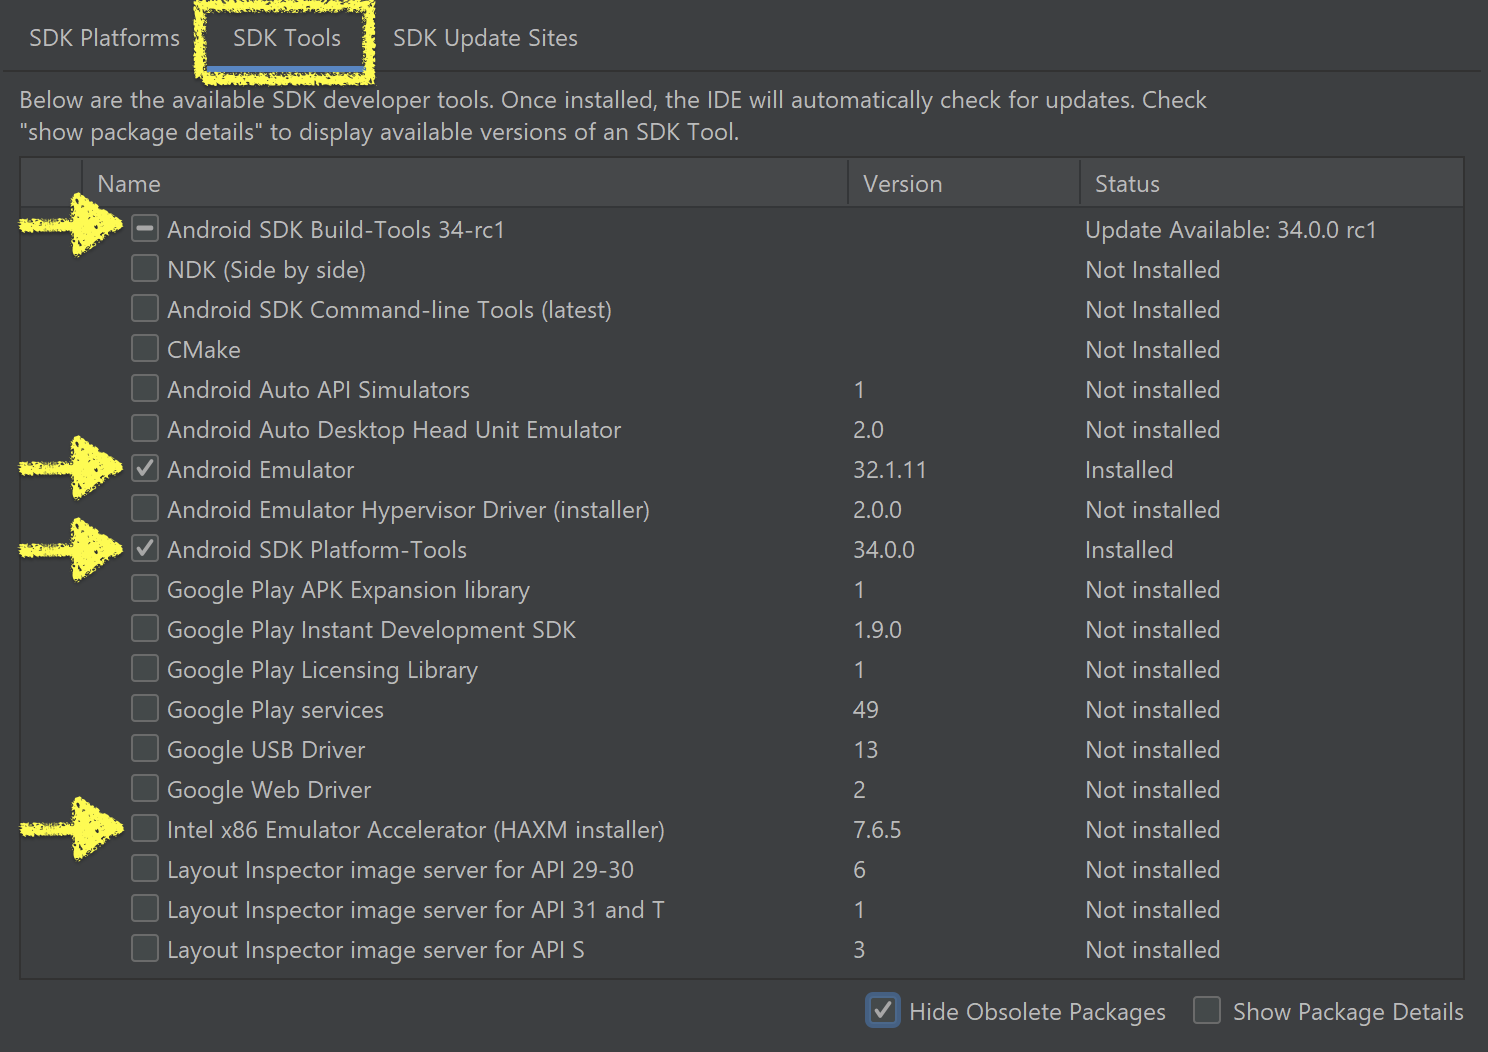
16. As you would have noticed in our case, Intel x86 Emulator Accelerator (HAXM installer) is not installed. So we have clicked on its checkbox and download icon has come up next to it’s name
Please note that some of the components would be marked as installed, and some others would be marked as Update Available. Update Available only means that an older version of the component is installed currently. As of now, it is fine if it’s in Installed or Update Available state
17. For you, if all the components that are marked with the arrow are installed or in Update Available status, then you can click on OK button to close this screen. If any of these components is not installed, then you can click on the checkbox against that component and then click on Apply button to install the component.
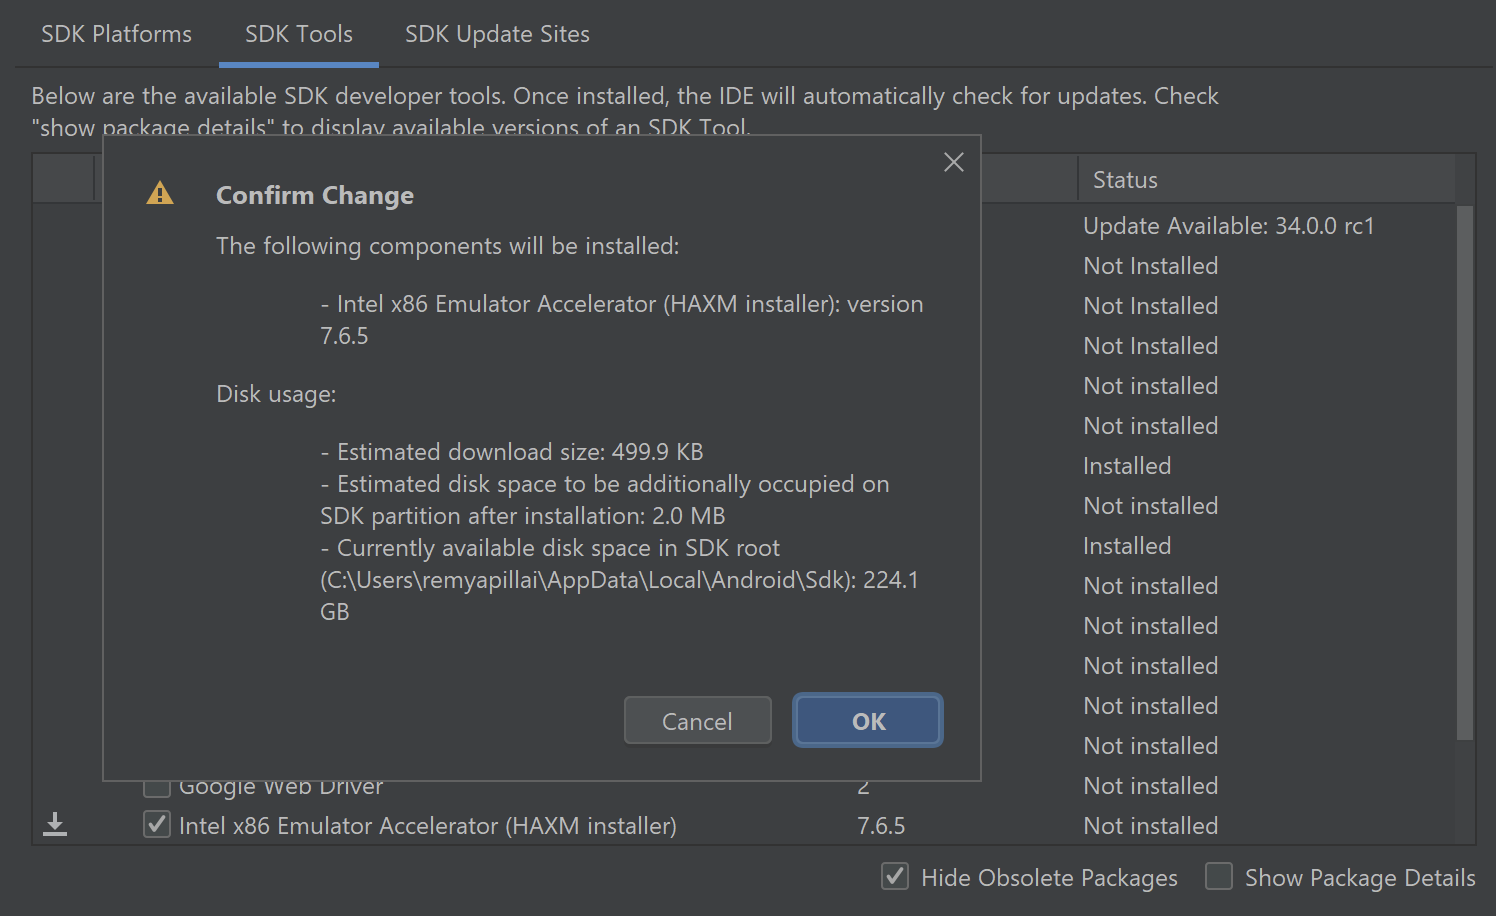
18. If you have selected any components to be installed or updated, then Confirm Change popup will be displayed. Click on OK button to install/update the components

19. You now have all the necessary SDK tools and platforms installed on your machine. You can now close Android Studio.
This completes our article on installing additional Android SDK tools. You would have observed that most of the components that we were looking for were already installed in Android Studio. This is one important feature with the newer versions of Android Studio, where it has all the important components already installed.
Let us know if you found this article useful. Feel free to contact us if you had any issues with any of the steps mentioned here. There might be a chance that some of the steps might be different depending upon the version of Android Studio that you use. Your feedback would help us improve our content and make it more helpful for all our readers.
Next Article: Setup Android Environment Variables