
This is the third article on our Selenium IDE tutorial series, which will help you with understanding your Selenium IDE test script. In our previous article on Selenium IDE, you learned the step by step process of creating your first test script using Selenium IDE’s recording feature. This article is a continuation of that previous article, and here the primary focus would be to get an understanding of the script that you had recorded previously.
Open the test script you created in previous article
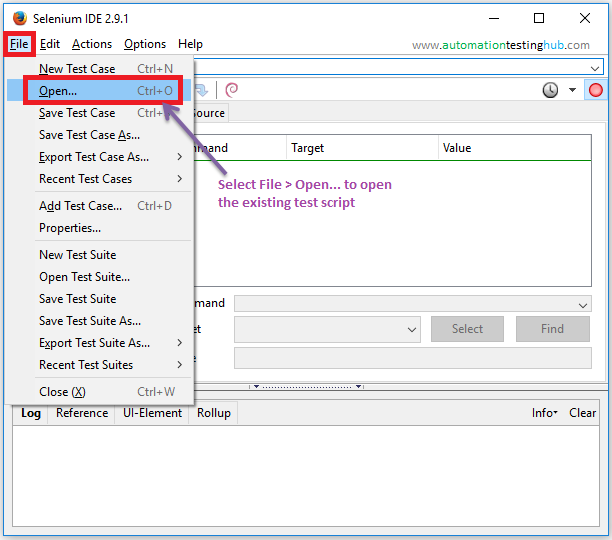
Let us first open the same test script which we had created in the last article on Selenium IDE. We had saved the test script as ‘Facebook Signup Test’, and we would be opening the same script here.
1. Open Selenium IDE by using Ctrl + Alt + S key combination, or select Tools > Selenium IDE from Firefox menu options.
2. Click on File > Open option from the menu bar

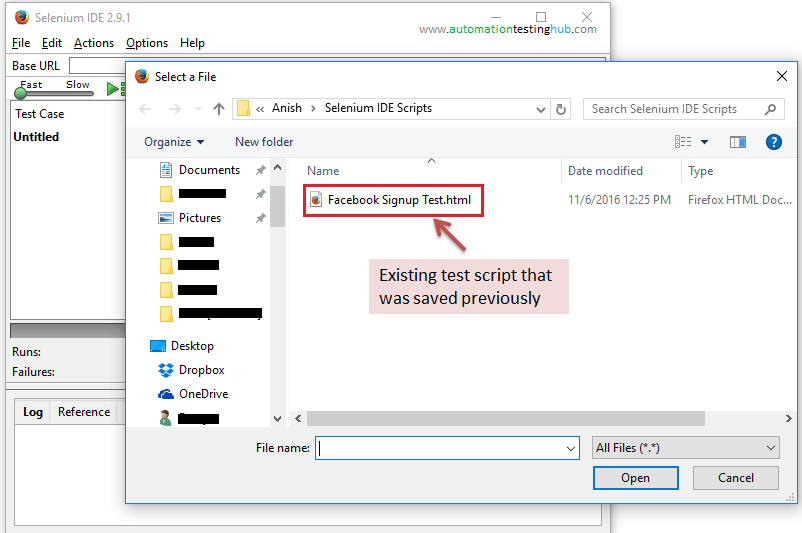
3. You will see that Select a File dialog box is opened. Navigate to the folder where you had previously saved the test script and open it.

4. Once you open the test script, it would look something like this

2 formats in which Test scripts are displayed in Selenium IDE
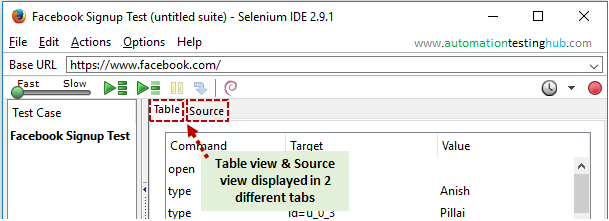
When you use Selenium IDE to record test scripts, your scripts will be displayed in the below 2 formats –
- Table view: Here, the script is displayed in tabular format
- Source view: In source view, your scripts is displayed in XML format
Both these views are displayed in different tabs in Selenium IDE as shown below.

Let us have a look at each of these views in more detail.
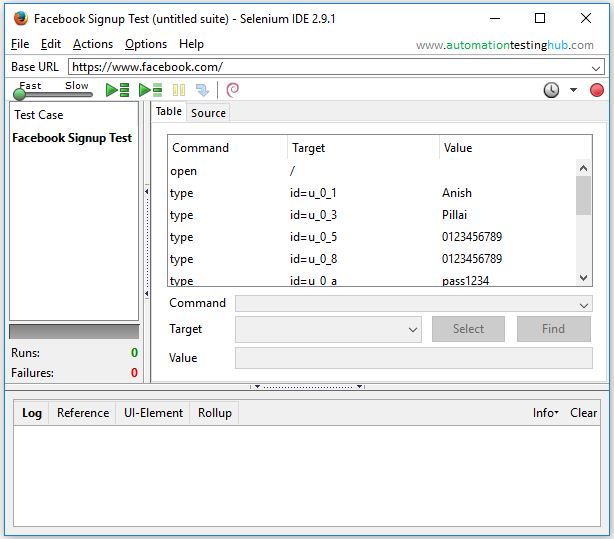
Representation of the Test Script in Table View
When you open a test script in Selenium IDE, its by default displayed in Table view (or Tabular format). Table view helps the user to easily understand the structure and flow of the test script in a better way.
In the tabular format, you can see that there are three columns and multiple rows. Each row represents one action that you perform on the web-page. Here, let us take the example from our test script “Facebook Signup Test”. Consider the 2nd row as highlighted in the below image to understand what the three columns represent.
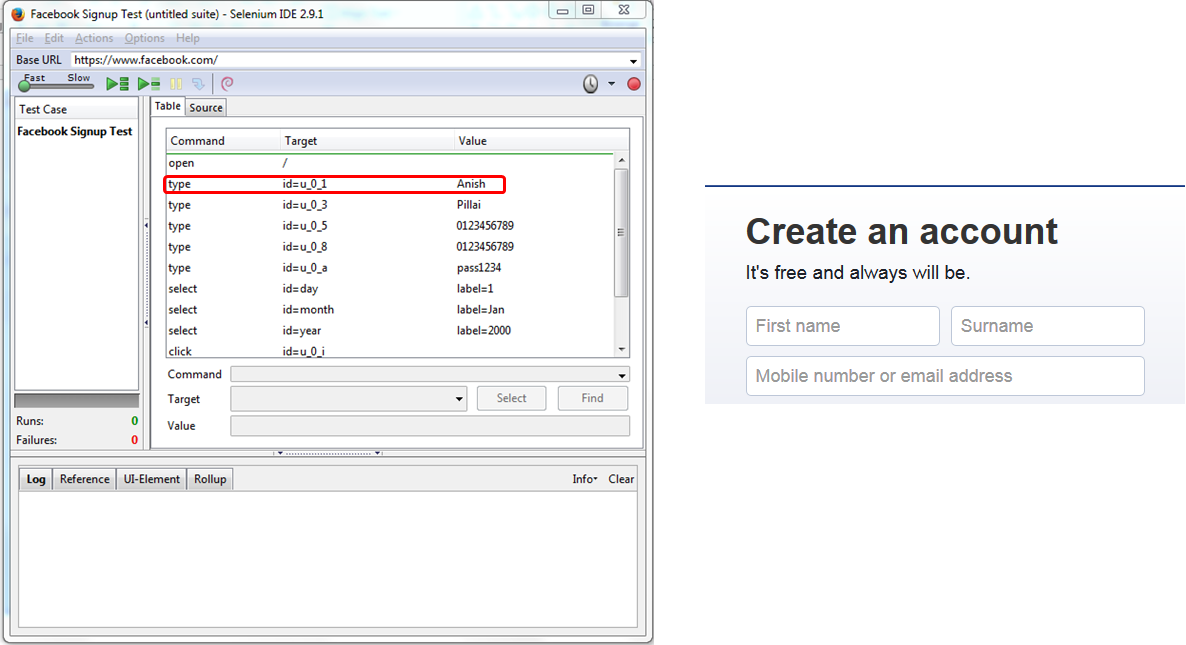

Like every other row in the table view, this row also represents an action on the web-page. Let us now try to understand what this row represents. This row (again, like all other rows) contains 3 columns. These are –
1st column – Command tells us what action you performed, which in this case is “type”. Type command means that you are writing or typing a value in some field. In this case, you are writing the value in the First Name field on Facebook page as shown in the below image.


But how do you know that it’s the First Name field where Selenium IDE is entering the value? Well, that’s where you need to check the 2nd column.
2nd column – Target identifies the control. There are multiple ways in which a control can be identified, but in this case Selenium IDE by default has taken ‘id’ property to identify the control.
If you check the source code for the “First name” field on the Facebook.com signup page, you will see that there are multiple properties for identifying the control as marked on the below image (eg- id=”u_0_1″, name=”firstname”, aria-label=”First”)


As of now, if you don’t have an idea about the different types of identifiers used by Selenium, then please don’t worry about it. We will cover all these in detail in our upcoming articles. We are not going to that depth in this article, as we want to keep things simple for now.
3rd column- Value is the actual value to be entered in the field. In this case, the value is “Anish”, which would be set in “First name” text field. Also, please note that the value field would not be applicable to all types of actions or controls. For example, value field would make sense for text box & drop down kind of fields. These are the fields where you set some values.
But for fields like button, link etc where you just click on these controls, you would not need a value. So for these controls, Value field would be blank. You can see this in the below screenshot, where the Value field is blank for the last 2 rows.


Till now, we had only discussed about a single row and explained it in detail. But the same thing applies to all the rows in the Table view. All other rows in the script perform some action on the web page. From the above screenshot you can see that there are actions or commands like open, type, select, click etc, which represent different actions to be performed at each step on different fields on the web-page.
With this we complete the analysis of the script in Table view. Let us now have a look at the Source view.
Representation of the Test Script in Source View
In Source view, the entire test script is displayed in XML format. This xml format of the script is created automatically when you record the flow with Selenium IDE. The image below shows the corresponding structure of the first 2 rows from Table view –
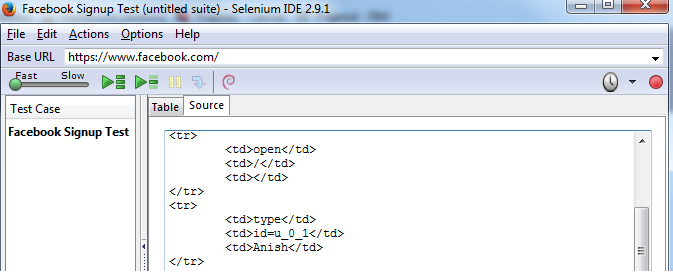

Each row from Table view is represented by a “tr” in Source view. And each column within the row is represented with a “td”. Let us again consider the same row from Table view (row #2) as an example. You would notice from the below screenshot that the “tr” for this row contains three “td” entries, and each of these have the same value that was there in the columns.


You can even change any of the values in the “td” entries directly from the Source view. But this practice is not encouraged as this is prone to errors. Also, most of the times people use the Table view more and don’t generally look at the Source view. This is because Table view is much more easy to understand and follow compared to Source view.
We would also recommend the same approach for you. You don’t need to use it much, but you should have a basic understanding of what it is. With this, we complete this article on understanding of your Selenium IDE test script. Our next articles on Selenium IDE would focus about how to modify your existing Selenium IDE test scripts. You can send us your feedback or issues with this article in the comments section.