Eclipse IDE is a popular development environment used to write and manage Java-based development and test automation projects. Eclipse IDE that allows you to write your programs and test scripts in multiple programming languages such as Java, C, C++, PHP etc (with Java being the most popular one).
As we are using Java as our main programming language for Selenium Webdriver and Appium Tutorial, hence we will use Eclipse IDE for Java to write all our test scripts.
If you have already installed Java and configured the JAVA_HOME and PATH variables from our previous steps, you are now ready to set up Eclipse. In this article, you will download and install Eclipse IDE on Windows (works for both Windows 10 and 11) so you can begin building your automation projects.
Download Eclipse IDE for JAVA on Windows
Follow the steps below to download the latest version of Eclipse IDE for Java on Windows 10 and Windows 11 –
1. Open this link – https://www.eclipse.org/downloads/packages/
2. The page lists different Eclipse IDE packages. Select Eclipse IDE for Enterprise Java and Web Developers, which is suitable for Selenium and Appium automation using Java
This link lists down latest Eclipse IDE versions for different programming languages. We are interested in Eclipse IDE for Enterprise Java and Web Developers
3. In the Windows section, you will see two options for architecture – AArch64 and x86_64:
- AArch64 – Select this option only if you are using a Windows device with an ARM-based processor
- x86_64 – Select this option if you are using a standard 64-bit Windows PC with an Intel or AMD processor (recommended for most users)

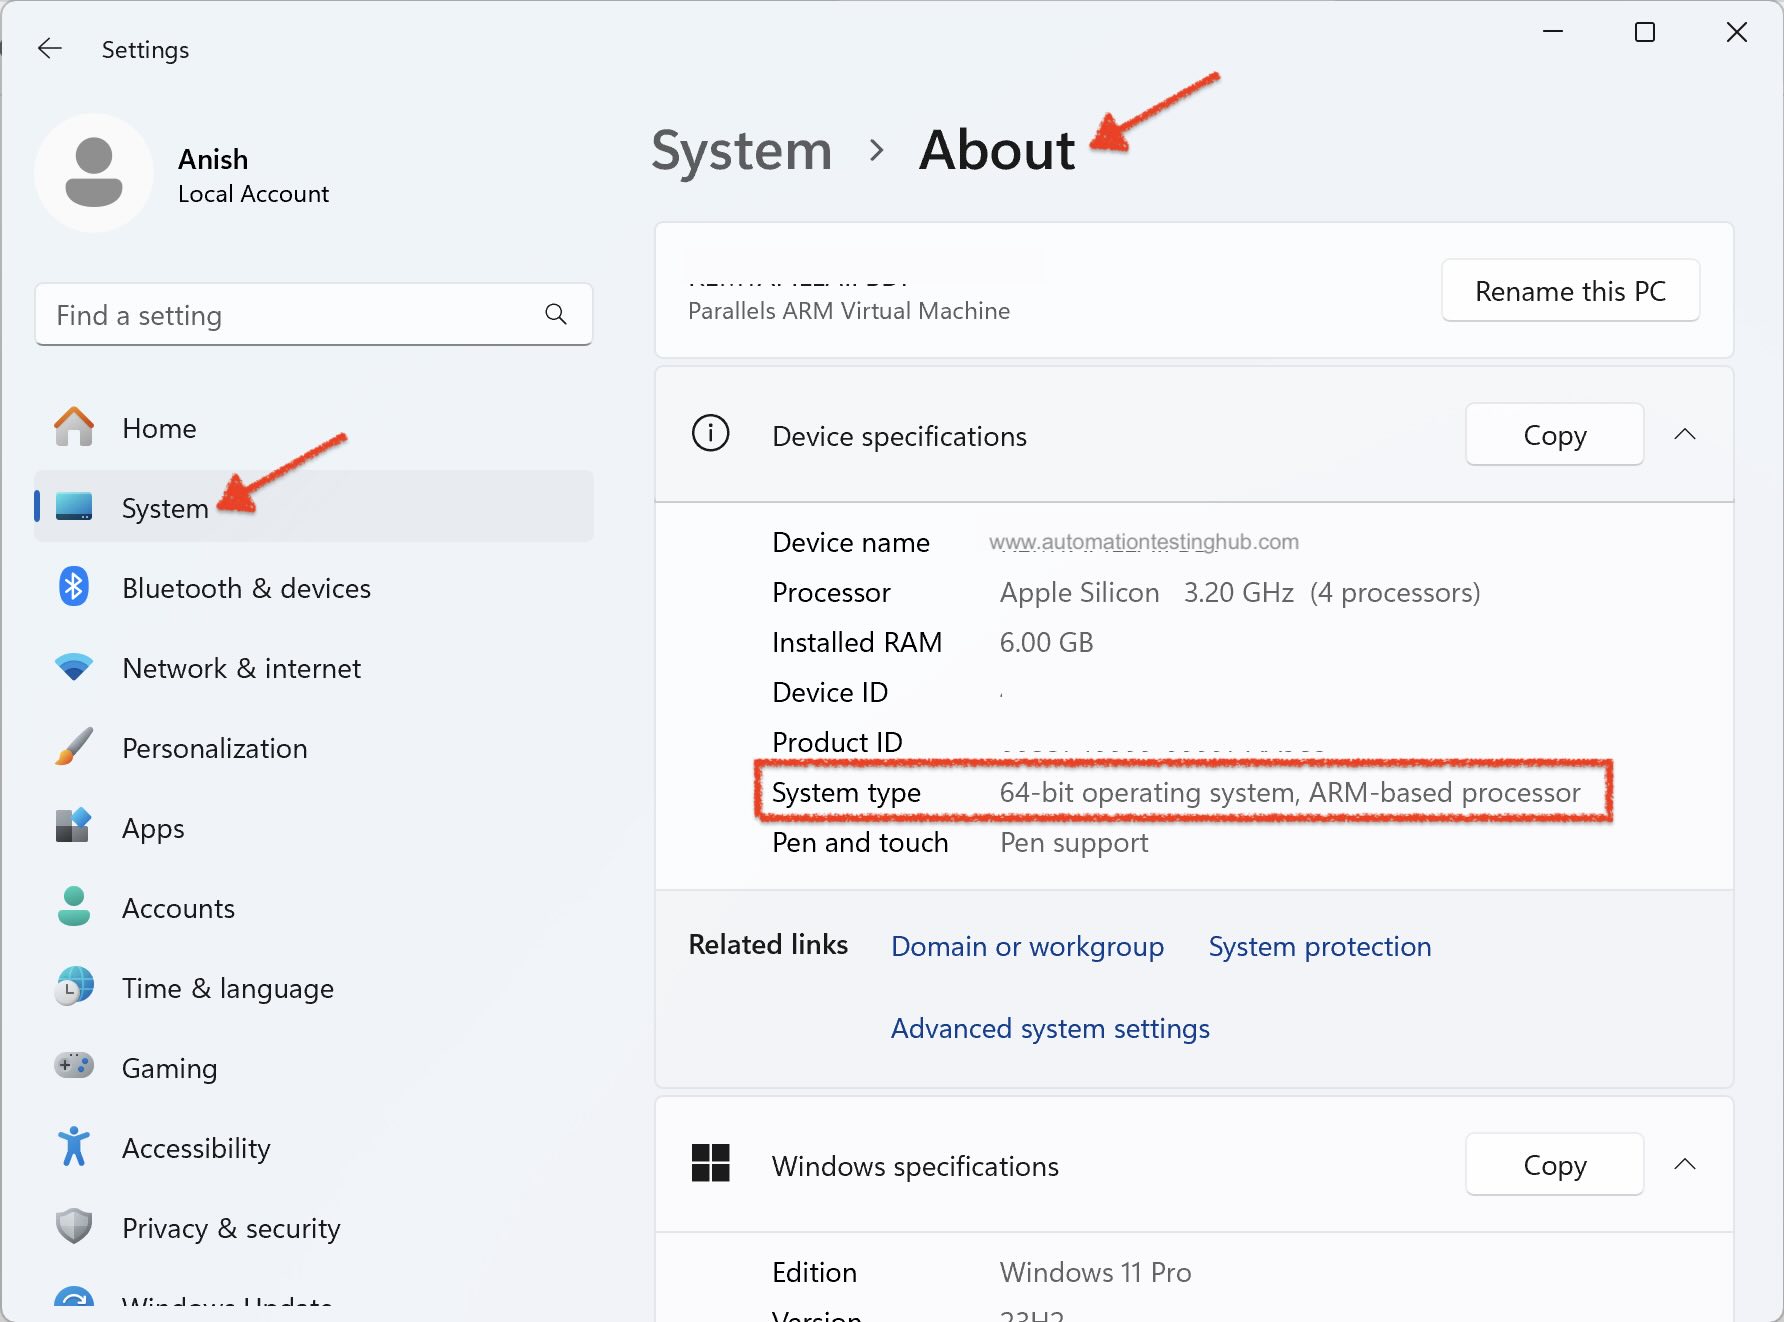
How to Check Whether Your Windows PC Is x86_64 or AArch64? To check your system architecture on Windows 10 or Windows 11 – Go to Settings → System → About and look at System type. You will see one of the following –
- 64-bit operating system, ARM-based processor → Download the AArch64 version of Eclipse
- 64-bit operating system, x64-based processor → Download the x86_64 version of Eclipse (this applies to most users)
4. Once you have identified the correct architecture of your machine, click on x86_64 or AArch64 link. You will be navigated to the download page as shown below. Click on Download button to start the download process.
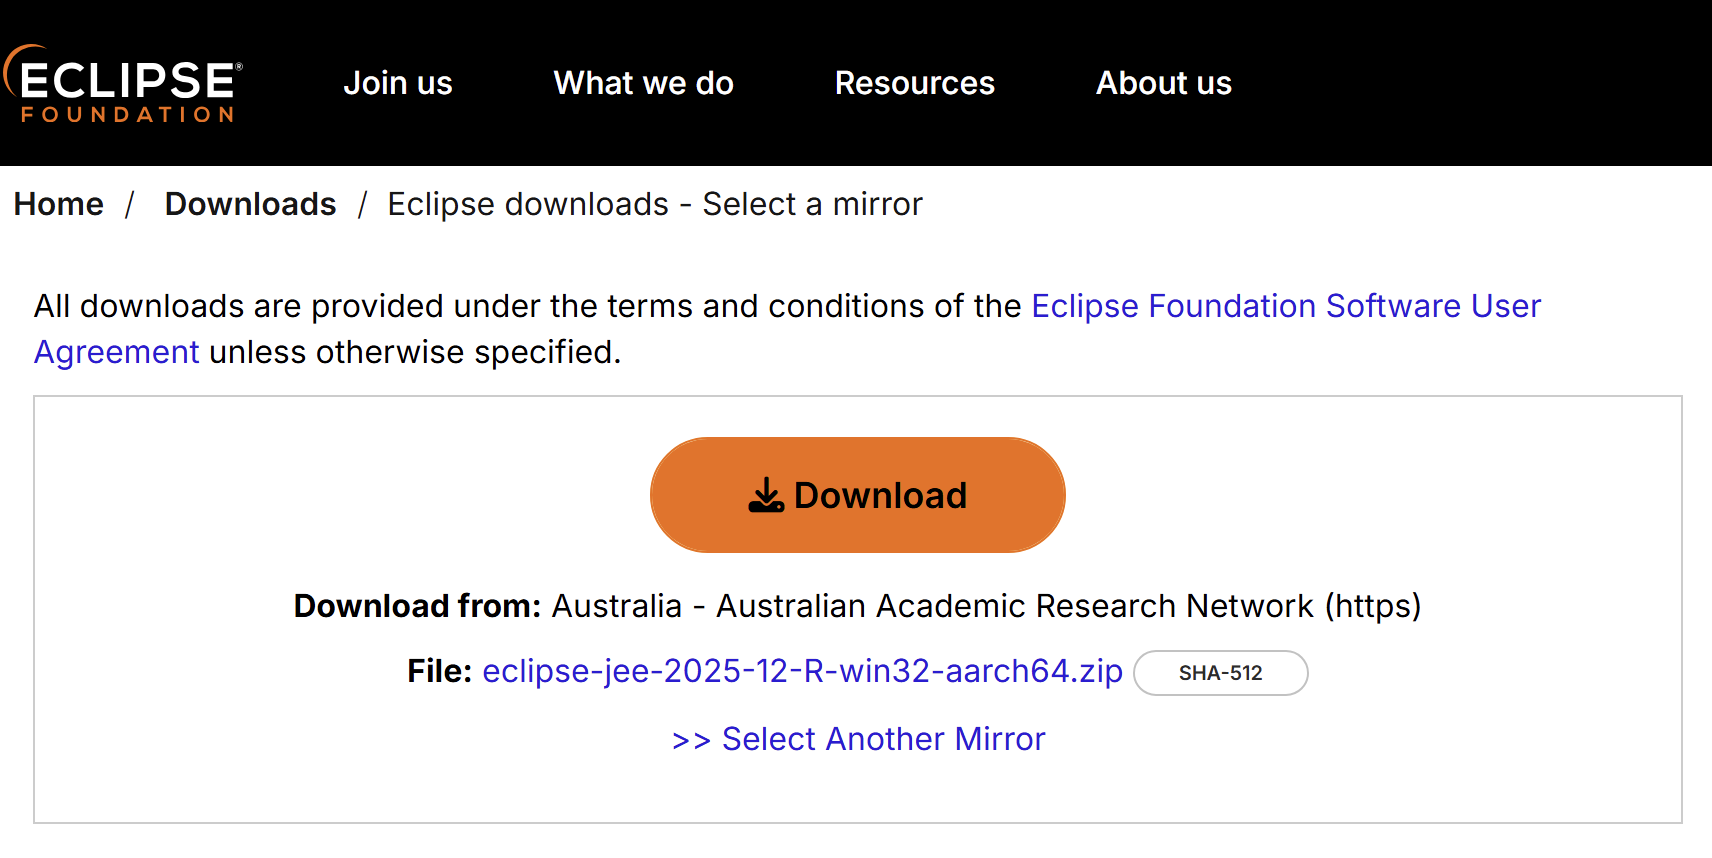
5. Eclipse IDE for Enterprise Java and Web Developers zip file would start downloading on your machine
With this, we complete the process of downloading Eclipse IDE for Java. Let’s now have a look at how to set it up.
Install/Setup Eclipse IDE on Windows
Unlike many other development tools, Eclipse does not require a traditional installation process. After downloading the ZIP file, you can extract it and launch the IDE directly on Windows 10 or Windows 11. Follow the steps below to set up Eclipse and start preparing your automation workspace.
1. Open the folder where you downloaded the Eclipse ZIP file
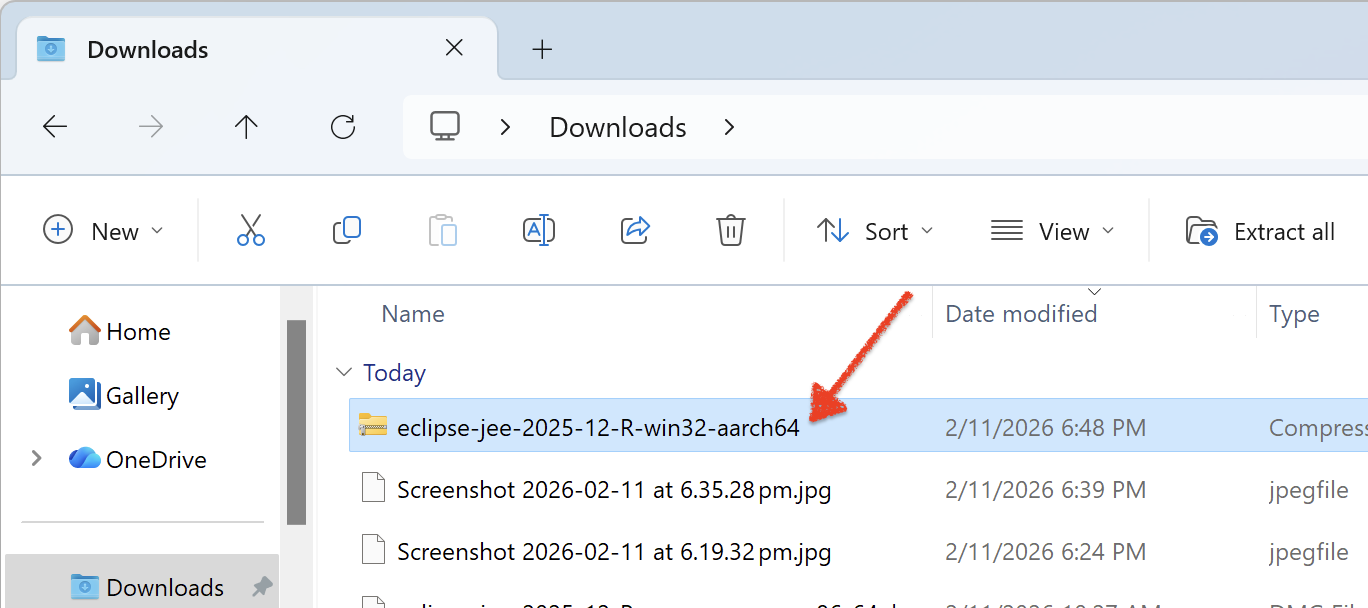
2. Right click on the Zip file and select Extract All
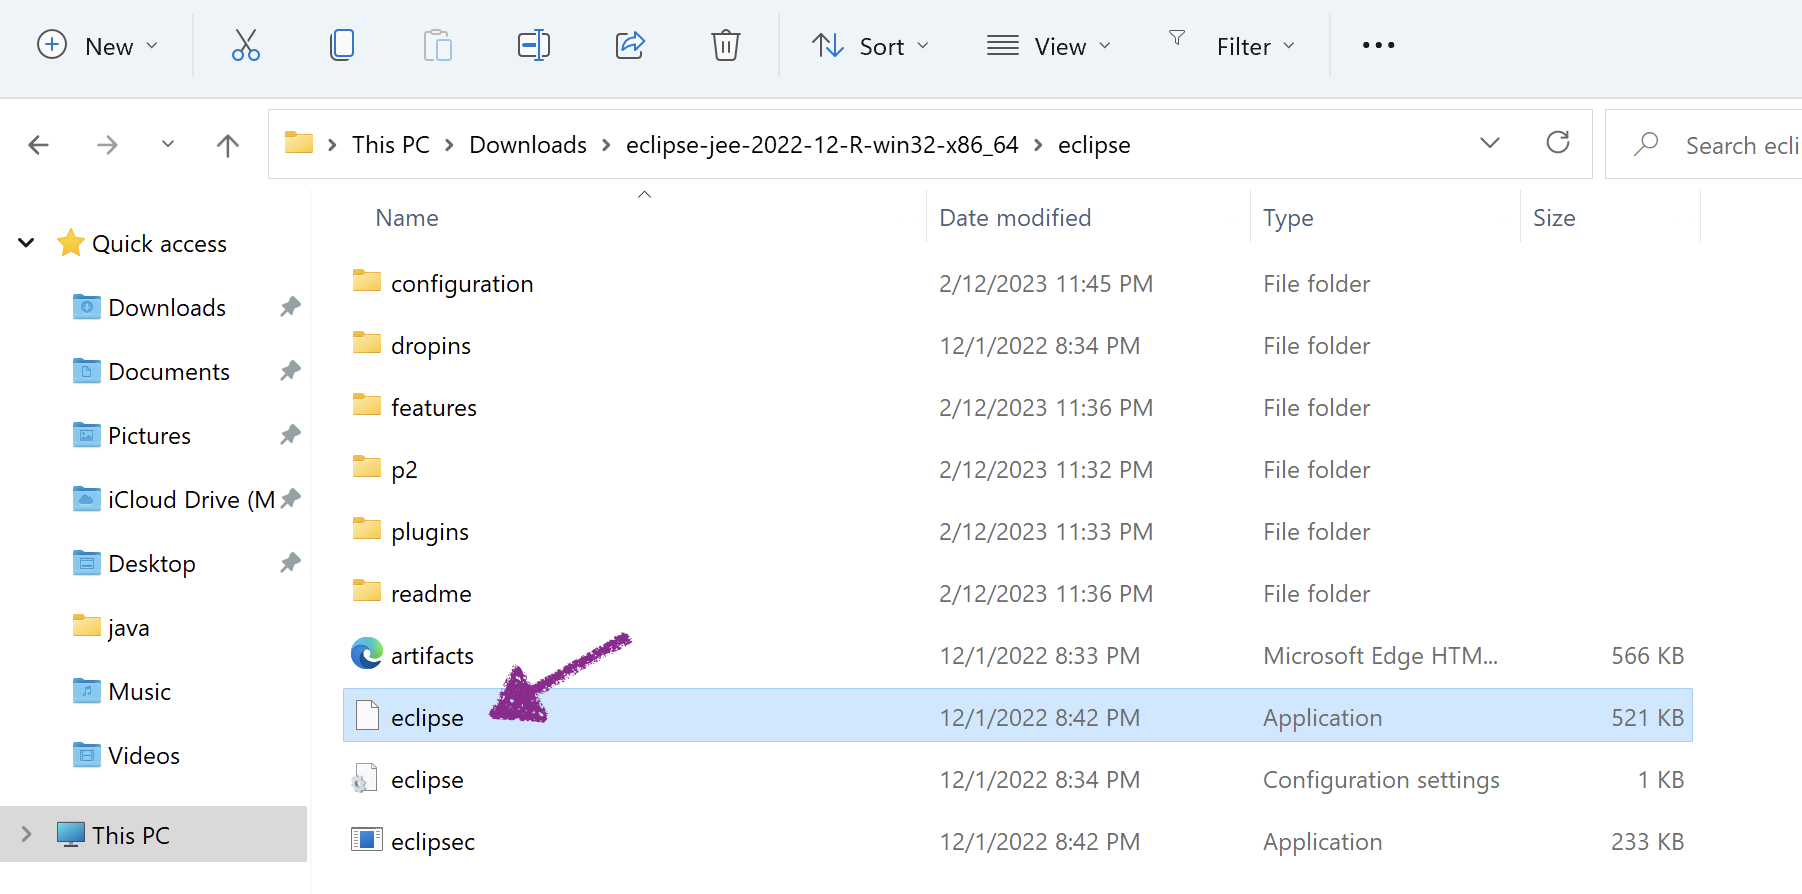
3. After unzipping the zip file, you will get eclipse folder. Open this eclipse folder, it would have contents similar to what is shown in the below image
4. Double click on eclipse.exe file to open the IDE. Once it starts, it would ask you to select a workspace directory. The workspace is the folder where Eclipse stores all your Java and automation projects
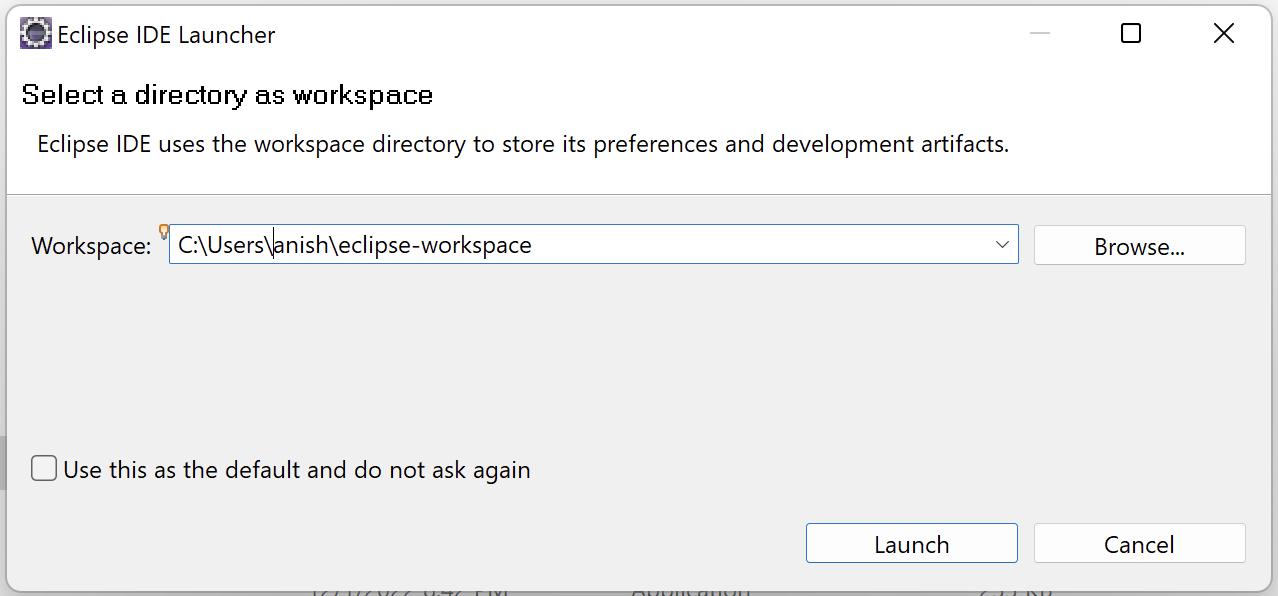
5. Leave the default folder path as it is and click on OK button. Eclipse would open the IDE and you would see the Welcome tab as shown below. In some cases, Eclipse may open to a blank window instead of showing the Welcome tab. This behavior is normal and does not indicate any issue with the installation.
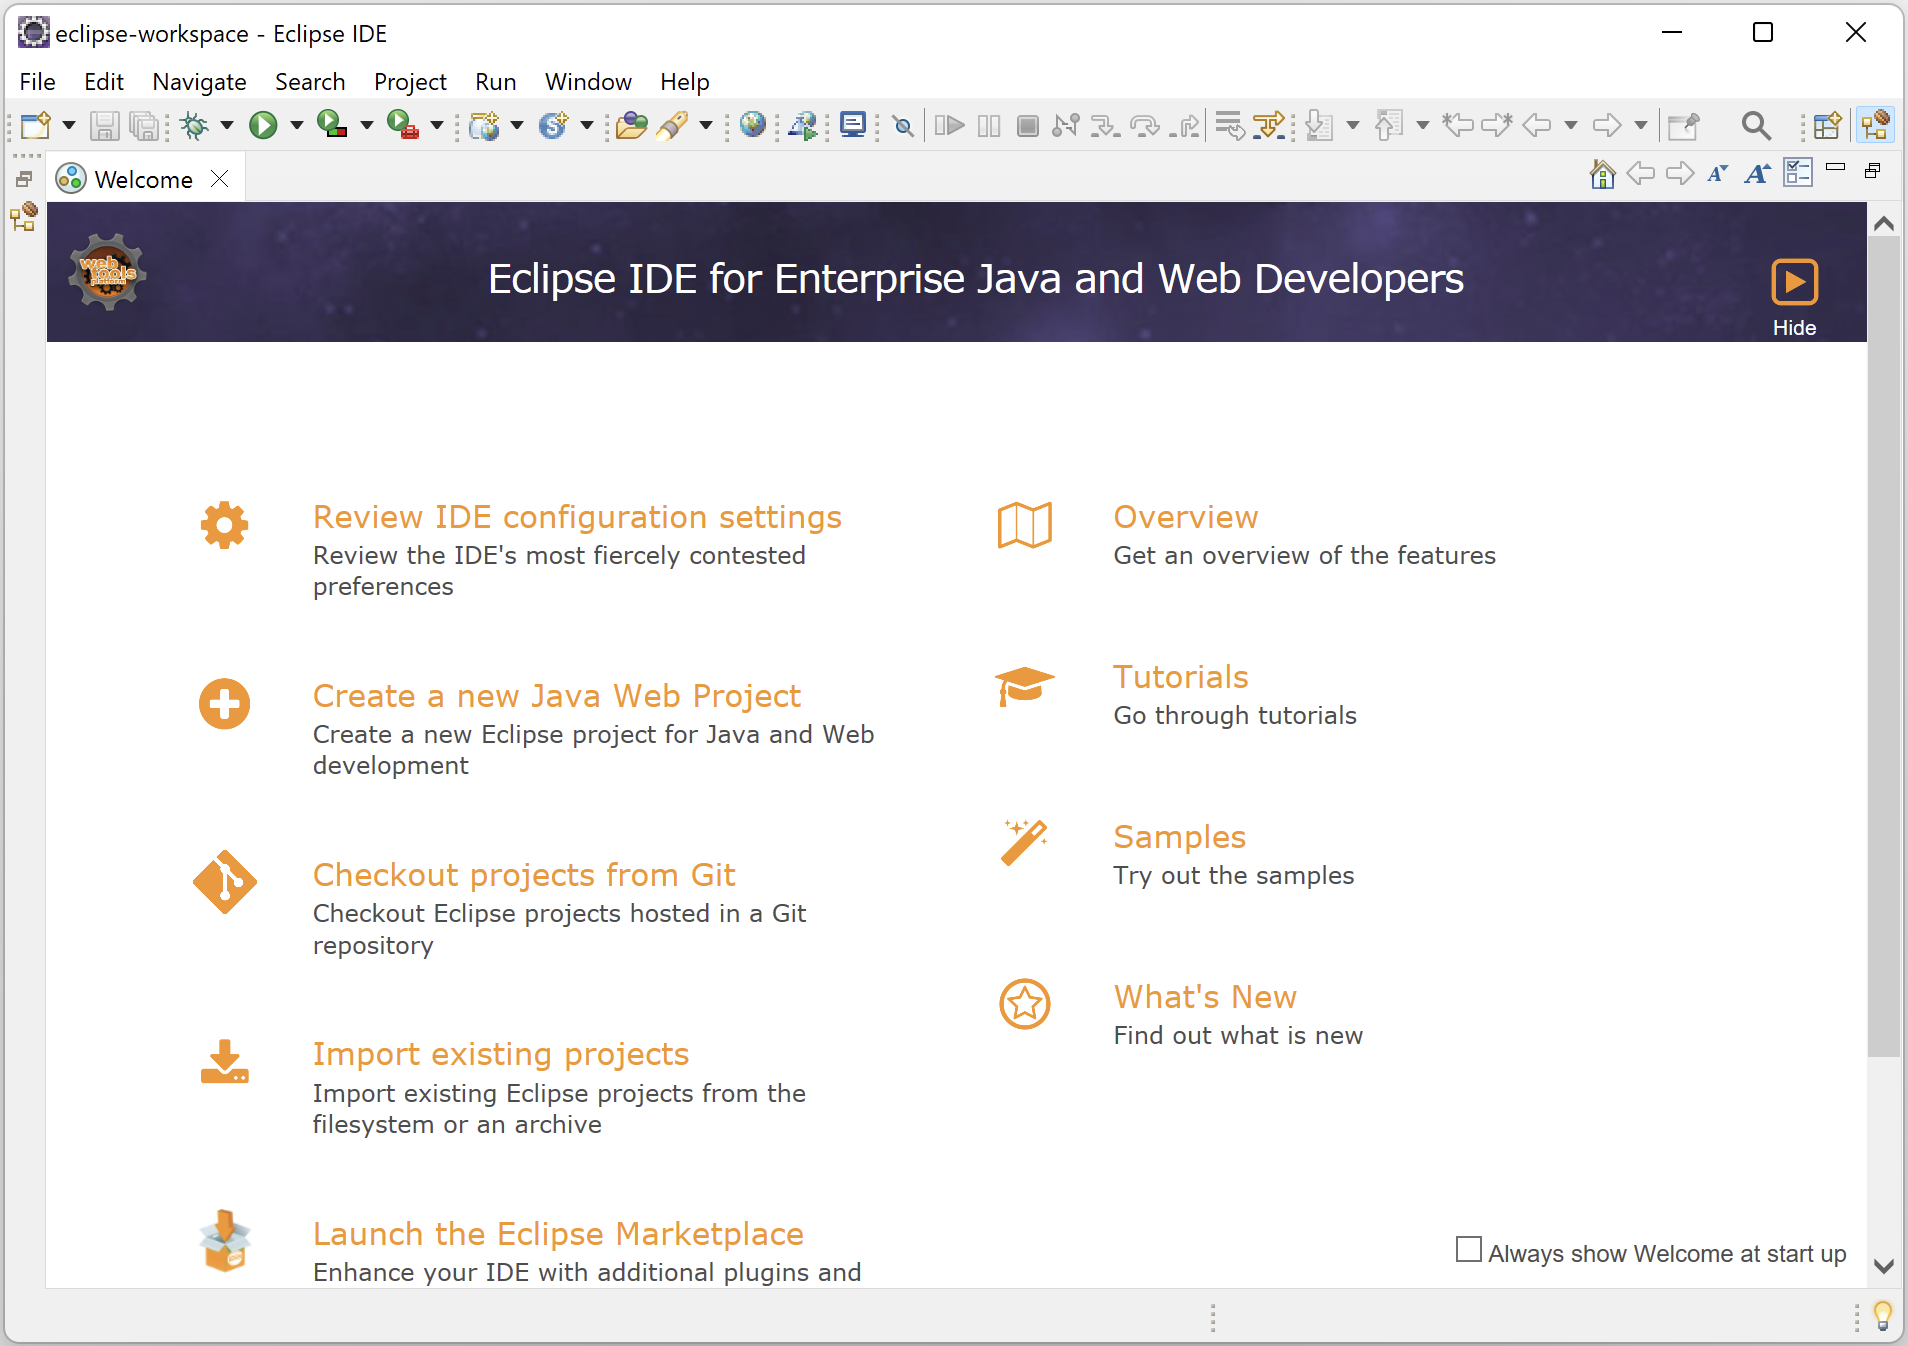
If Eclipse opens successfully and displays the Welcome screen, the setup is complete. You are now ready to create a new Java project and start adding Selenium libraries in the next step
Need an older version of Eclipse?
If you are using an older machine with limited RAM or processing power, the latest Eclipse IDE release may feel slower compared to previous versions. In such cases, you can choose an earlier Eclipse release (such as Eclipse IDE 2025-09, 2025-06, 2024 versions etc) that runs more smoothly on your machine.
For automation scripting with Selenium and Appium, you typically do not need the newest features of Eclipse. Older stable versions work perfectly fine for creating Java projects and running test scripts.
You can download older Eclipse versions from the official Eclipse archive:
https://www.eclipse.org/downloads/packages/release
The download and setup process remains the same as described in this article.