In our previous articles in this Selenium Tutorial series, you downloaded ChromeDriver and Selenium JAR files. Now it is time to create a Selenium project in Eclipse and configure it properly.
In this article, I will show you step-by-step how to create a new Java project for Selenium in Eclipse and how to add all the Selenium WebDriver JAR files manually.
Prerequisites Before Creating Selenium Project in Eclipse
Before you continue, make sure you have completed the following steps:
- Installed the latest version of Java
- Set up Java environment variables
- Downloaded and installed Eclipse IDE for Java
- Downloaded Selenium WebDriver JAR files
- Downloaded ChromeDriver
If you have not completed any of the above steps, I recommend finishing them first and then coming back to this article.
Important Note: As mentioned earlier in this tutorial series, we will first create this as a normal Java project and manually add the Selenium JAR files. Once the Selenium setup is complete and we have a few working test scripts, we will convert this project into a Maven project later.
Let us now start by creating a new Selenium project in Eclipse.
Open Eclipse IDE for Selenium Setup
Follow the steps given below to open Eclipse IDE (if you have not followed this tutorial series from beginning and you don’t have Eclipse, then you can follow this link to download Eclipse IDE) –
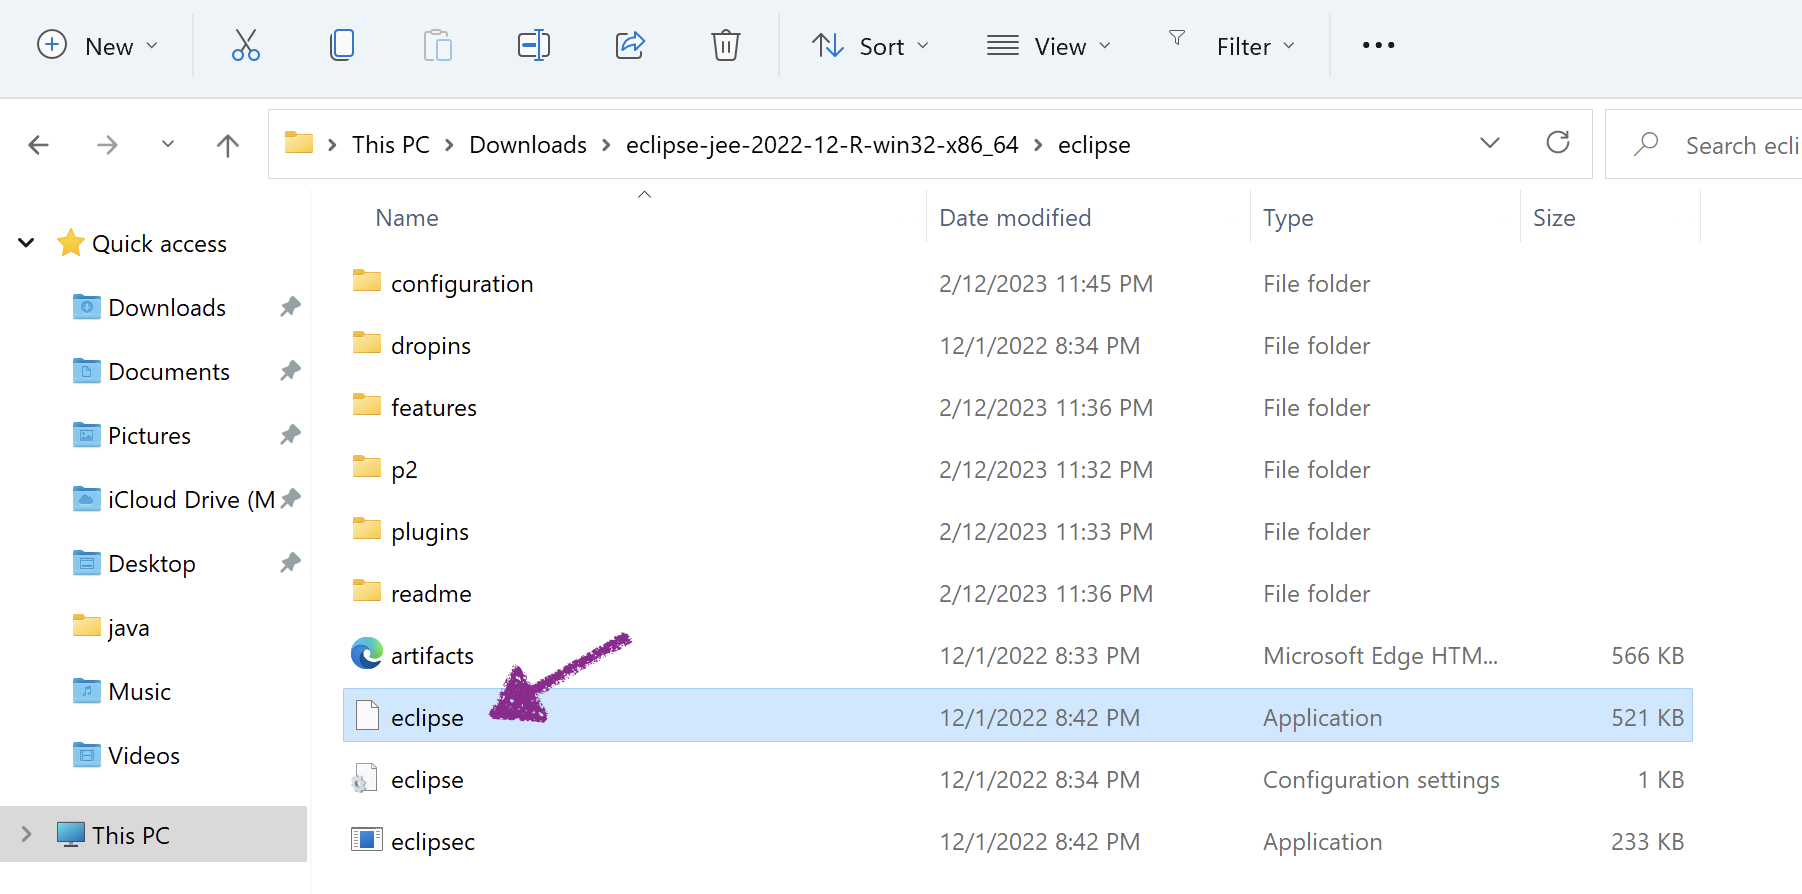
1) Open the folder where you extracted the Eclipse files. Double click on eclipse.exe to start Eclipse
2) Eclipse will start loading. You will see the Eclipse logo on the screen
3) Next you would see Eclipse IDE Launcher popup window. Leave the default workspace folder location as it is
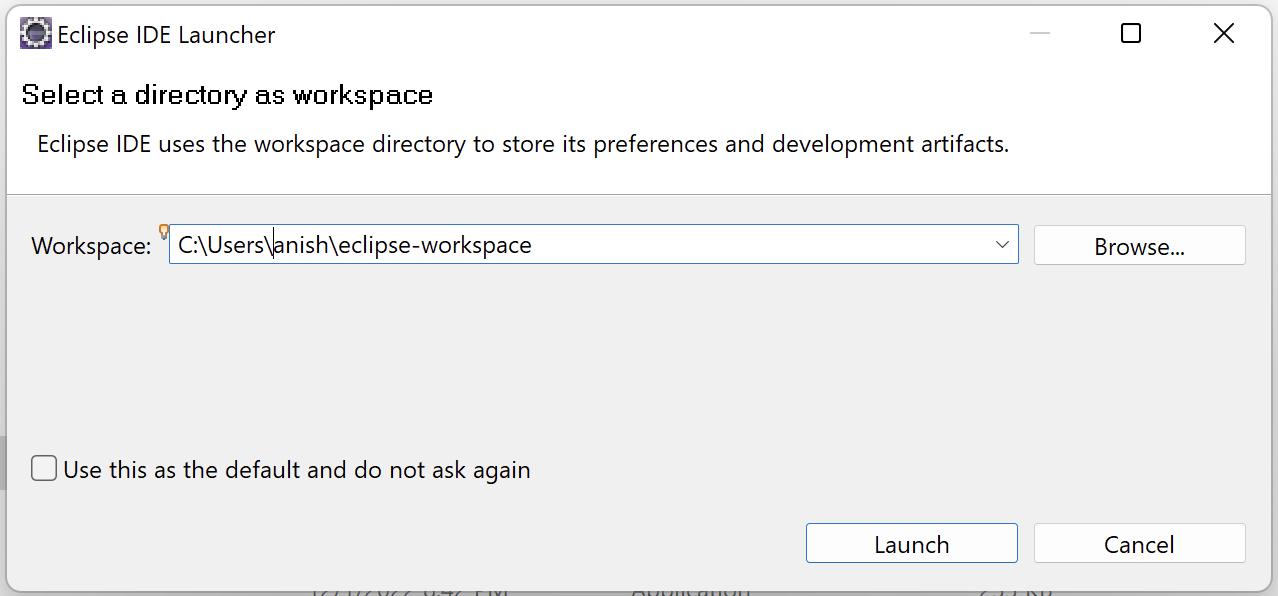
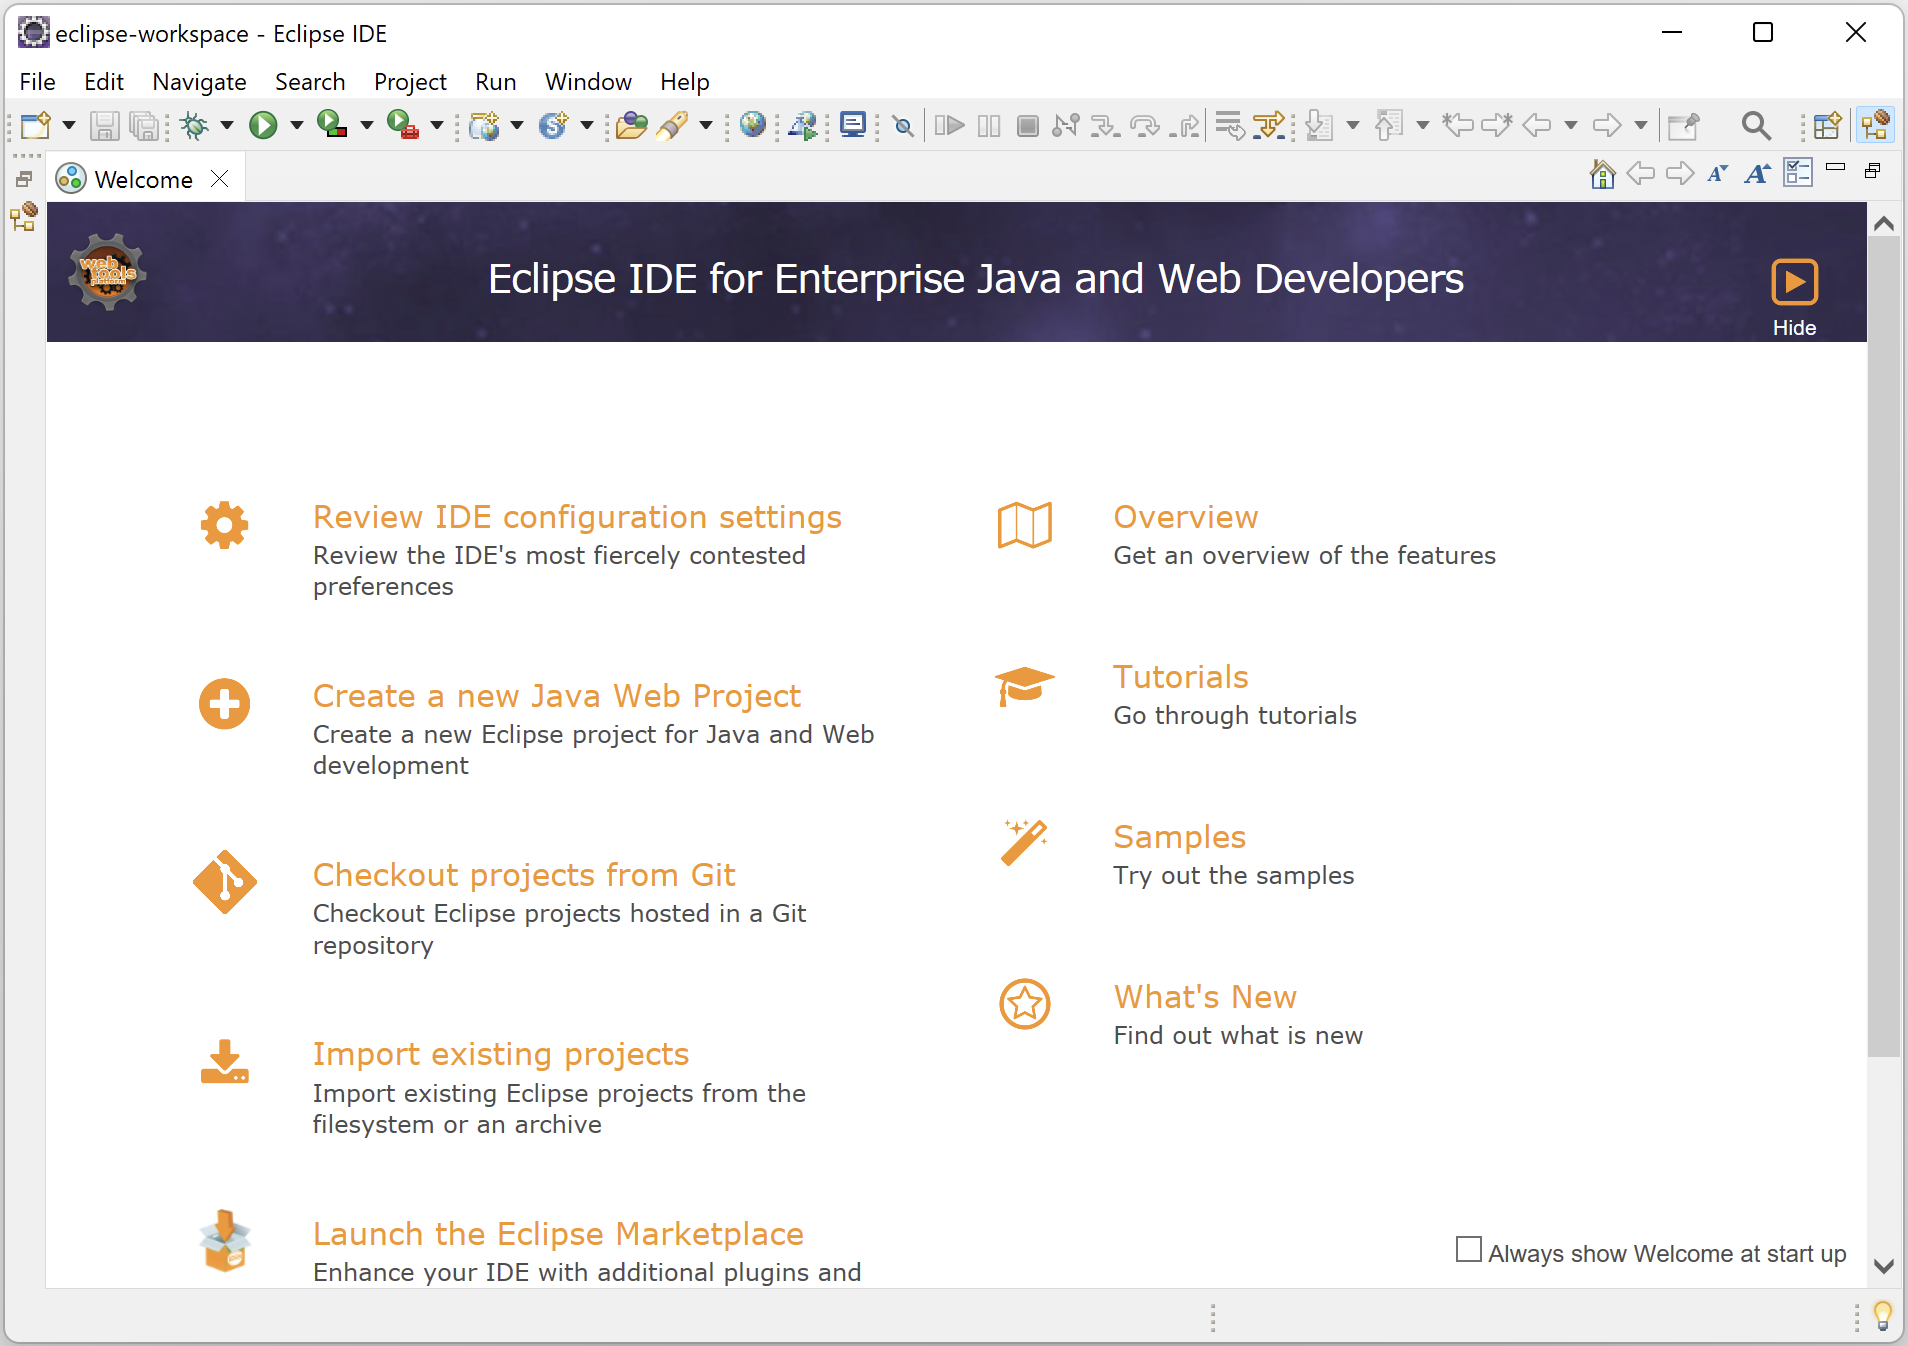
4) Click on Launch button. Eclipse will load the required files and open the Eclipse IDE welcome screen
Create new Java project for Selenium in Eclipse
Now it’s time to create a project for Selenium in Eclipse. This will be a normal java project, which you can create by following the steps given below –
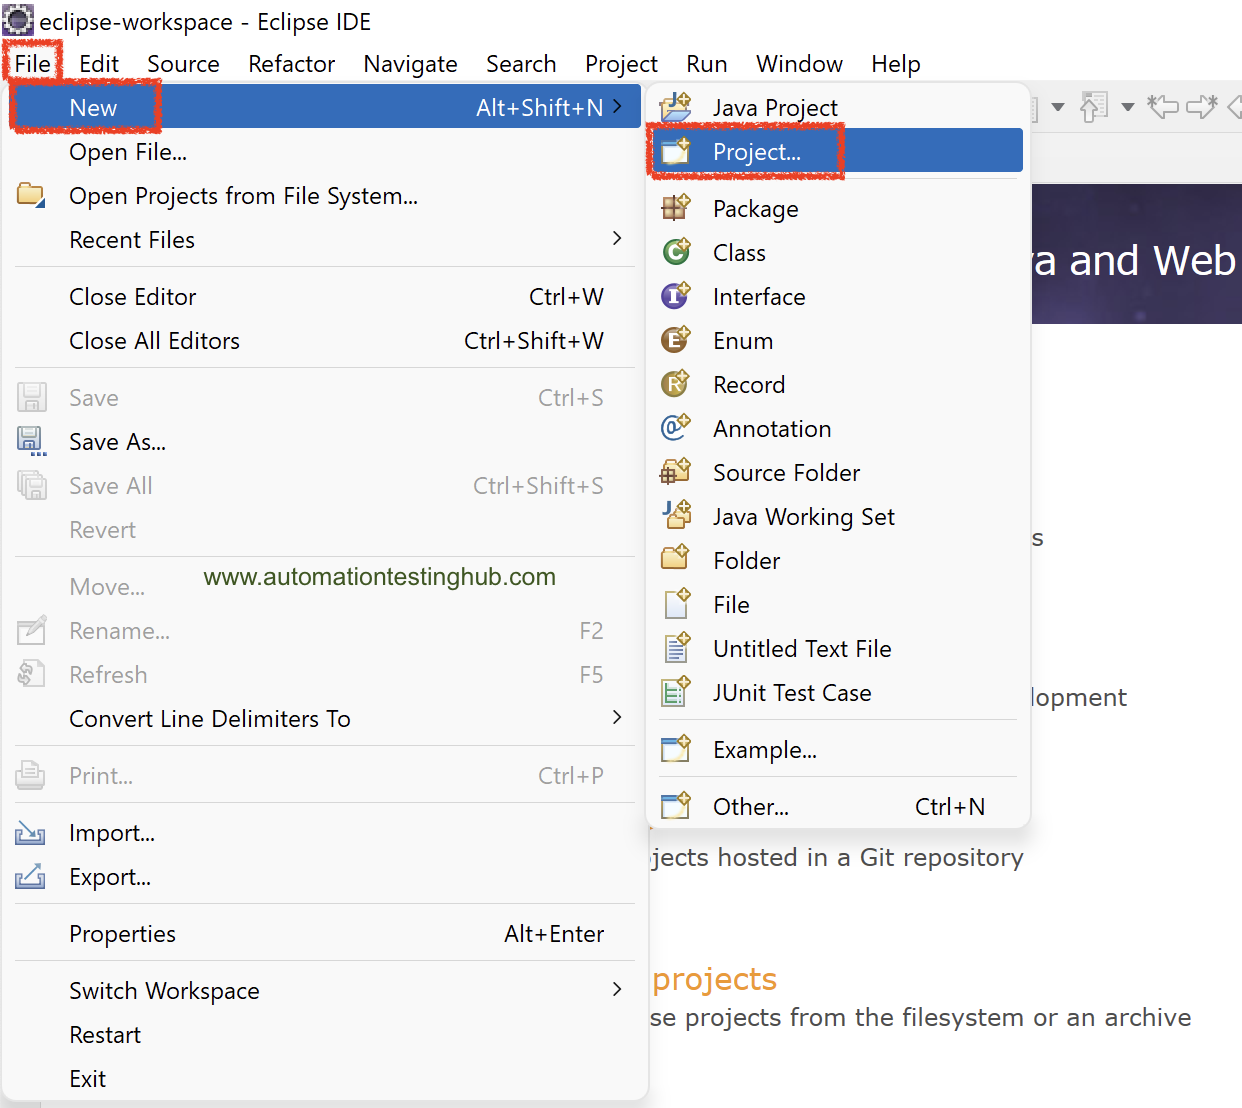
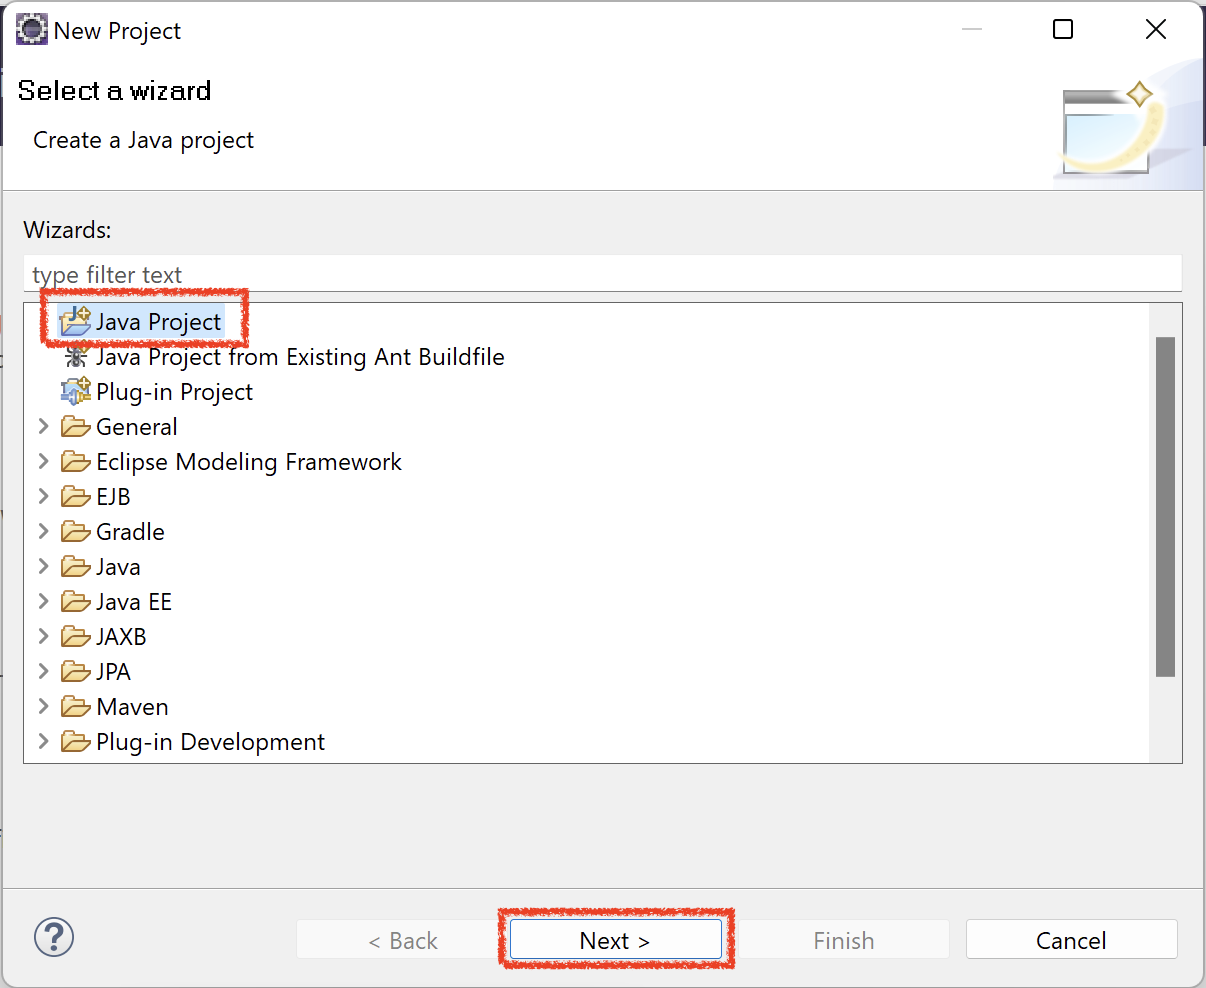
1) In Eclipse IDE, click on File -> New -> Project… option
2) In the New Project window, select Java Project and then click on Next button
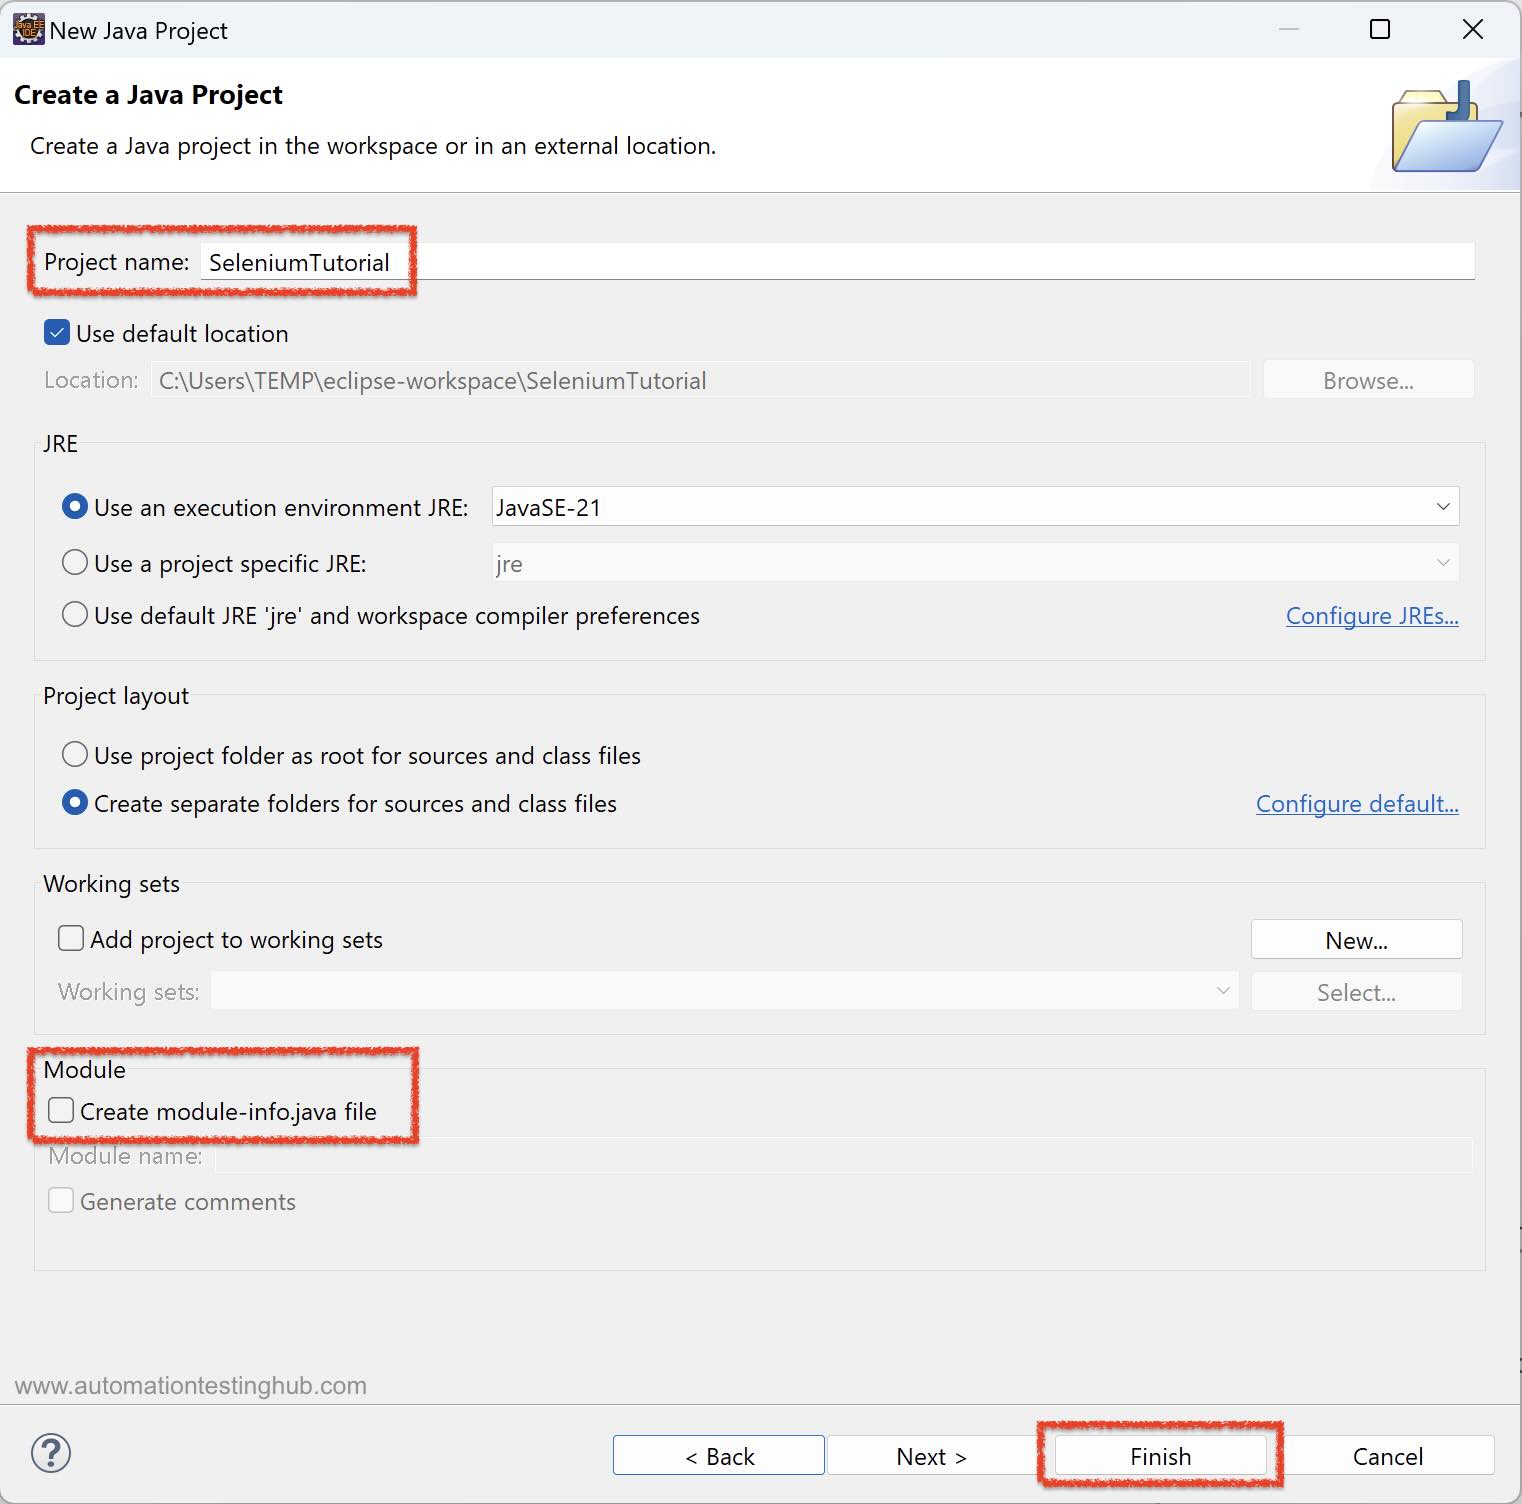
3) In the New Java Project window, write the project name as SeleniumTutorial.
4a) Uncheck Create module-info.java file checkbox. Leave all the other fields as it is and then click on Finish button
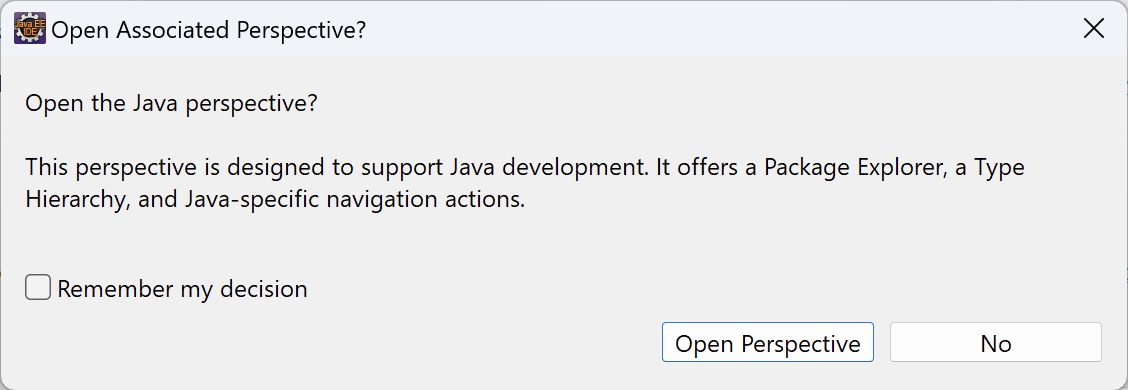
4b) You might see an “Open Associated Perspective?” popup window after clicking Finish. If it appears, click on the Open Perspective button to switch to the Java perspective
5) Eclipse IDE will now create the project. If the left-side panel (Project Explorer) is not visible, restore it using the icon shown below.
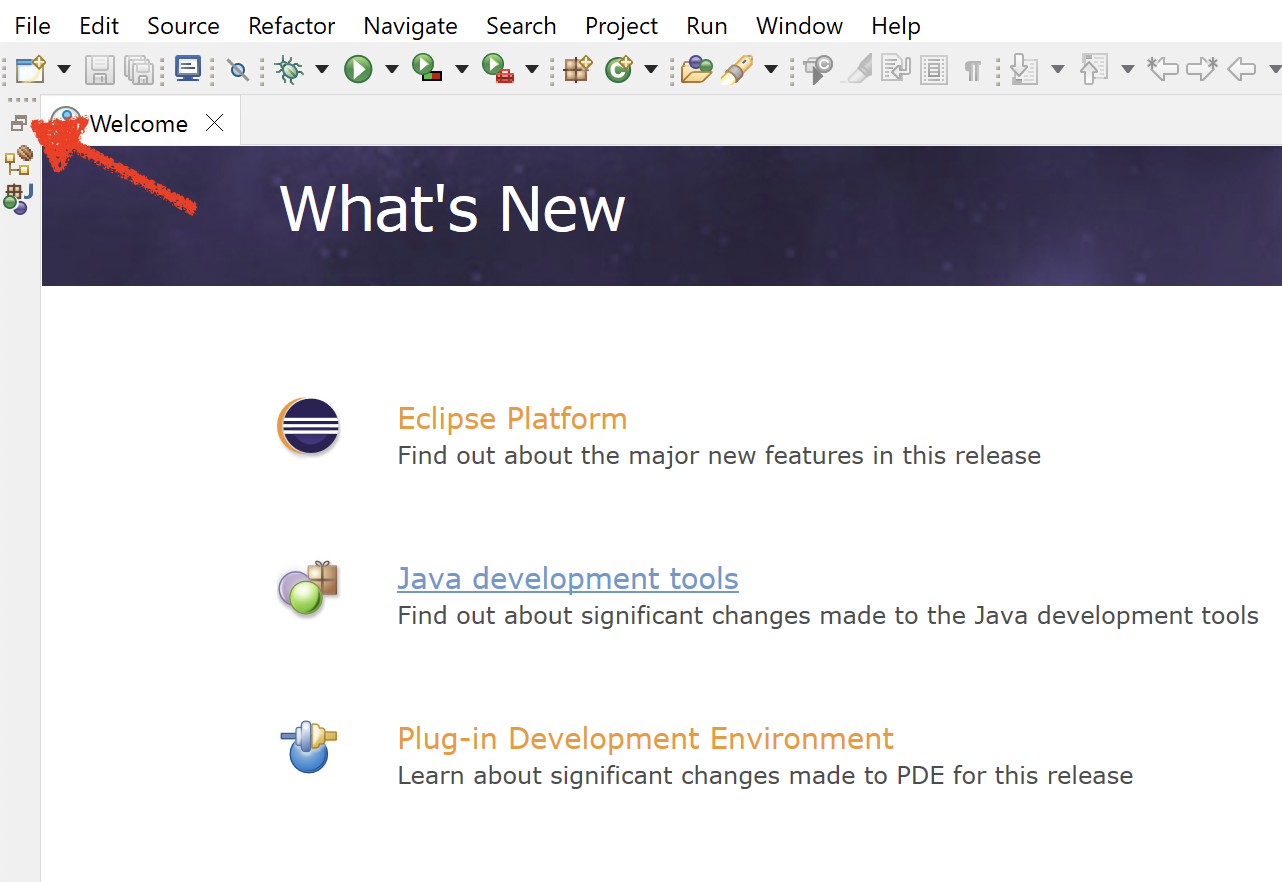
6) You should now see the SeleniumTutorial project in the left-side Package Explorer pane. If additional panes such as Tasks List or Welcome screen are open, close them to keep the Eclipse workspace clean and uncluttered.
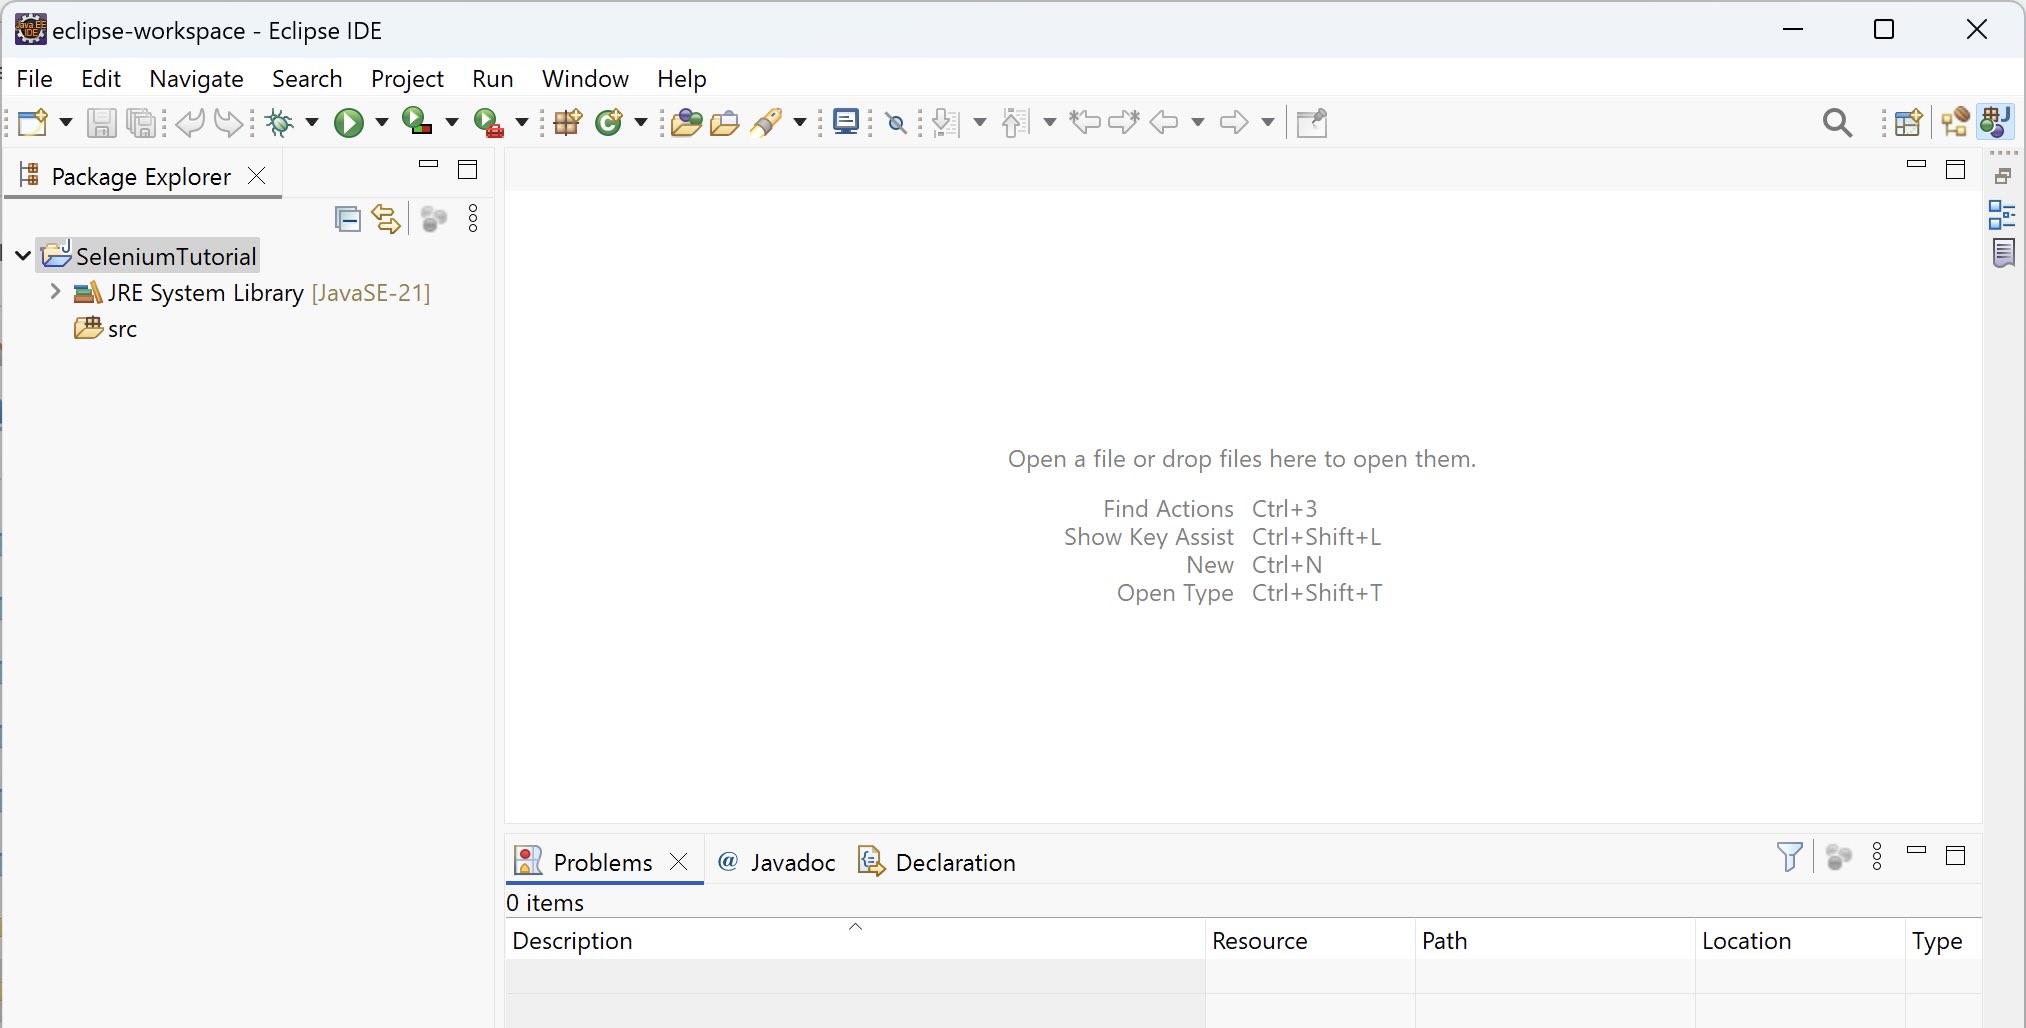
From the above image, you can see that SeleniumTutorial project has been created and is displayed in the left-hand side pane.
Understanding Project Structure: src Folder and JRE System Library
If you expand the SeleniumTutorial project in Eclipse, you will see two important sections:
- src folder
- JRE System Library
The src folder is where you will write all your Selenium test scripts. Right now, this folder is empty because we have not created any Java classes yet.
If you expand the JRE System Library, you will see several JAR files already added to the project. These are the default Java library files required to run any basic Java program in Eclipse.
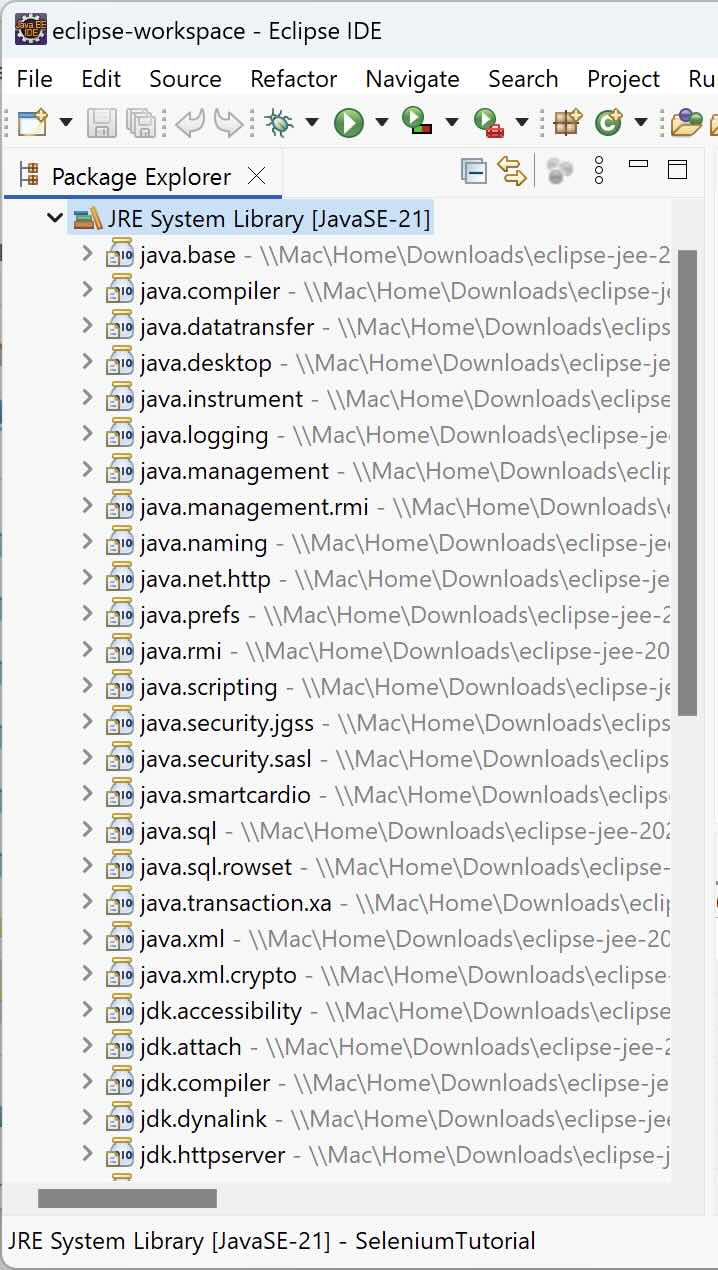
Important Note: You might notice that the path of the JAR files inside JRE System Library points to a location inside the Eclipse installation folder. This path is different from the Java folder that you installed separately on your system.
This happens because Eclipse comes bundled with its own default Java Runtime Environment (JRE). When you create a new Java project, Eclipse automatically links the project to its internal JRE by default.
For now, we will leave this configuration as it is. In a later article in this Selenium Tutorial series, we will configure Eclipse to use the Java version installed separately on your system.
Now that the default Java libraries are already available in the project, we can proceed to add the Selenium WebDriver JAR files before we start writing our first Selenium test script.
How to Add Selenium WebDriver JAR Files in Eclipse (Without Maven)
Follow the steps given below to add all the Selenium Webdriver JAR files to your eclipse project –
1) Right click on the project name (SeleniumTutorial, then select Build Path > Configure Build Path… option
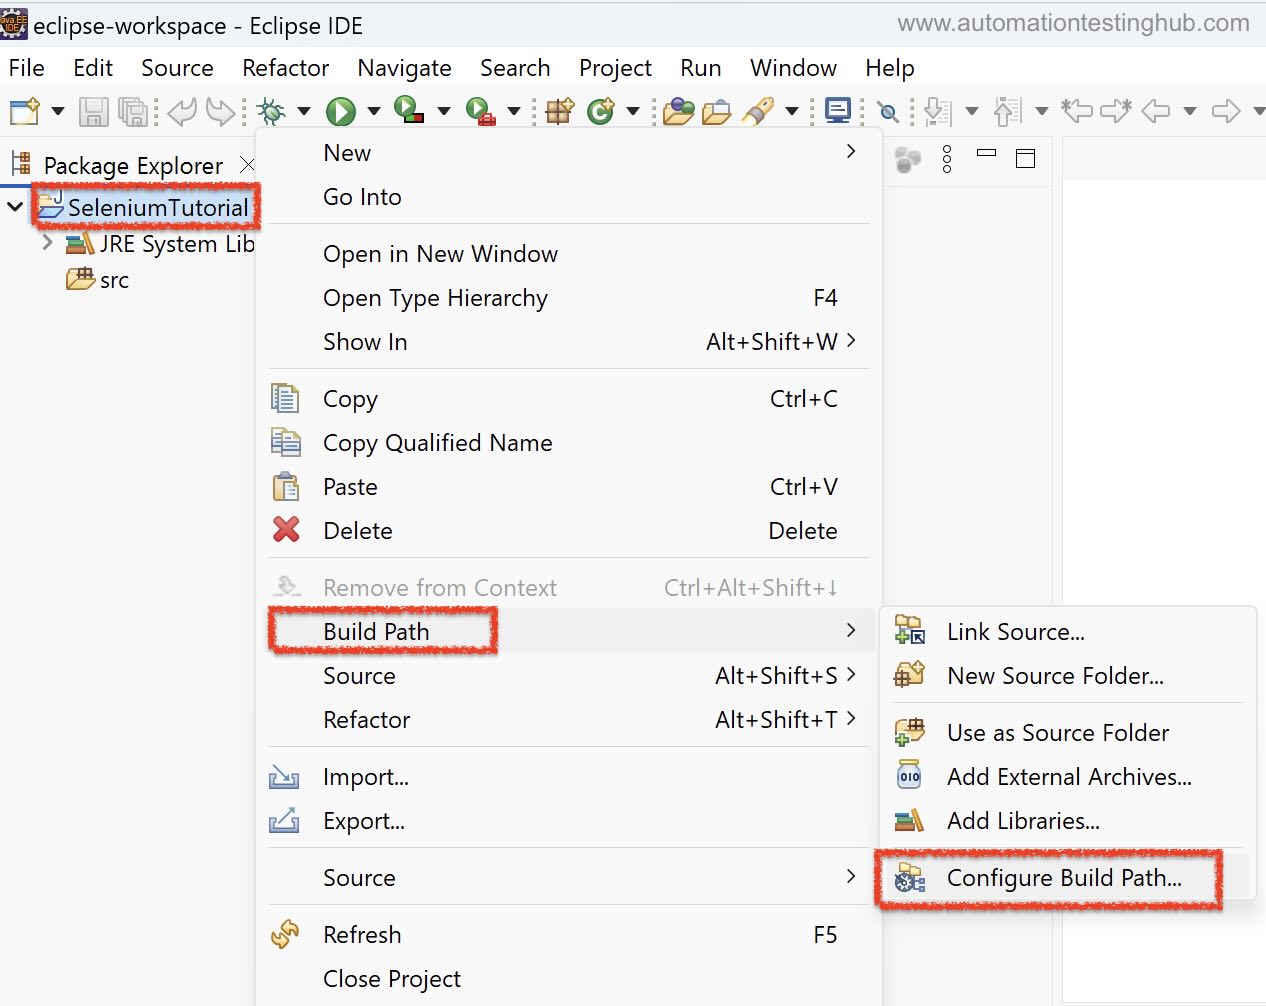
2) The Properties window will open. Go to the Libraries tab. Under the Classpath section, click on the Add External JARs… button
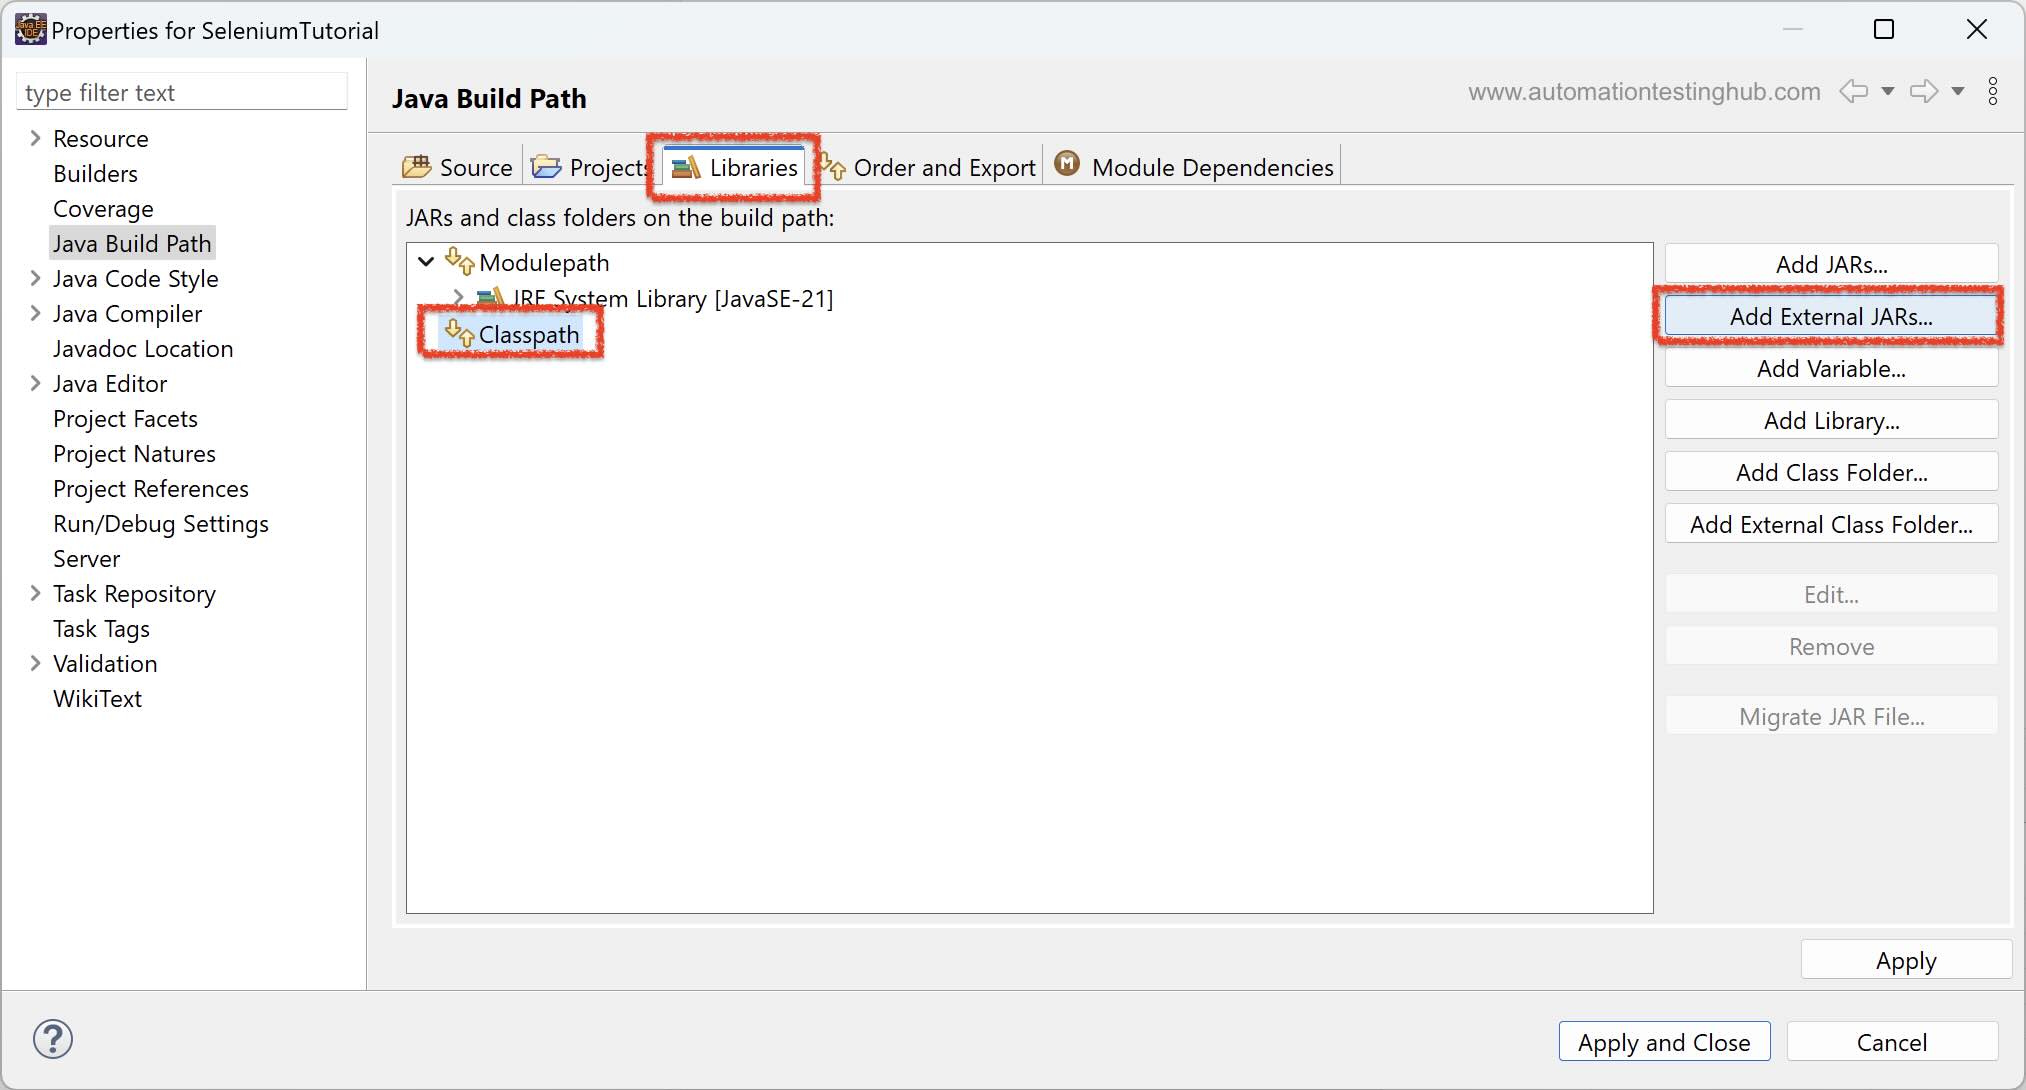
3) Navigate to the folder where you downloaded the Selenium WebDriver JAR files. Select all the JAR files inside the main Selenium folder and click on Open
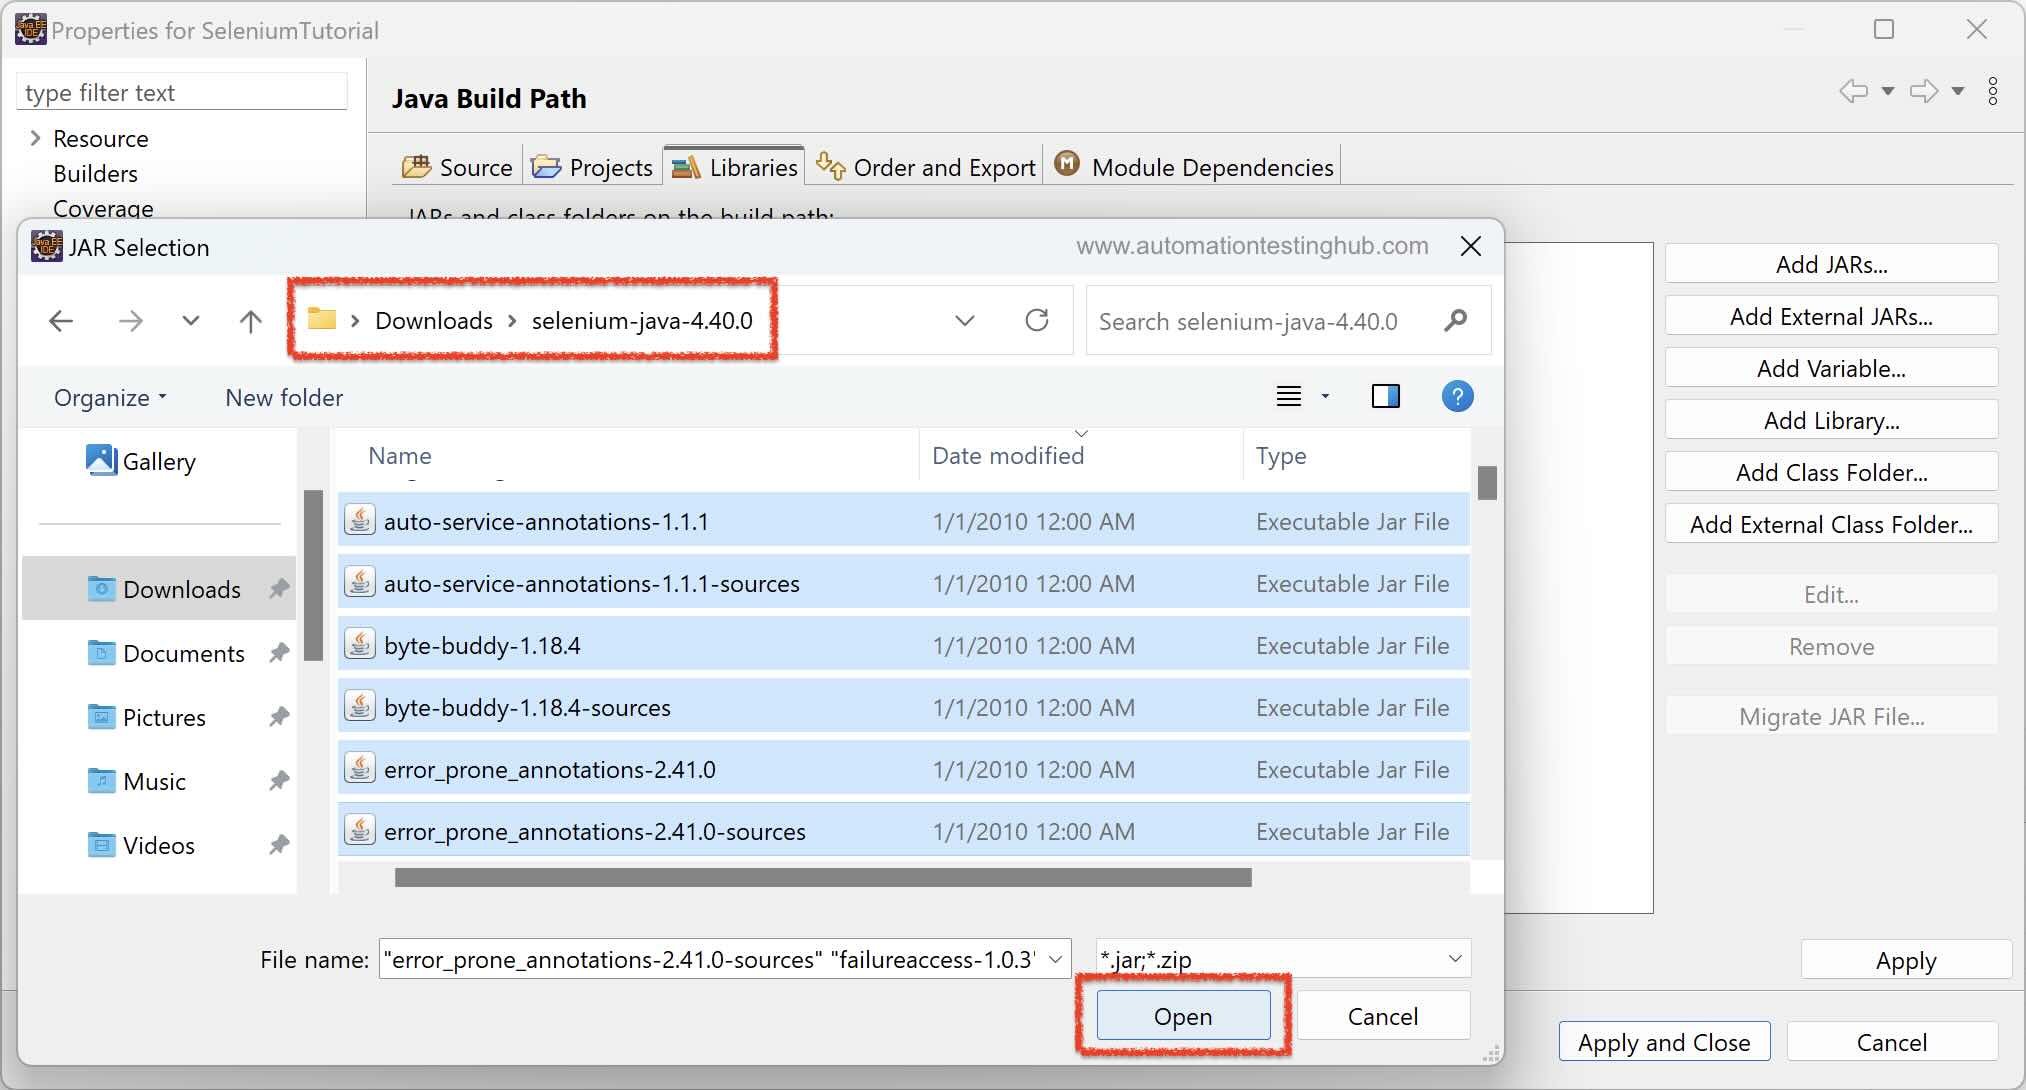
4) Click on Apply and Close to save the changes and close the Properties window.
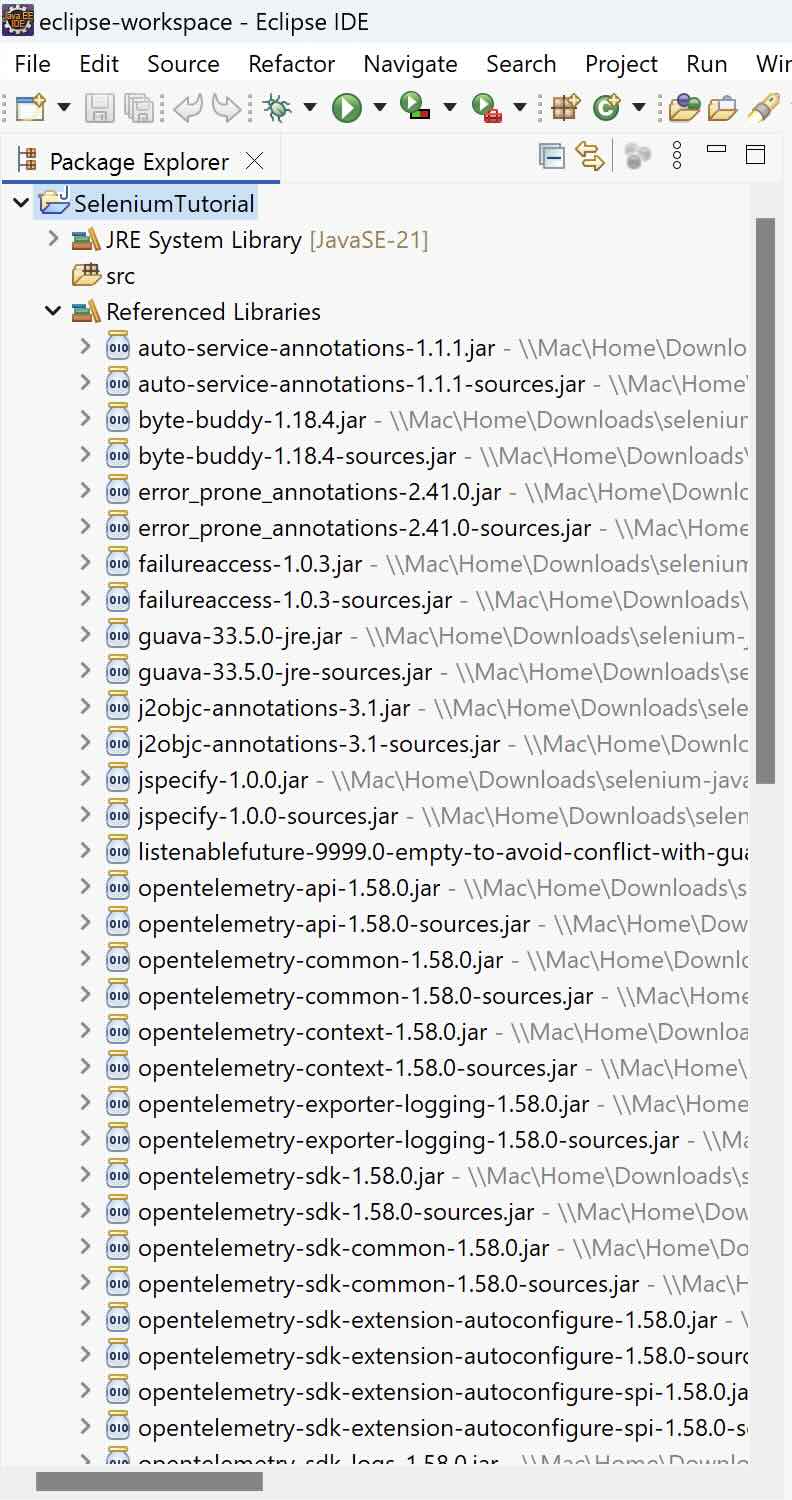
After adding the JAR files, Eclipse automatically creates a new section called Referenced Libraries inside your project. Expand the Referenced Libraries section to verify that all the Selenium WebDriver JAR files have been added successfully.
By adding these JAR files to the Classpath, you allow your project to use Selenium WebDriver classes in your test scripts.
Next Step: Write Your First Selenium Test Script
Now that we have successfully created the Selenium project in Eclipse and added all the required Selenium WebDriver JAR files, the setup is complete.
In the next article, we will write our first Selenium test script to launch the Chrome browser. This will help you verify that your Selenium setup is working correctly.